


DIY Fall Pumpkin Table Decor with IOD Moulds and Inlays

Transforming pumpkins with IOD moulds is one of our favorite autumn crafts, and we’re excited to guide you through creating your very own. Once you master this technique, feel free to explore Pinterest for additional inspiration, experimenting with various colors and moulds to make something unique that fits your style.
In this tutorial, we’ve chosen a paper mache pumpkin for its distinct textured appearance. If you prefer a smoother canvas, foam or plastic pumpkins are excellent alternatives.
To add an extra touch of elegance, we’ve incorporated the Rose Chintz paint inlay into our design. Remember, since paint inlays are water-reactive, you’ll definitely want to seal your artwork upon completion.
For sealing, you have options: either a spray-on sealer or a brush application. If you choose the latter, prep the surface with a light mist of a 50/50 mixture of polyurethane and water. This step is key to preventing any smudging of your beautiful design!
IOD Products Needed:
Other Supplies:
- Paint Brush
- Cornstarch
- Soft Small Paint Brush
- Pumpkin (Paper Mache, Foam or Plastic)
- Clear Wax
- Dark Wax
- Toothpick
- Scissor
- Hot Glue Gun
- Water Mister
- Moist Cloth
- Gold Craft Paint
If you’re just kicking off your creative journey, have no fear — our Product 101 pages are packed with straightforward techniques to set you up for success. We’re thrilled to accompany you as you explore and create. For more how-tos and creative inspo, make sure to browse through the rest of our blog.
Once you’ve crafted your final piece, share it with our Facebook Creative Tribe! This community is not just a showcase but also a supportive hub for when you hit those creative roadblocks. And remember, your local stockist is always ready to assist with IOD supplies and expert advice. We’re excited to see what you’ll bring to life!
 ×
×

Join Debi’s Design Diary & the IOD Sisters...
Pin this article to save for later We have a special invitation for you! We have partnered with our dear friend and IOD stockist, Debi Beard of Debi’s Design Diary, to unveil a new paint...
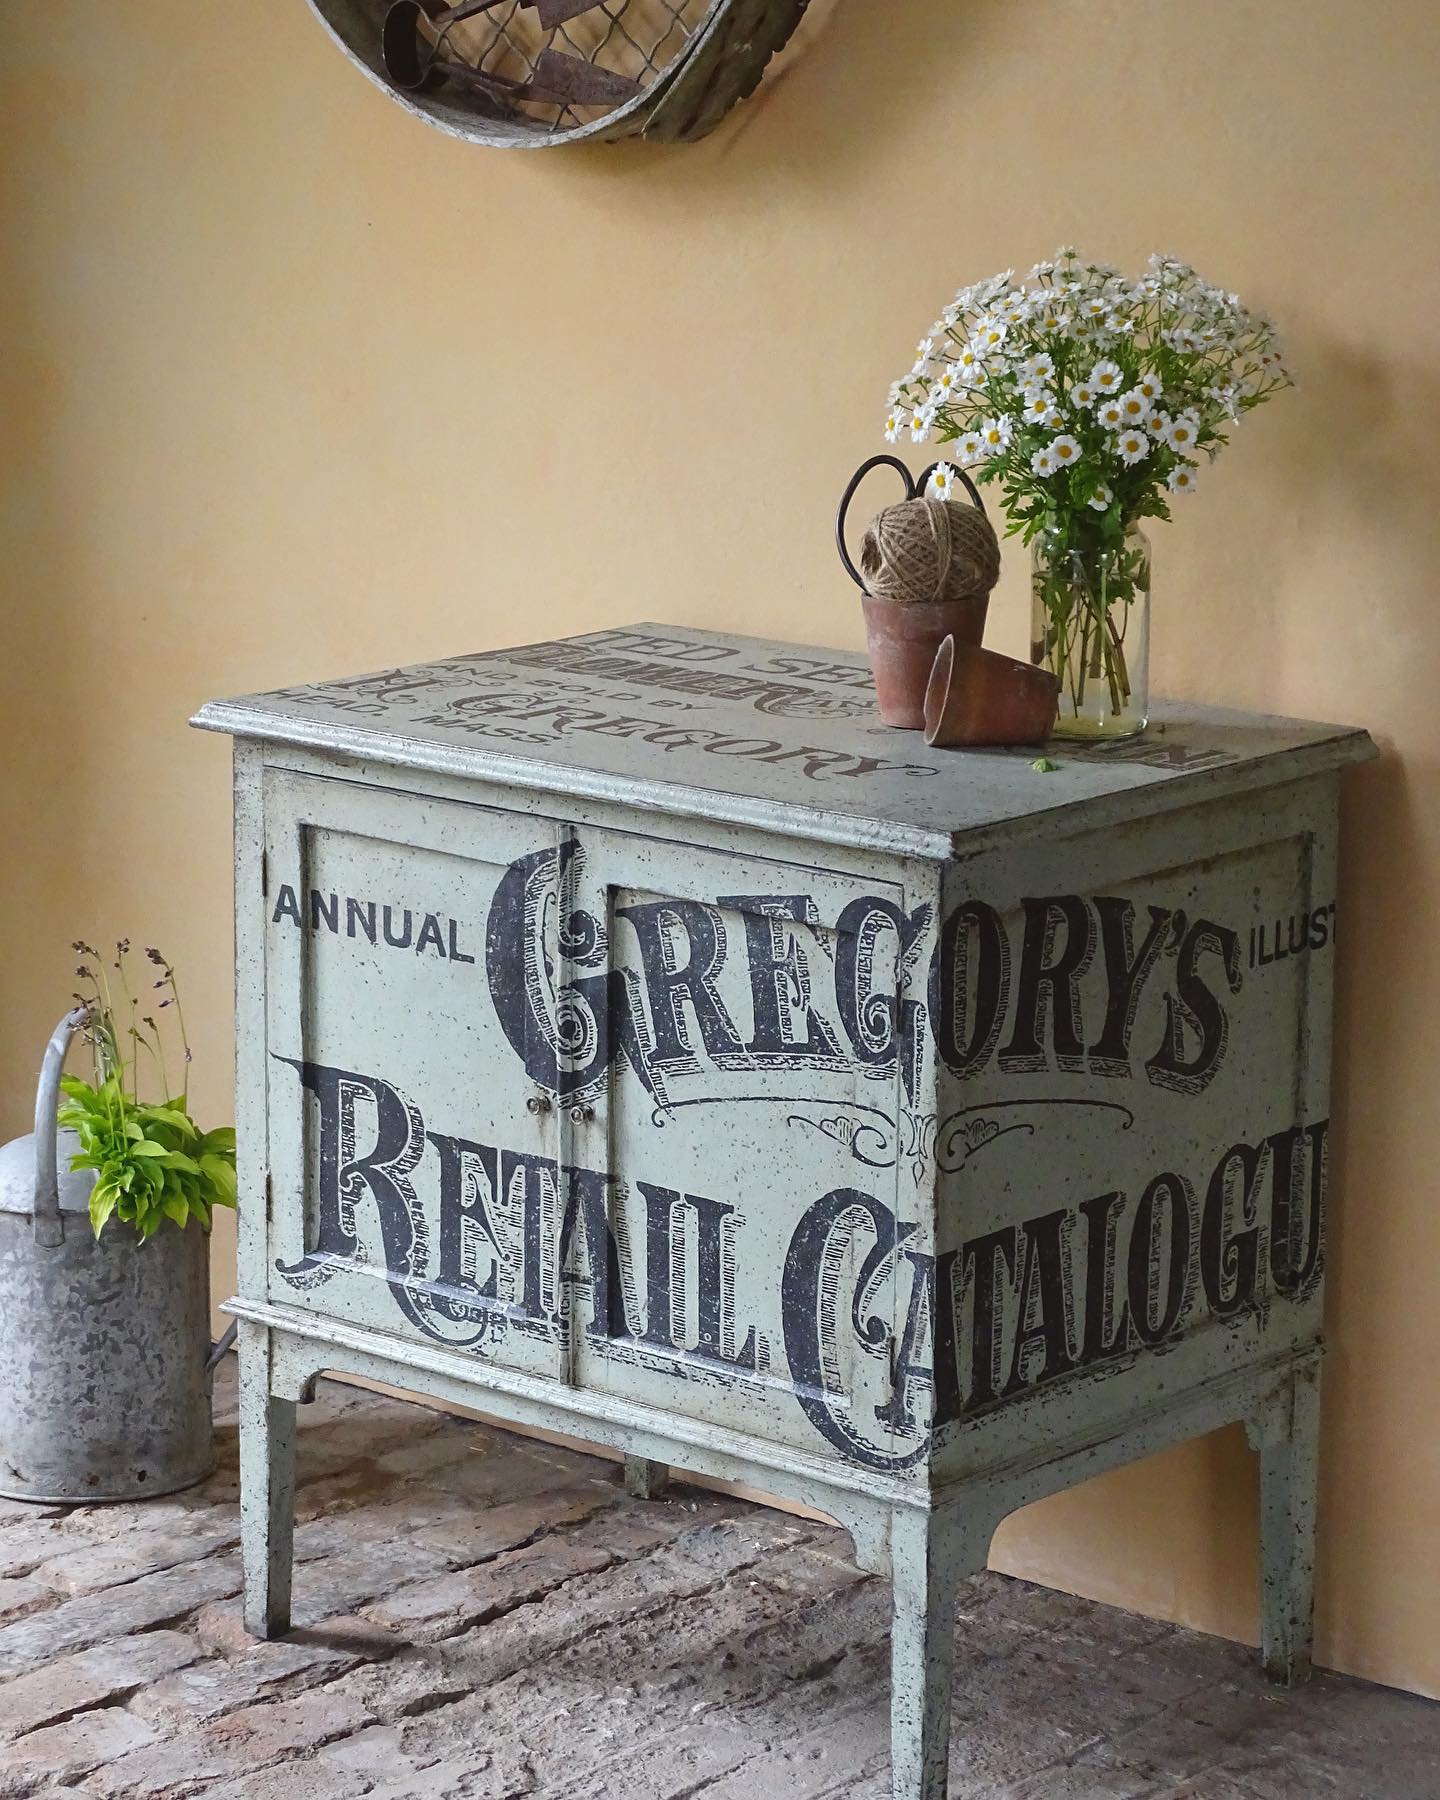
A Fresh Take on the Gregory’s Catalogue IO...
Pin this article to save for later A Fresh Take on the Gregory’s Catalogue IOD Paint Inlay Jonathon Marc Mendes of Painted Love https://www.youtube.com/watch?v=s_jq-_6FFAo&t=32s Have you ever seen something that just knocks your socks off...
