How to Make a Darling Decorative Tray with IOD Paint Inlays
We absolutely adore decorative trays – they provide such a lovely foundation for you to decorate your table, kitchen or bathroom! It adds that extra touch you’re looking for to pair with your trinkets and vases.
With the holidays approaching, now is the perfect time to grab some paint inlays and create some seasonal trays to pair with your fall and Christmas decor! 😍
Join Aimee from Mama Bear Blue as she takes you through this tutorial!
WHAT YOU’LL NEED FOR THIS TUTORIAL:
- IOD Paint Inlay Of Your Choice – (Rose Chintz and Morocco are used in this tutorial)
- IOD Wood Art Panel (12X16 or 8X10)
- Clay-Based Chalk Paint
- Paint Brush
- Sealer
- Spray Bottle
- Wax (Gold and Clear are used in this tutorial)
- Wax Brush
- Knobs/Handles
- E6000
- Hot Glue
Find the tools you need to create this darling tray from a stockist near you!
STEP BY STEP INSTRUCTIONS ON HOW TO MAKE YOUR OWN DECORATIVE TRAY:
STEP 1: Trim your paint inlay.
Cut your inlay to fit into the concave, middle part of your tray. Grab a pair of scissors or a rotary cutter and ruler to trim those pieces off!
STEP 2: Paint your tray.
Go in with your clay-based paint and give your tray two coats of paint.
OPTIONAL: Use a heat gun in between coats to help it dry faster, just make sure to not get too close to the paint so it doesn’t bubble up.
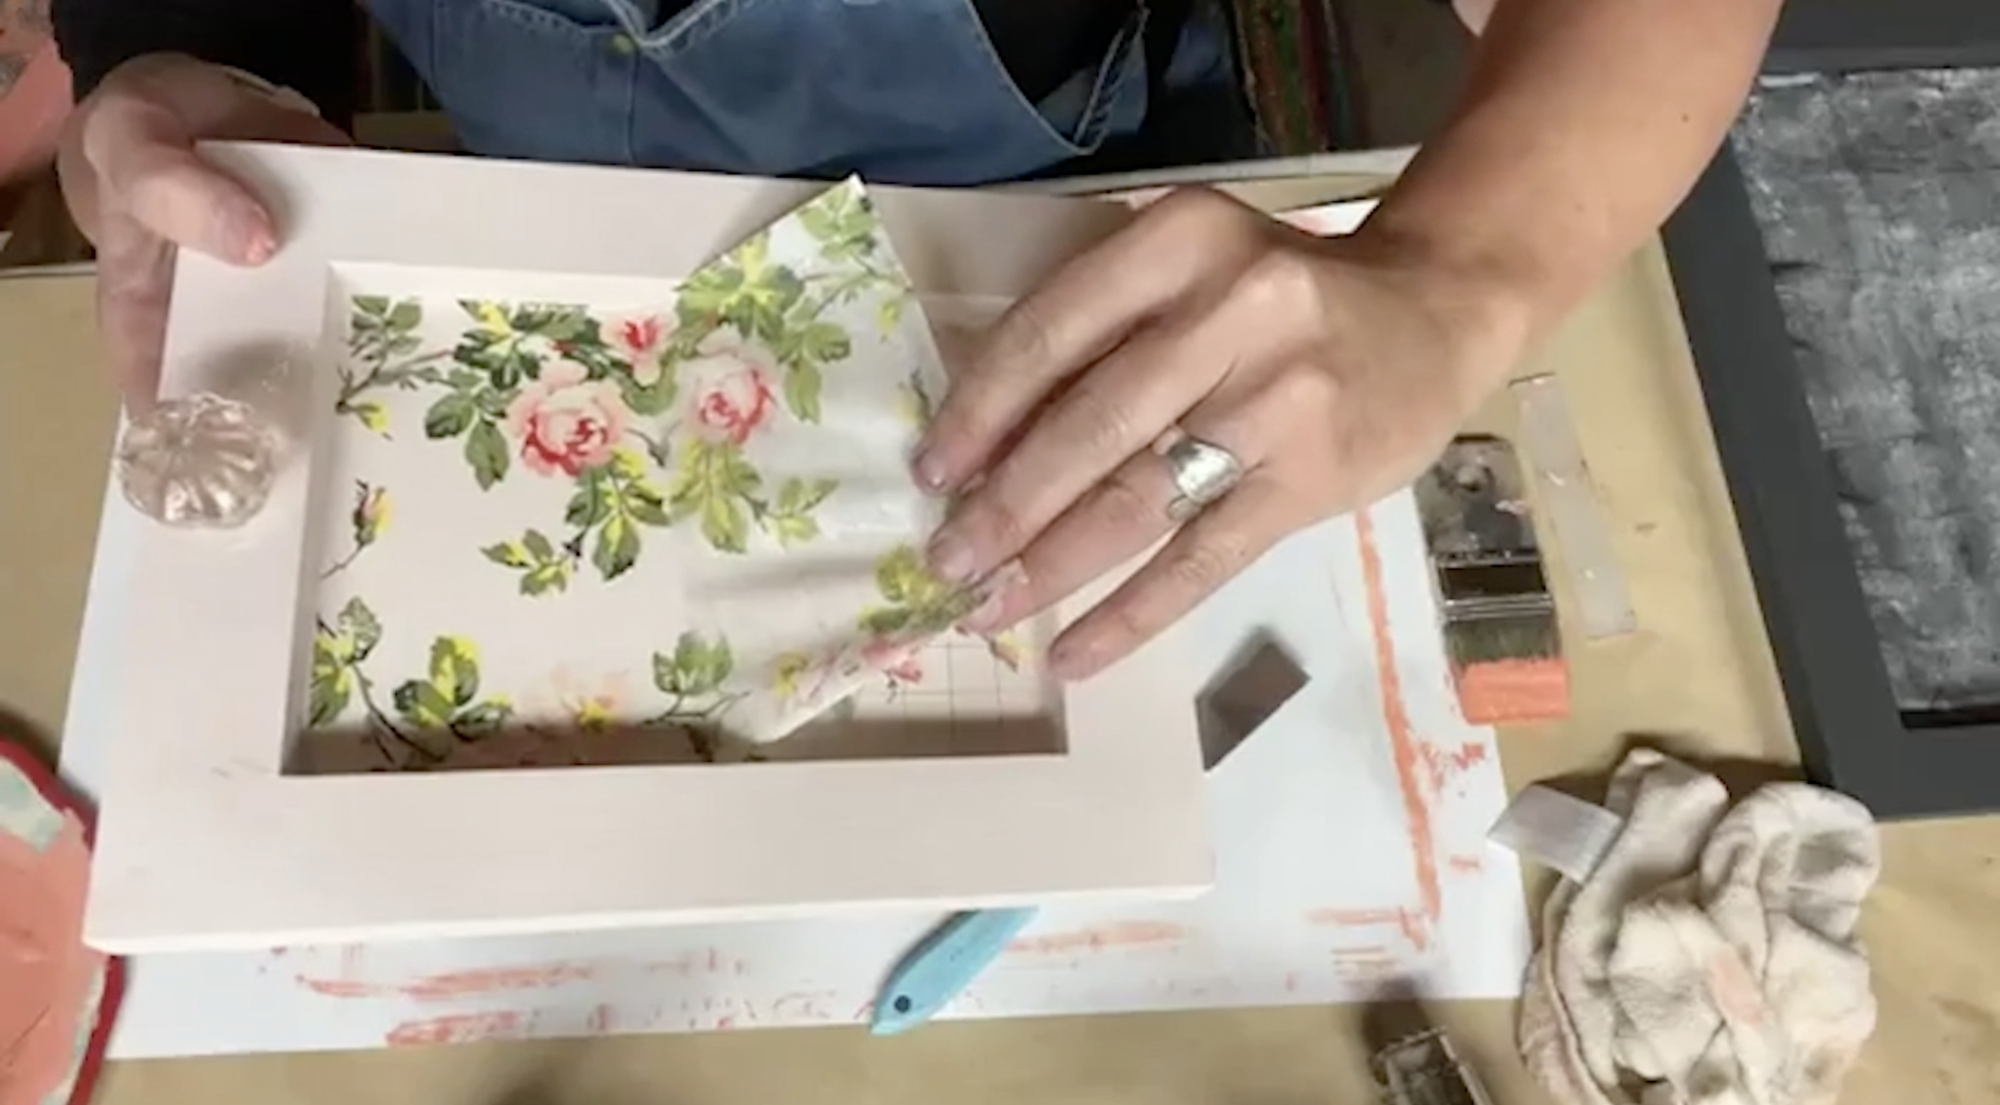
STEP 3: Place your inlay in the concave middle part of your board.
While your second coat of paint is still wet, place your inlay with the paint side down. You don’t want to wait too long as clay based paint dries fairly quickly.
STEP 4: Mist the inlay, smooth out any wrinkles with a brayer or flat edge and let the inlay fully dry.
Be careful not to tear the inlay while smoothing out the carrier sheet! Use gentle, but firm, pressure. Then, let the inlay dry (it usually takes about an hour depending on your climate).
STEP 5: Re-mist your inlay, wait 30 seconds and gently peel it off.
If you’re having trouble removing the inlay, mist it again to dampen the carrier paper more.
STEP 6: With a mister, set your tray with three light coats.
Use a solution of 50/50 water and clear sealer.
STEP 7: Brush clear wax onto the border of your tray and then brush gold wax onto the corners.
Then wait 24 hours and go back in over the inlay with clear wax as well.
STEP 8: Glue on your knobs with E6000 and hot glue.
And you’re left with a beautiful shabby chic or vintage tray to put in your home (or give as a housewarming gift)! Imagine how fabulous our Noel Paint Inlay would look with this project, it would fit beautifully within the center of that board!
We hope you have a new perspective on how easy it is to use our paint inlays! Tell us what you love about our paint inlays in the comments below. ❤️


