Stamping, Masking & Casting: Playing with IOD Moulds and Stamps
You know how we always talk about focusing on the process — not the finished product? No grand finished piece to stage, just two sisters experimenting and playing around with stamping, masking, and casting.
Want to learn this new technique with us?
No time now? Pin this post for later.

You can check out the edited, Facebook Live video tutorial below. Or, if you prefer to read, keep scrolling for a supply list and step-by-step instructions.
Supplies for Stamping, Masking & Casting
Here’s what we used, but you can use any IOD moulds and stamps for this “project.” (We put that in quotes because really we just want you to experiment and play with no set outcome in mind – enjoy the process!)
All IOD products can be purchased from an approved stockist. To find a shop local to you, click here. To find an online store, click here.
(This post contains affiliate links.)
- Lady of Shalott Stamp by IOD
- Birdsong Mould by IOD
- Air dry clay by IOD
- Ink and ink pad by IOD
- Project board or scrap wood painted with chalk or mineral type paint in white
- Titebond Quick & Thick Glue
- Scrap paper
- Scissors
- Cornstarch (optional: helps with release of clay from mould)
- Small paint brush
Note: Before you get started, if this is your first time using IOD stamps please check out this beginner stamps tutorial. It will give you all the basics including how to condition your stamps before first use.
Now you’re ready to create with masks with moulds!
If you’ve been here for any bit of time, you’ve seen us mask with stamps – but this is the first time we’re showing you how to create a mask with a mould.
Lightly pat the micro-rim of the design you want mask with a loaded ink pad.
Flip it over and lay it down on the scrap paper without shifting.

Lift it straight up and then cut the shape out along the ink impression.

Using a wet wipe, clean the ink off your mould.
What’s the purpose of masking with casting and stamping?
Masking with moulds allows you to integrate casting and stamping in a way that enhances the composition. This means by doing this step you’ll be able to increase the harmony between the different art elements.
You’ll also be able to better plan your layout to increase the visual impact. This is especially true when you’re trying to combine one and two dimensional elements such as stamps and mould.
Finally, the masks act as place holders and visual markers for where you’ll be putting the moulds. They will also inform where you stamp.
Next step… plan your composition
Remember, the mould masks serve as placeholders for where you’ll add your clay casting later. Using the masks at this stage of the planning allows you to better harmonize the stamps and the moulds together – as opposed to stamping first and then figuring out after where you want to fit the moulds.
Super important note: Lay out the masks ink side up because that is how the casting will appear on your project. If you forget to do this, your casting will end up backwards, or the reverse image, of where you plan to position it. (This takes a little practice, so don’t worry! That’s why we’re playing!)

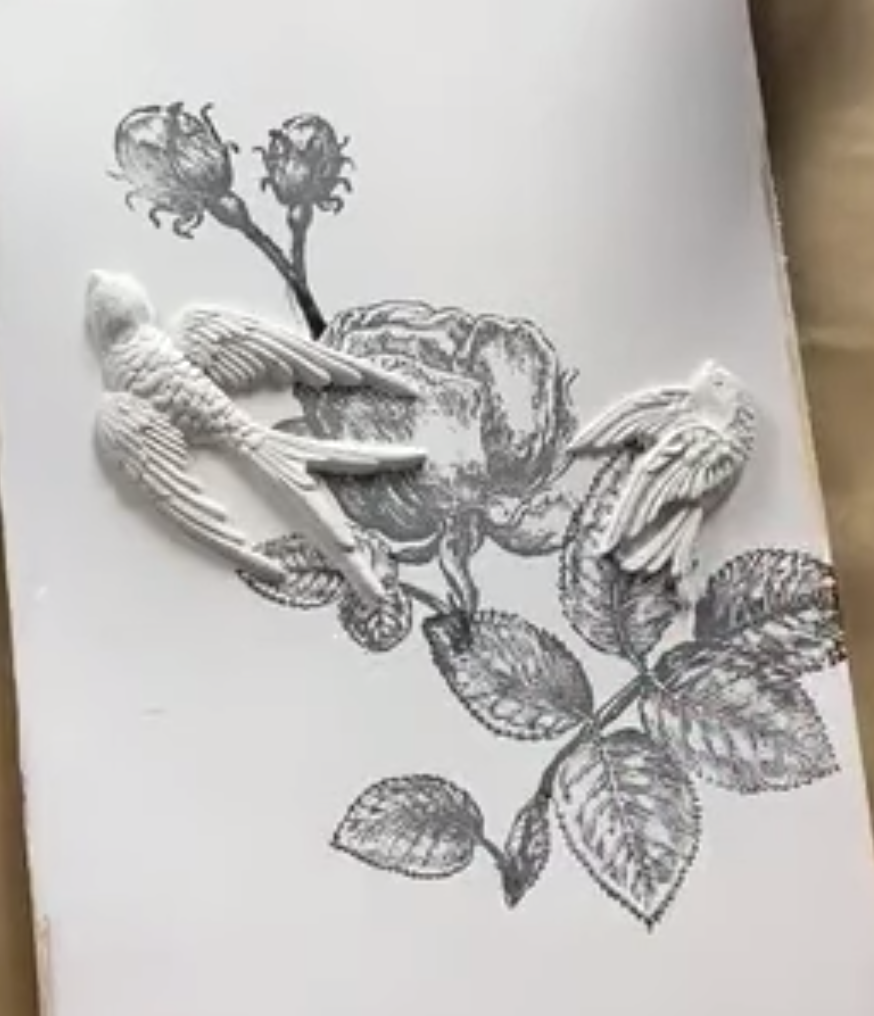
When you take the time to plan your composition in advance, you can think about the feeling of movement you want to create. You can also see where the eye is drawn. Take your time with this, adding, subtracting and moving around until you love the layout!

Move your design to the side of your sample board while leaving your mould masks in place. You can take a picture of your layout or carefully lay it to the side in formation. We forgot to do this in advance, but you may want to create masks for your stamps as well to get the cleanest impression of your design.
For more on masking with stamps, check out this tutorial.
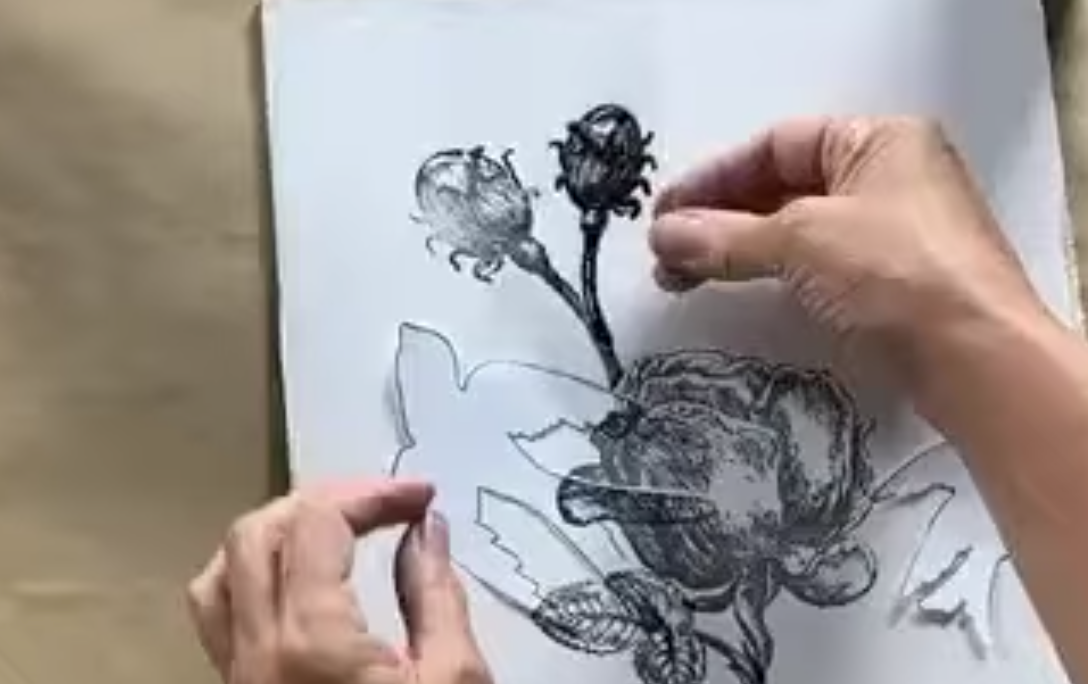
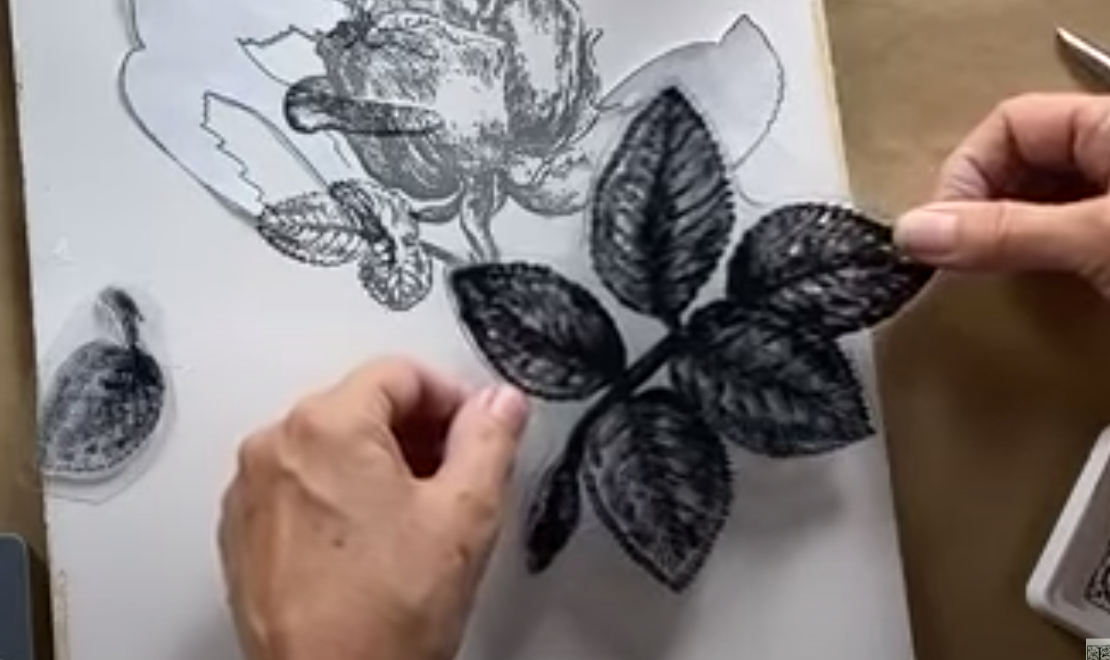
Now you’re ready to stamp!
With your mould masks as placeholders, begin stamping your design.
If this is your first time using stamps, be sure to condition them before use by scuffing them in two different directions with a fine grits sandpaper. (More on this process and also how to fill a blank ink pad here.)
Keep your stamp mounted on the rigid backing it comes with as this will give you a place to hold and more control over the stamp. To ink your stamp, you pat the design with a loaded ink pad.

Flip the stamp over, hover to decide where you want it, and then lay it down on the project surface. Make sure to commit and don’t shift – so you don’t smudge the design.
Make the bird castings with air dry clay
If this is your first time using IOD moulds, check out this beginner tutorial to catch up on all the basics.
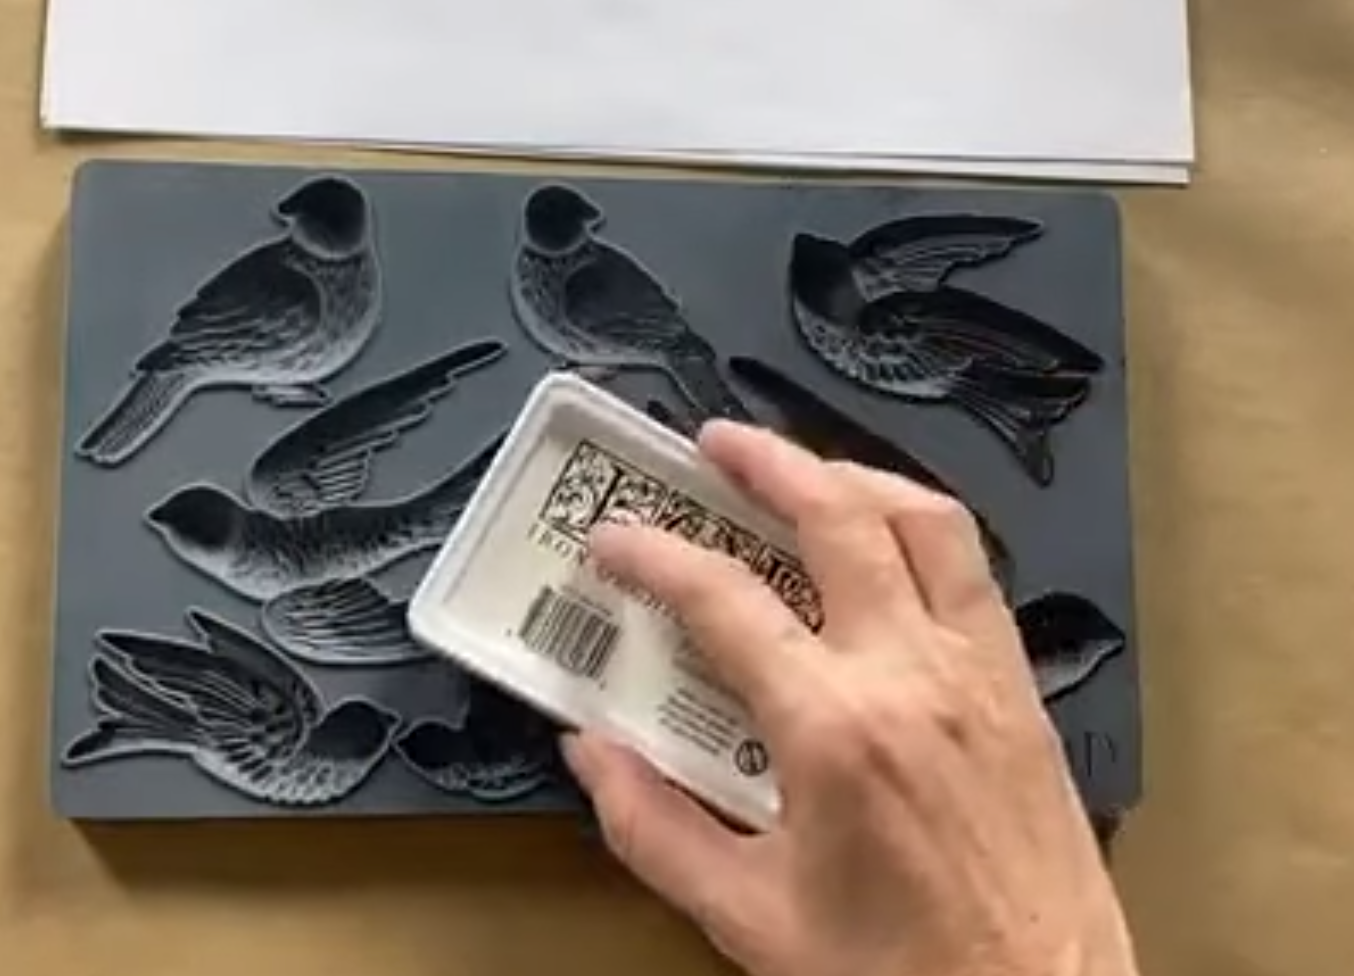
Josie likes to lightly dust the mould with cornstarch to help the clay release, but Sally doesn’t usually do this step, so it’s optional. (Sisters!)
Pull off the approximate amount of clay you need from the block and wrap up any unused clay right away so it doesn’t dry out.
Using your thumbs, push the clay in the mould cavity to capture all the details. Remove any excess clay and expose the micro rim so you get a crisp, clean edge to your casting.

Flip over the mould onto your project surface and fold it back to release the casting without any tugging or pulling.
Apply an even layer of glue to the back of the casting, smoothing it all the way to the edges to prevent any curling up or warping as the clay dries.
Remove the mould mask and gently press the casting down in its place. You want to make sure the entire back of the casting makes good contact with the project surface.

Paint the casting
We love white so we just used the same color paint as the sample board, but you could mix it up and give your bird a little pop of color. Maybe brush on a little clear way and then layer some dark wax to really bring out the feather details. Hit the high points of the casting with a little gold guilding wax… (just sayin’ – you know the possibilities are endless).

Did you have fun? We sure did!

Is this a technique you’ll be playing with at home?
Let us know in the comments below. Now go make something beautiful!
 ×
×
popular
- How to Apply IOD Athenaeum Gilded Transfer to Colored Glass Bottles
- From Ugly Duckling to Gorgeous | Black Dresser Makeover with IOD Marché des Fleurs
- 5 Creative Ways to Use One Decorative Stamp
- Turn Thrifted Finds into Charming Garden-Inspired Decor with a DIY Jadeite Finish
- Little Lark Paint Inlay Projects: Vintage Teapot & Canvas Wall Art with IOD