DIY Decorative Push Pins with French Flea Market Flair
Does anyone else spend January getting organized for the new year? Our family uses a bulletin board to keep track of tickets, receipts, and party invitations. (It’s also the perfect place to display inspirational quotes and fun(ny) photos. 😊)
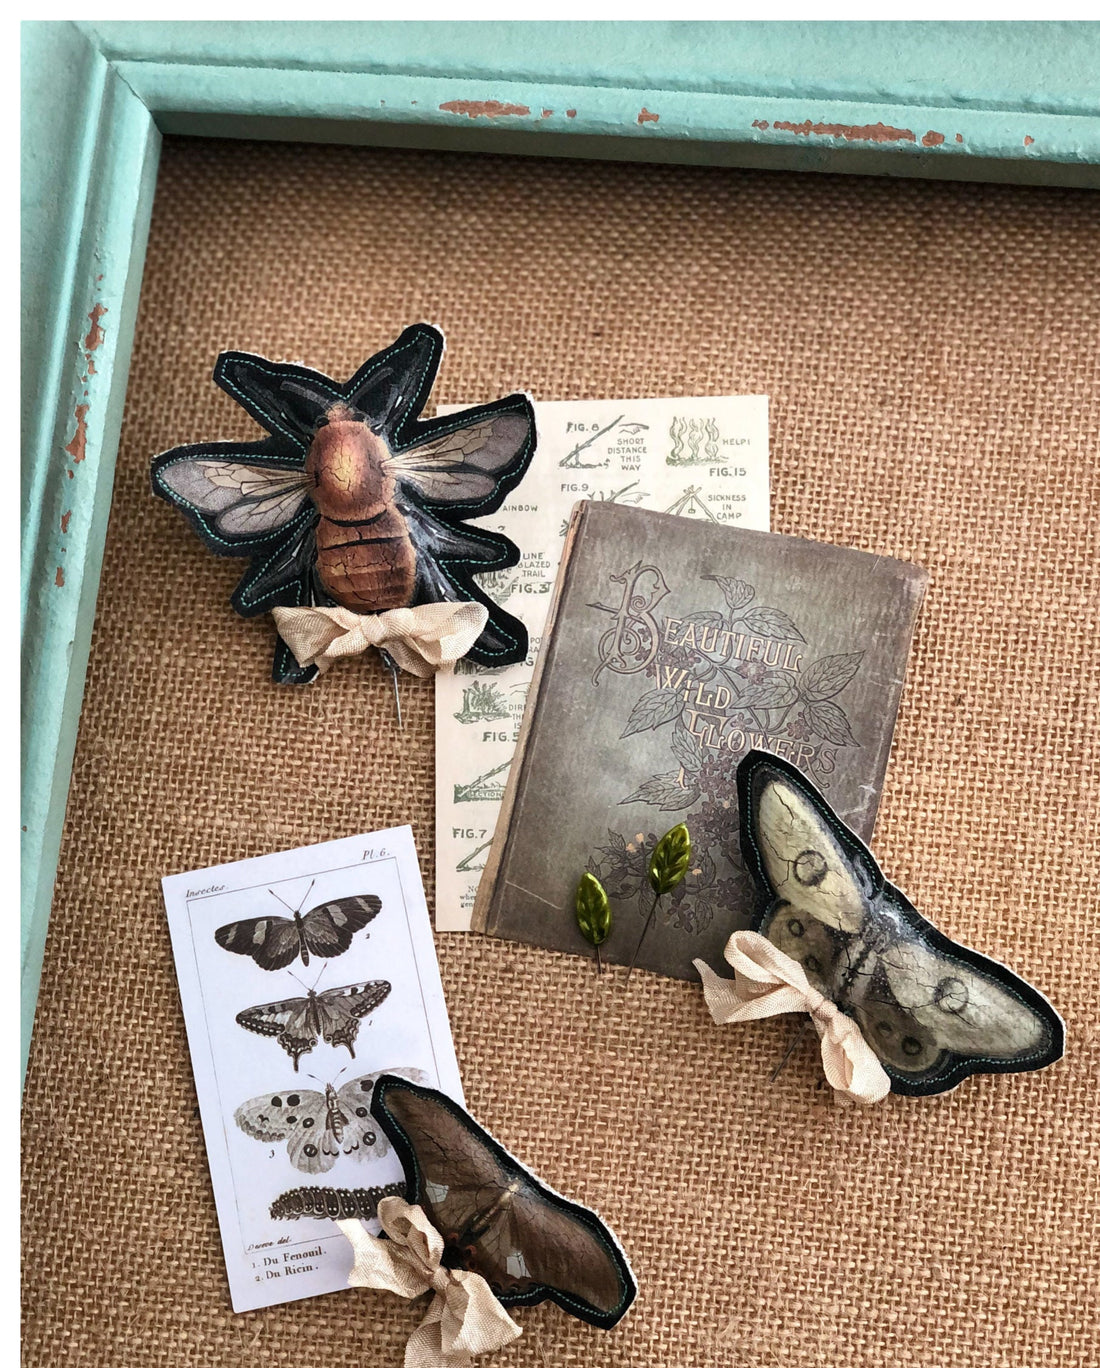
This DIY project is one of our favies because functional decor, like bulletin, cork, or dry erase boards, don’t have to be ugly or boring. Learn how to style your bulletin board with these DIY decorative push pins by IOD Design Team member Lexi Grenzer.
No time now? Pin this post for later.
Here’s what you need for this French flea market style project
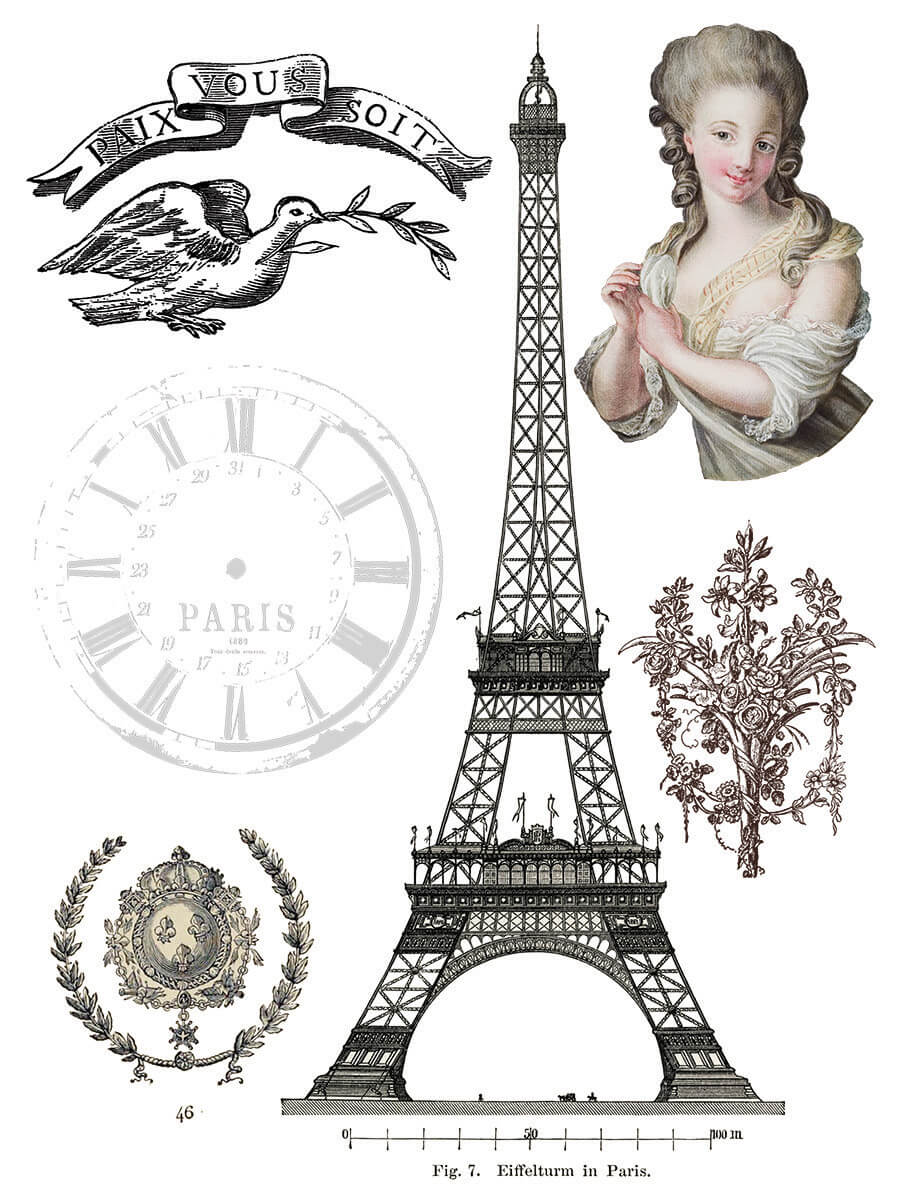
- Brocante Transfer by IOD – Find an IOD retailer by clicking here
- Dropcloth or swatch of canvas fabric – enough for both the front and back of the push pin
- Black gesso or you can also use your favorite high-quality decor paint
- Your favorite brand of water-based clear topcoat
- Paintbrush
- Scissors
- Sewing machine (or you can hot glue or hand stitch if you prefer)
- Straight pin with a large head
- Hot glue gun and glue sticks
- Batting
- Small dowel or the eraser end of a pencil
- Ribbon (optional)
- Craft heat gun (optional, to speed up dry time)
Step-by-step instructions for DIY decorative push pins
Step 1: Paint your dropcloth or canvas swatch and allow it to dry completely.


Step 2: Seal with a clear topcoat and allow it to dry completely. If you’re in a hurry, you can use a crafting heat gun to speed it up.


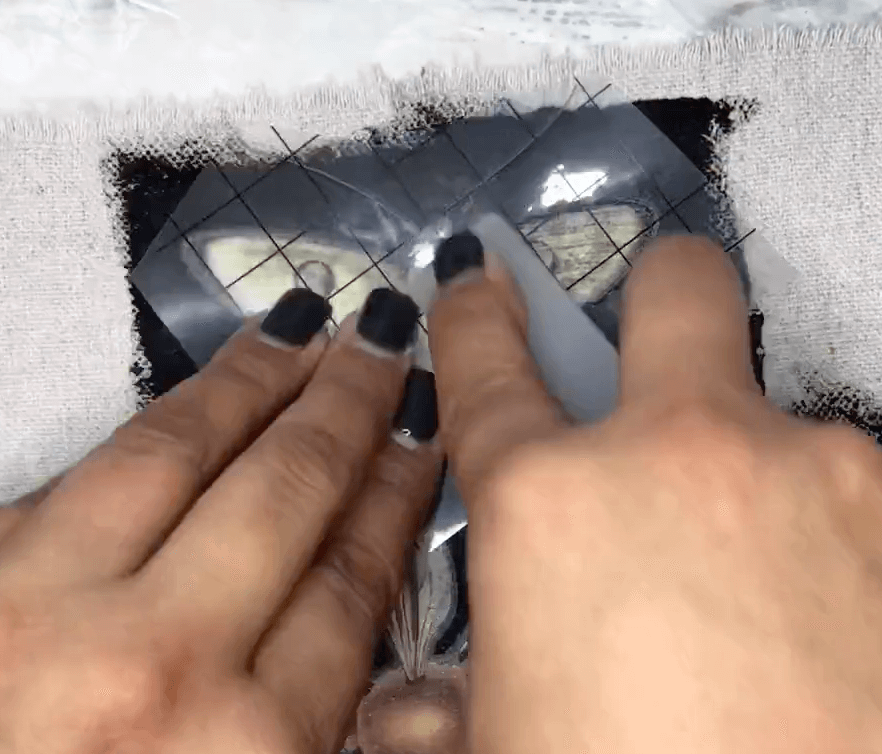
Step 3: Cut out the transfer elements you want to use from the pad. Apply the image using the applicator tool included with your transfer. (If you’re new to using IOD products, check out this IOD Transfers 101 tutorial.)
Burnish (or vigorously rub) the image with the leftover piece of transfer backing paying special attention to the edges.


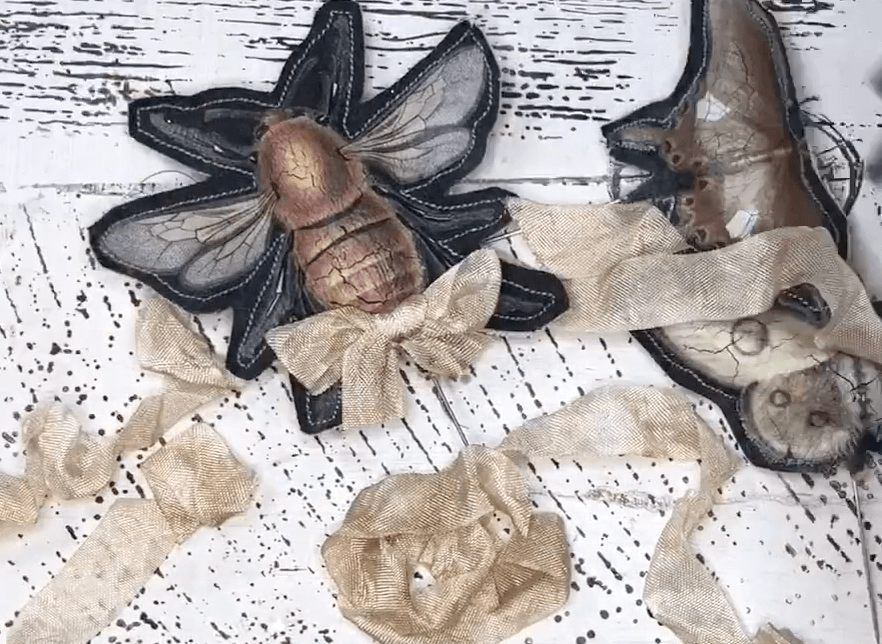
Step 4: Sew the second layer of fabric to the back of your swatch. Roughly cut out the individual designs to separate for sewing. Stitch around the edge of the image leaving a 1/2 inch opening at the bottom for the batting and pin.


Step 8: Gently stuff small tufts of batting between the fabric. Use the dowel to push it into all the contours of the little pillow.


Step 9: Apply a dollop of hot glue about 1/4 inch in the pillow. Insert the pinhead into the opening, push it into the glue, and carefully (it’s HOT!) pinch the fabric together around the pinhead.


Step 10: Apply another coat of clear sealer and let dry. Trim the excess fabric around the image leaving about 1/4 inch edge from the outline stitching.


Optional embellishment: Add a little bow to the bottom of the pin.


Are you ready to make decorative push pins for your bulletin board? How do you organize your life – bulletin or dry erase board? Let us know in the comments below.
More DIY inspiration with the IOD Brocante Transfer
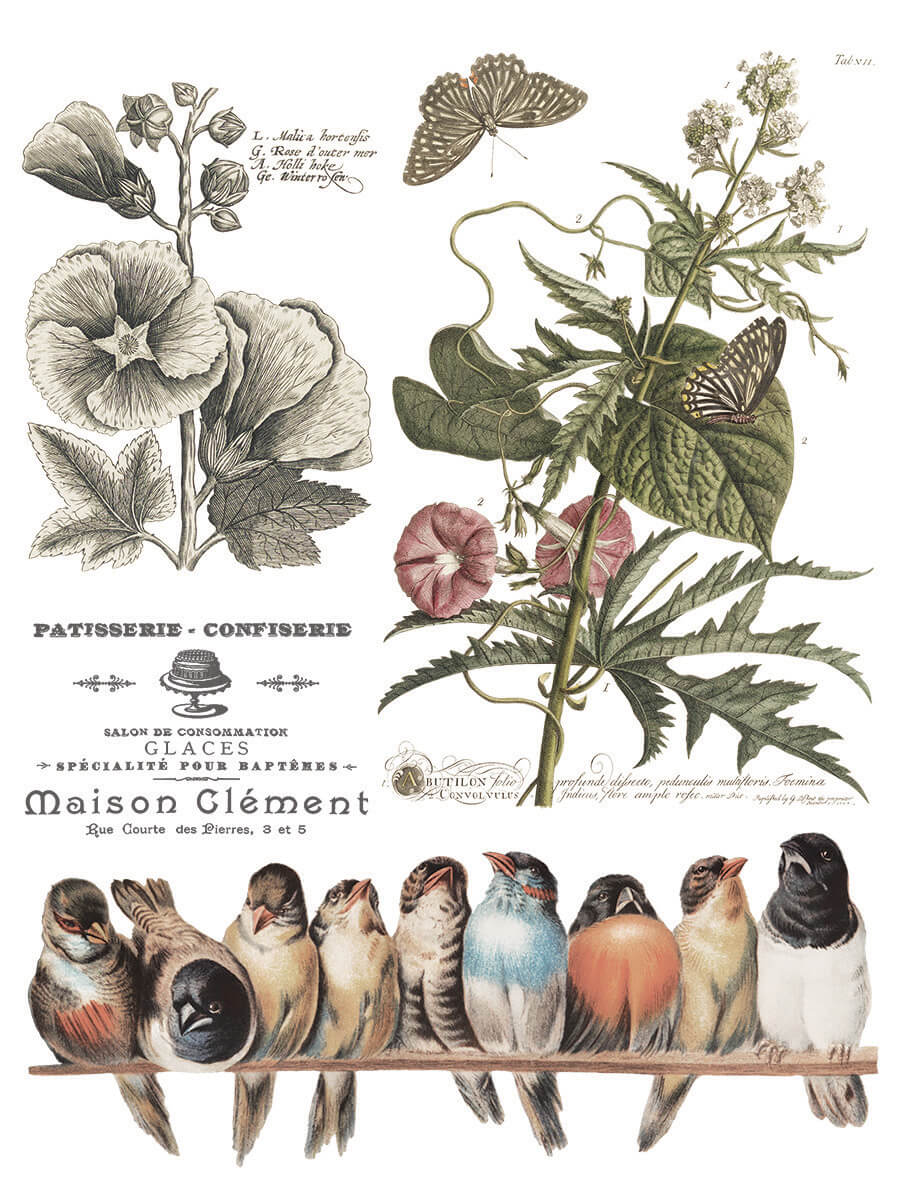
For this project you can choose to use any elements from the Brocante Transfer, you just want to make sure sure the size of the image is appropriate for a push pin. Here are all the designs that come in this eight-page, 12 x 16 inch IOD transfer pad.


And if you just really LOVE all winged or six-legged things – insects, butterflies, moths, birds… you can also make these decorative push pins with the IOD Entomology Etcetera Transfer.
If French country style is your jam or you’re looking for more ways to use the IOD Brocante Transfer, here are 18 project ideas by ellen j goods in Medina, NY.
OMGoodness!!! Get ready to pick your jaw up off the floor when you see all the beautiful thrift flips made by Jeb and Jami of Jami Ray Vintage in Lehi, UT with Brocante…
 ×
×
popular
- How to Make a 3D Swan Figurine with the IOD Swans Mould
- Thrifted Stool + Lamp Makeover with the IOD Fern Fables Transfer
- How to Apply IOD Athenaeum Gilded Transfer to Colored Glass Bottles
- From Ugly Duckling to Gorgeous | Black Dresser Makeover with IOD Marché des Fleurs
- 5 Creative Ways to Use One Decorative Stamp