DIY Thanksgiving Decor: Super Fast, Super Cute DIY Pumpkin Box
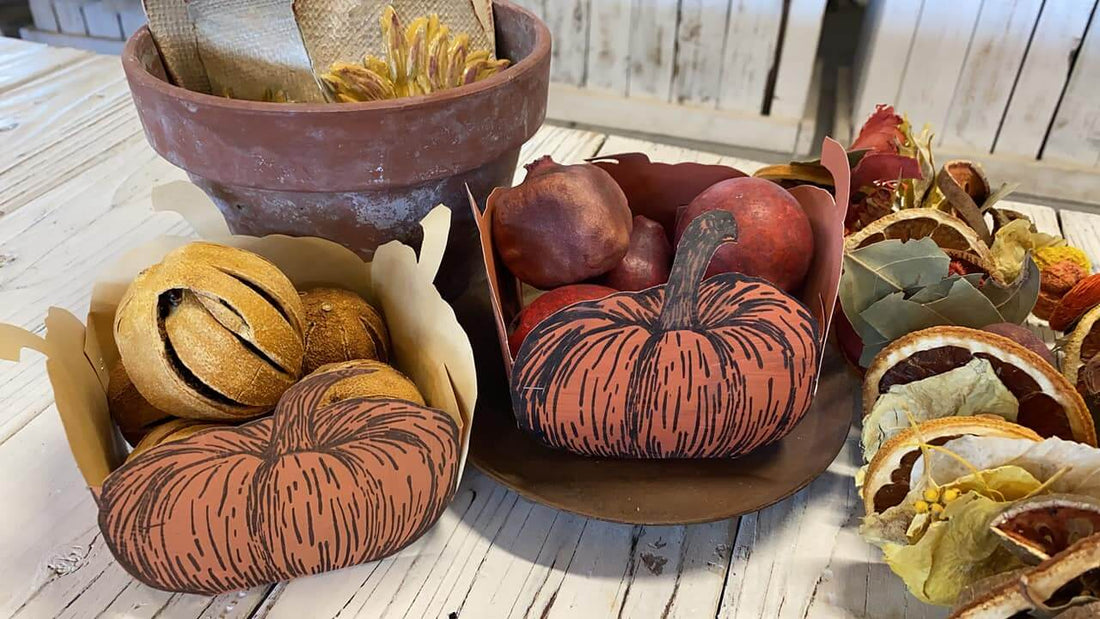
How stinkin’ cute are these DIY pumpkin boxes? Fill them with candy or mixed nuts still in the shell. You can even use them as adorable Thanksgiving table decor — there are so many possibilities!
No time now? Pin this post for later.

These sweet little paper pumpkins were made by the ever-creative IOD Stockist, Carmen of Curious Farms Market in Bennett, CO using the new Fruitful Harvest Stamp. If you love easy (and fancy) paper crafts like this one, be sure to subscribe to her YouTube channel.
-
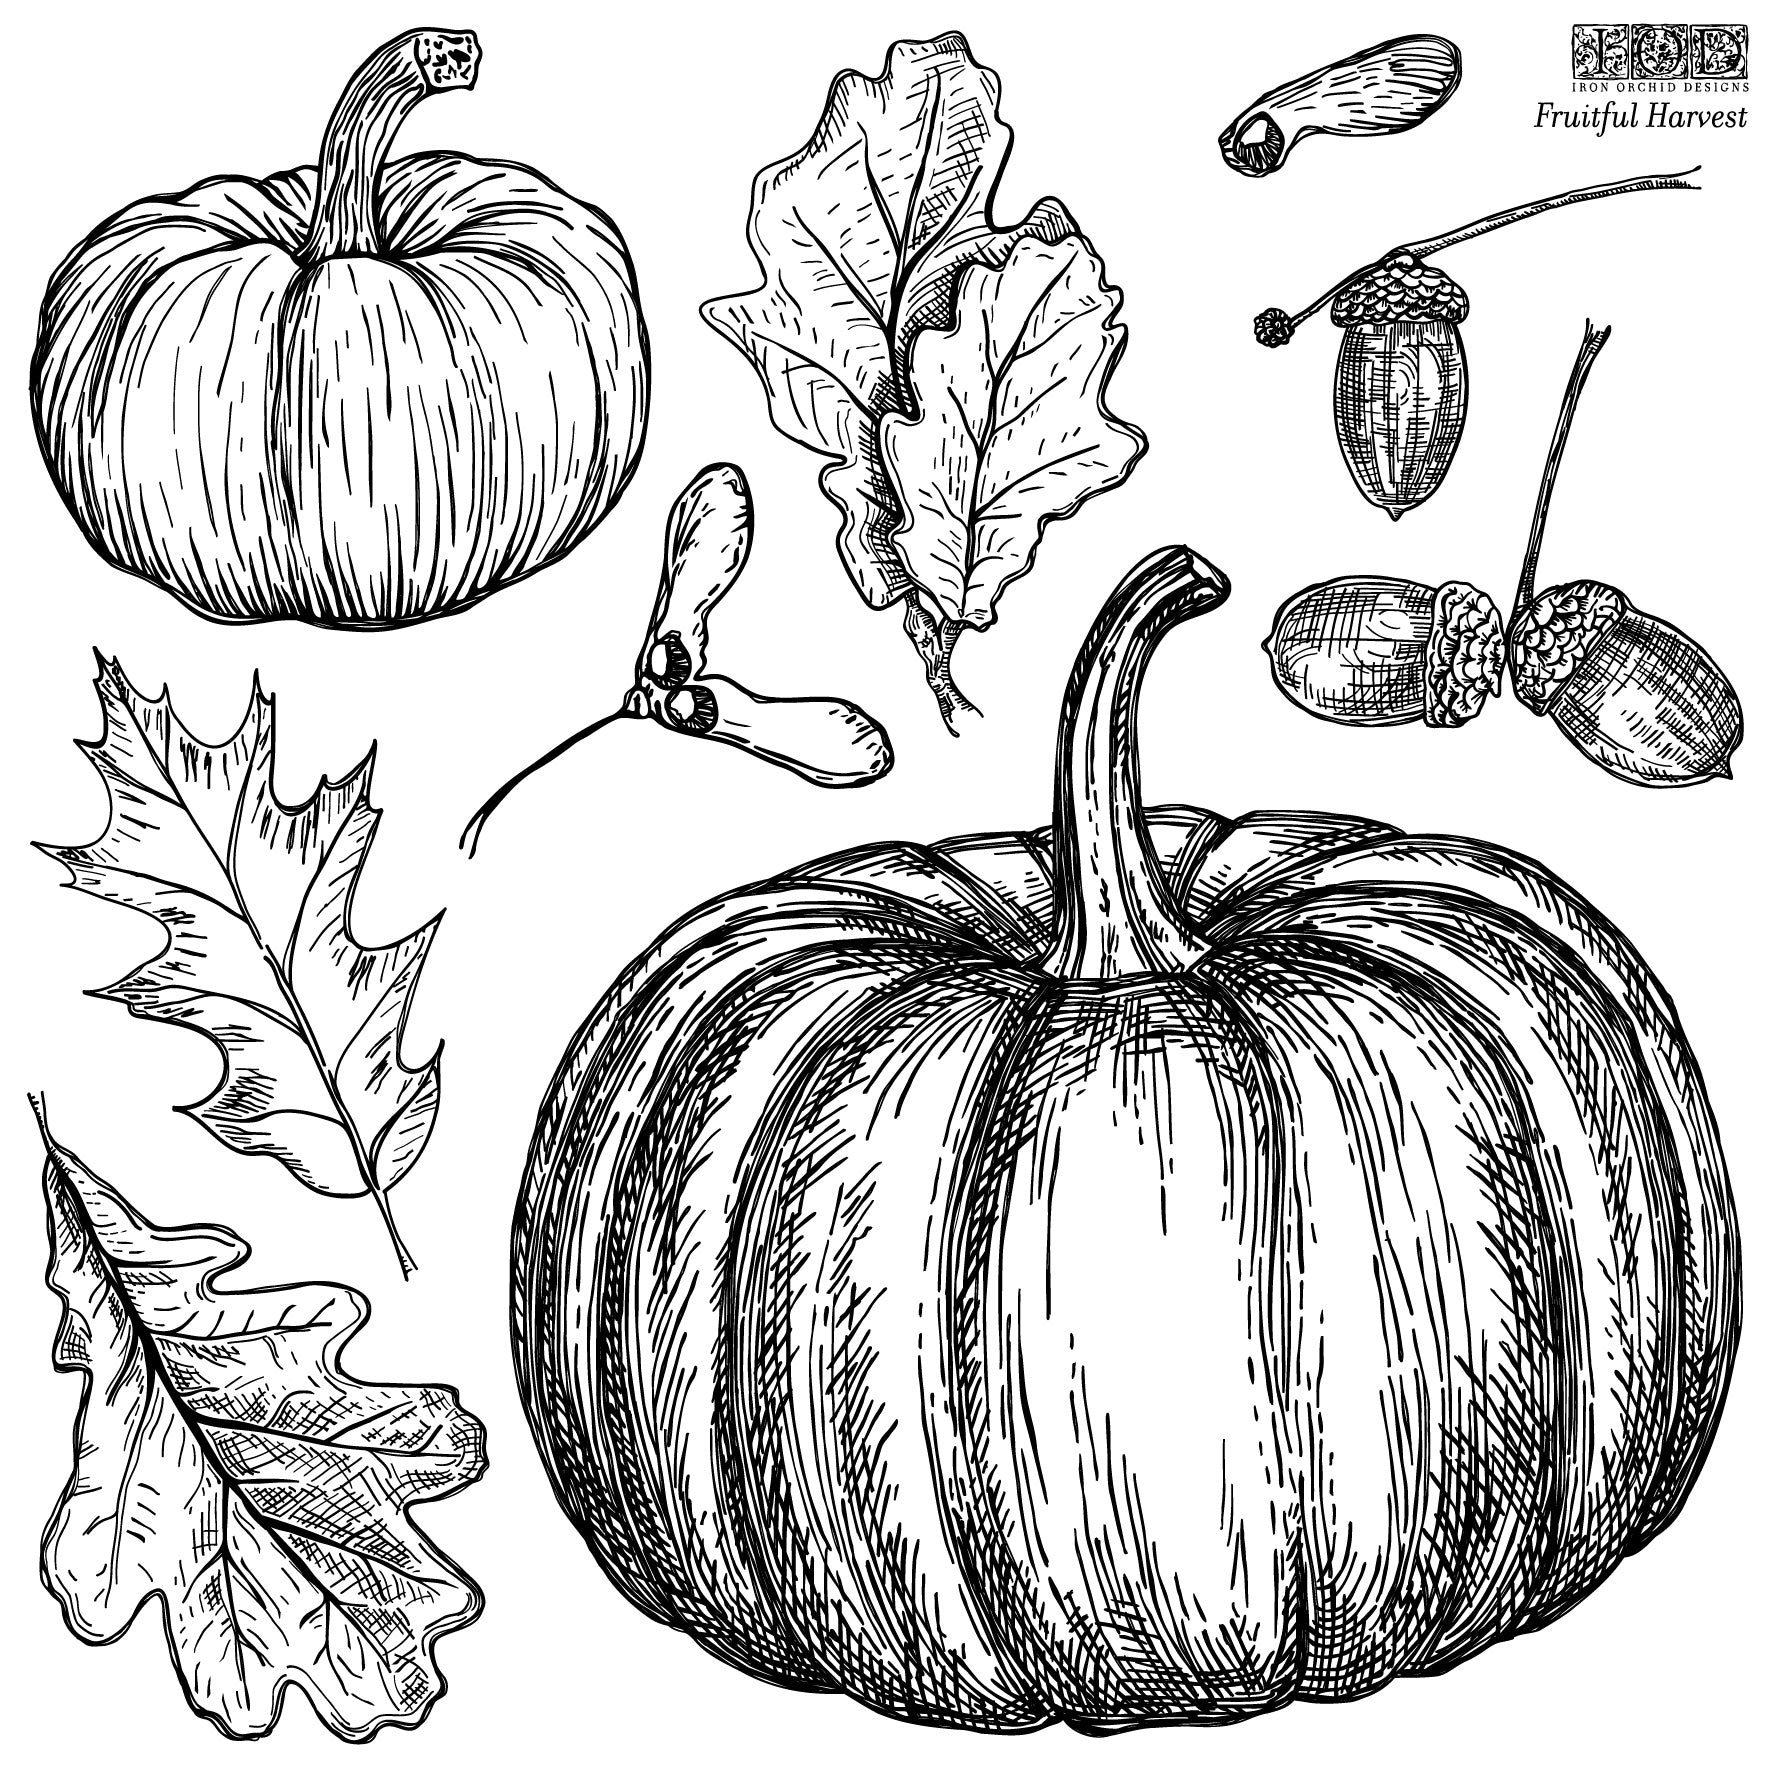
Fruitful Harvest Stamp Sheet 1 -

Fruitful Harvest Stamp Sheet 2
If you just got your first set of Iron Orchid Designs Stamp and aren’t sure where to start, check out this beginner tutorial. And if you just got the new Fruitful Harvest design from your local retailer, you won’t want to miss this FREE printable featuring “21+ Fall Signs & Sayings.” 🍁
Watch the video tutorial below to learn how to make DIY pumpkin boxes or keep scrolling for a supply list and step-by-step instructions.
Here’s what you need for this DIY pumpkin box craft
- IOD Fruitful Harvest Stamp – Find a retailer near you
- IOD Decor Ink in Black & a blank IOD ink pad
- Thick paper at least 12” x 12” (orange or you can paint it)
- Your favorite brand of paint in a pumpkin orange color (optional, if you need to paint the paper)
- A 4” x 4” square paper pattern
- A 1” x 1” square paper pattern
- A 4 ¼” Circle Pattern (Carmen used an empty planter)
- Scissors
- Pencil
- Glue or stapler
- Water-based sealer (optional)
- Permanant markers to color staples (if you don’t use glue)
How to Make a DIY Pumpkin Box
STEP 1: Prep your paper
The first thing you’re going to need is a sheet of heavy paper that is at least 12” x 12”. You can use brown Kraft paper, orange paper, or whatever color paper you have and use your favorite fall-colored paint and paint your piece of paper.

Tip: Paper grocery sacks are 12 inches wide so if you want to be eco-friendly, you can repurpose them into DIY pumpkin boxes.
STEP 2: Mark and stamp four pumpkins on your paper
Grab your 4” x 4” paper pattern and put it in the center of your orange paper. This will become the guide for your pumpkin stamps. Use the smaller of the two pumpkins in your Fruitful Harvest stamp and stamp around each side of the square.

Allow your stamped pumpkins to overlap the square just a tiny bit. Then they need to dry completely.
Although not necessary, Carmen sealed her stamped pumpkins with a water-based sealer and let them dry. This will protect the ink and also add a bit more stiffness and durability to your paper.
STEP 3: Draw the bottom of the box
Next, place your 4 ¼” circle pattern in the middle of the four pumpkins where your square pattern was and use a pencil to trace the space between the four pumpkins. This gives you a curved line instead of the points of the square pattern.

STEP 4: Draw tabs on the sides of the pumpkins
Use your 1” x 1” paper pattern and trace a tab touching one side of each pumpkin (the same side of each one.) The tab will need to be attached to the pumpkin so you really only need to trace three sides.
STEP 5: Cut along the outer perimeter of the pumpkins, tabs, and box bottom
Carmen cut her paper down to a more manageable size and then she got busy on the detail work cutting around the tabs, the pumpkins, and the circle.
Next, score (firmly crease) your paper with a straight edge on the line where your pumpkins meet the center square and then where each tab met the pumpkins on the sides.
STEP 6: Create the box framework
Put the stamped side of your paper face down and fold each pumpkin up and toward the center. Then you’ll fold each tab toward the center and back behind the pumpkin it’s attached to.

STEP 7: Secure the sides of your DIY pumpkin box
Attach each tab to the pumpkin next to it with glue or staples.

Carmen used a stapler. To hide the staples, she uses a marker and colors the back of the staples to match her project.
More DIY Fall Decor Ideas and Projects with Carmen…
We just love this DIY Fall sign she made with the Retro and Kindest Regards Stamps last year. You could easily use the large pumpkin from the Fruitful Harvest set to make this Farmhouse wall decor.
And these heat embossed dishes… (you can also see them on plates and mugs with butterflies here.)
What decor are you making this Fall? Let us know in the comments.
 ×
×
popular
- How to Apply IOD Athenaeum Gilded Transfer to Colored Glass Bottles
- From Ugly Duckling to Gorgeous | Black Dresser Makeover with IOD Marché des Fleurs
- 5 Creative Ways to Use One Decorative Stamp
- Turn Thrifted Finds into Charming Garden-Inspired Decor with a DIY Jadeite Finish
- Little Lark Paint Inlay Projects: Vintage Teapot & Canvas Wall Art with IOD