DIY Table Decor: The Perfect DIY Centerpiece for Summer & Fall
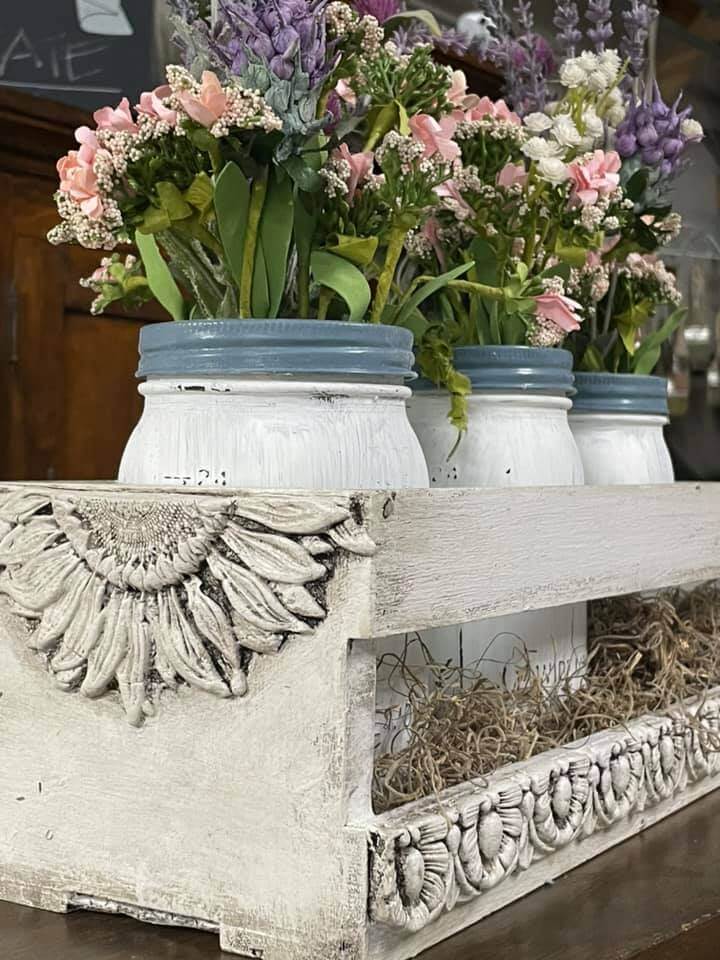
It doesn’t take much to make beautiful DIY table decor with IOD! This DIY farmhouse centerpiece kicks tablescapes up a notch for family gatherings, baby or bridal showers, DIY wedding table decor, or as an everyday accent that brightens your dining room table. Change this centerpiece from summer to fall table decor with just a change of greenery – easy to make to sell or keep for yourself!
No time now? Pin this post for later.
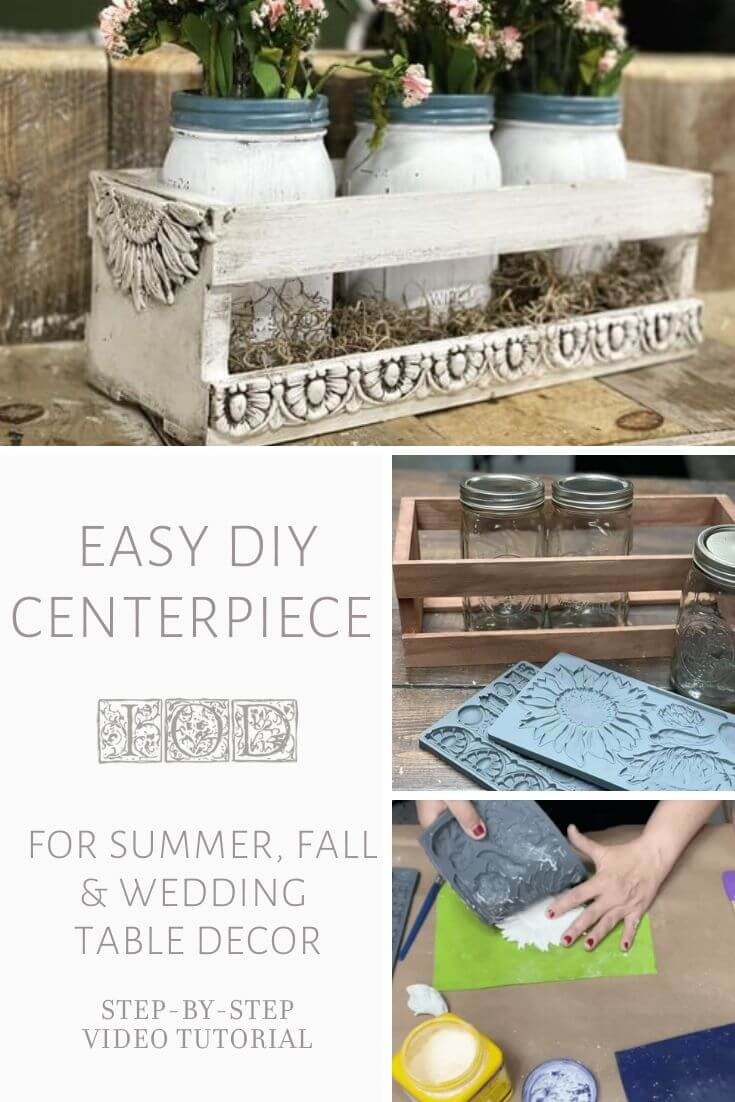
Watch the video tutorial with IOD stockist Charlotte of Creative Sol Makery below or keep scrolling for a supply list and step-by-step instructions.
If this is your first time using IOD moulds and Air Dry Clay, check out this post for all the basics as well as our best tips and tricks.
HERE’S EVERYTHING YOU NEED FOR YOUR DIY TABLE DECOR PROJECT
IOD products can be purchased from an approved stockist. Click here to find one near you.
(This post contains affiliate links.)
- Sunflowers Mould by IOD
- Trimmings 3 Mould by IOD
- Air Dry Clay by IOD
- Wooden crate (Charlotte got hers at Michaels)
- Three Mason or other glass canning jars with metal lid rings
- Cornstarch and brush for dusting the mould
- Titebond Quick & Thick glue
- Spatula (optional, for spreading the glue)
- Putty knife or silicone blade (to pull off extra clay and to cut the sunflower casting)
- Matte spray sealer as a base coat for the glass jars and to seal before antiquing
- Your favorite brand of white chalk style paint
- Your favorite brand of dark wax
- Two paintbrushes – one for the white paint and one stiff bristled brush for the dark wax
- Sanding block, 220-grit
- Lint-free shop cloth
- Baby or wet wipes
Step 1: Make all the air-dry clay appliques for your DIY Farmhouse centerpiece.
You’ll be using the same steps for both the sunflower and the trimmings pieces.
Start by lightly dusting the mold cavity with cornstarch. This will allow the clay to release easily without distorting the design. Then, warm the clay up by rolling it into a ball in your hands. Push the clay into the mould.
Use your thumbs or a putty knife to pull away the excess clay and flatten the back of the casting.


Flip over the mould and fold it back to release the applique without any pulling. Cut the sunflower applique cleanly in half with your putty knife.

For the trimmings designs, roll your clay into a ‘snake’ and then push it into the mould. Be sure to make enough lengths of trimmings to complete your centerpiece design.

Step 2: Glue on the sunflower and trimmings appliques.
Apply a generous amount of glue to the back of the clay appliques. Be sure to spread the glue all the way to the edges, paying special attention to the tips of the petals on the sunflower. Gently press the applique down onto the surface of your centerpiece. You want good contact between the applique and the wood, especially along the edges.
Wipe away any excess glue that squeezes out the sides. Set aside to allow the glue and clay time to start curing.


Step 3: Paint the Mason jars.
If you’ve ever tried painting glass, you know how tricky it can be! A hack that makes it SO. MUCH. EASIER. is to spray the glass with a matte sealer first. Let the sealer completely dry and then you’ll be able to paint the glass with just one coat of your favorite white chalk-type paint.

Let the painted Mason jars dry completely.
And if you’re painting the metal jar rings, follow the same steps as above.
Step 4: Paint and seal the wood crate.
Brush on an even coat of white paint, making sure to get into all the nooks and crannies of your appliques. Let the paint dry completely. Then seal it with a matte spray sealer or with a water-based topcoat. It’s important not to skip this step as it creates a barrier layer for the paint when applying the dark wax.
You can also cut and glue a strip of cardboard to fill in between the slats on the bottom of your crate (if needed). This will create an even surface for the jars to sit on.

Step 5: Distress the Mason jars.
Using a 220-grit sanding block, scuff the surface of the painted glass jar to pull off some of the paint. Pay special attention to where there are raised designs on the glass, as this is where natural distressing would occur.
After you’re done distressing, use a wet wipe to clean off any dust and screw on the metal ring.


Step 6: Antique your DIY centerpiece.
Using a stiff-bristled paintbrush, apply dark wax to the appliques. With a pouncing motion, push the wax in the valleys, or low points, of the appliques. It will look very dark, but don’t worry because you sealed over the white paint as a barrier layer.
With a lint-free shop cloth, wipe the wax away from the high points. Depending on how light you want to go, you can also use a wet wipe.

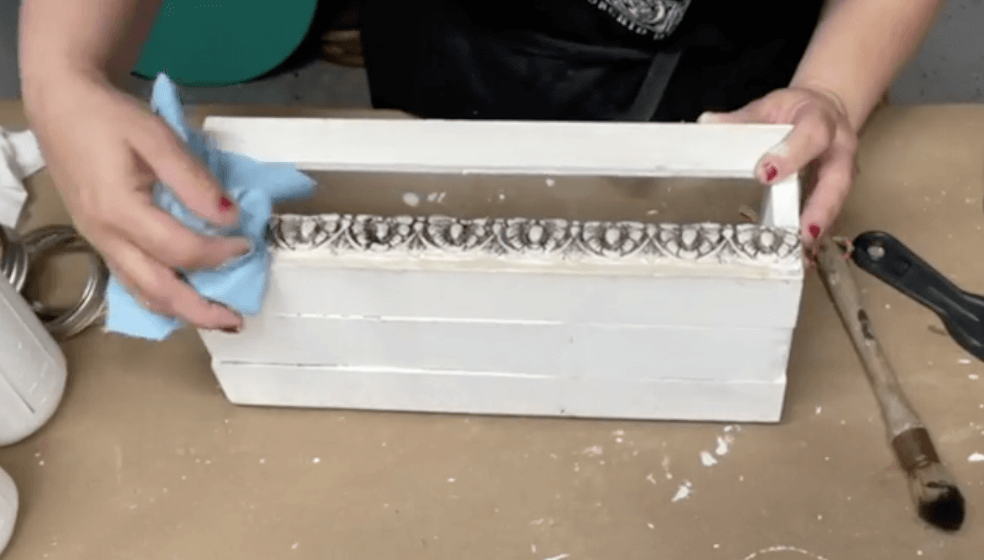
To antique the rest of the box, lightly brush and pounce the wax along the edges of the slates of the crate. Leave the center bright to create a vignette effect. Use another clean shop cloth to wipe back the wax to your desired color.


Step 7: Add greenery to your DIY table decor to complement the season.
Start by layering some dried moss around the base of the jars to hold them in place. Then choose florals to go with the season – bright summer wildflowers for summer or sunflowers and pussy willows for fall. You could even use your centerpiece to hold utensils and napkins!
For more DIY table decor inspiration, check out these posts.
 ×
×
popular
- How to Apply IOD Athenaeum Gilded Transfer to Colored Glass Bottles
- From Ugly Duckling to Gorgeous | Black Dresser Makeover with IOD Marché des Fleurs
- 5 Creative Ways to Use One Decorative Stamp
- Turn Thrifted Finds into Charming Garden-Inspired Decor with a DIY Jadeite Finish
- Little Lark Paint Inlay Projects: Vintage Teapot & Canvas Wall Art with IOD