DIY Vintage Fall Sign

Fall is HERE and we are so excited to share a fabulous vintage fall project that you can make with some well-loved IOD products!! Fall is one of our favorite times of the year. It’s a season that the whole family enjoys and it’s so much fun sprucing up the home with darling fall decor to make it feel warm and welcoming!
In this tutorial, we will be making a vintage fall orchard sign (so go grab your coffee or snack and enjoy learning how we made this wonderful sign)!

HERE’S WHAT YOU NEED FOR THIS TUTORIAL:
- Barnwood Plank IOD Decor Stamp
- Retro IOD Stamp
- Distressed IOD Decor Stamp
- Wooden Board/Plywood
- White Chalk Paint
- Black Chalk Paint
- Small Paint Brush (around one inch or smaller)
- Brayer
- IOD Thin Mounts
- Clear Wax
- Dark Wax
- Wax Brush
Don’t have one of these IOD products? Find a stockist near you to make this lovely fall sign and other fall decor!
STEP-BY-STEP INSTRUCTIONS FOR OUR PLYWOOD VINTAGE FALL SIGN:
If you’d like to use some diluted paint to “stain” your wooden board/plywood before stamping, feel free to do that now! Prior to this, we painted and distressed the board to give it a more rustic feel. 😉
STEP 1: Apply white paint to your Distressed Decor Stamp.
Squeeze some white chalk paint onto an extra thin mount, load up your brayer with the paint and apply it to your Distressed Decor Stamp.

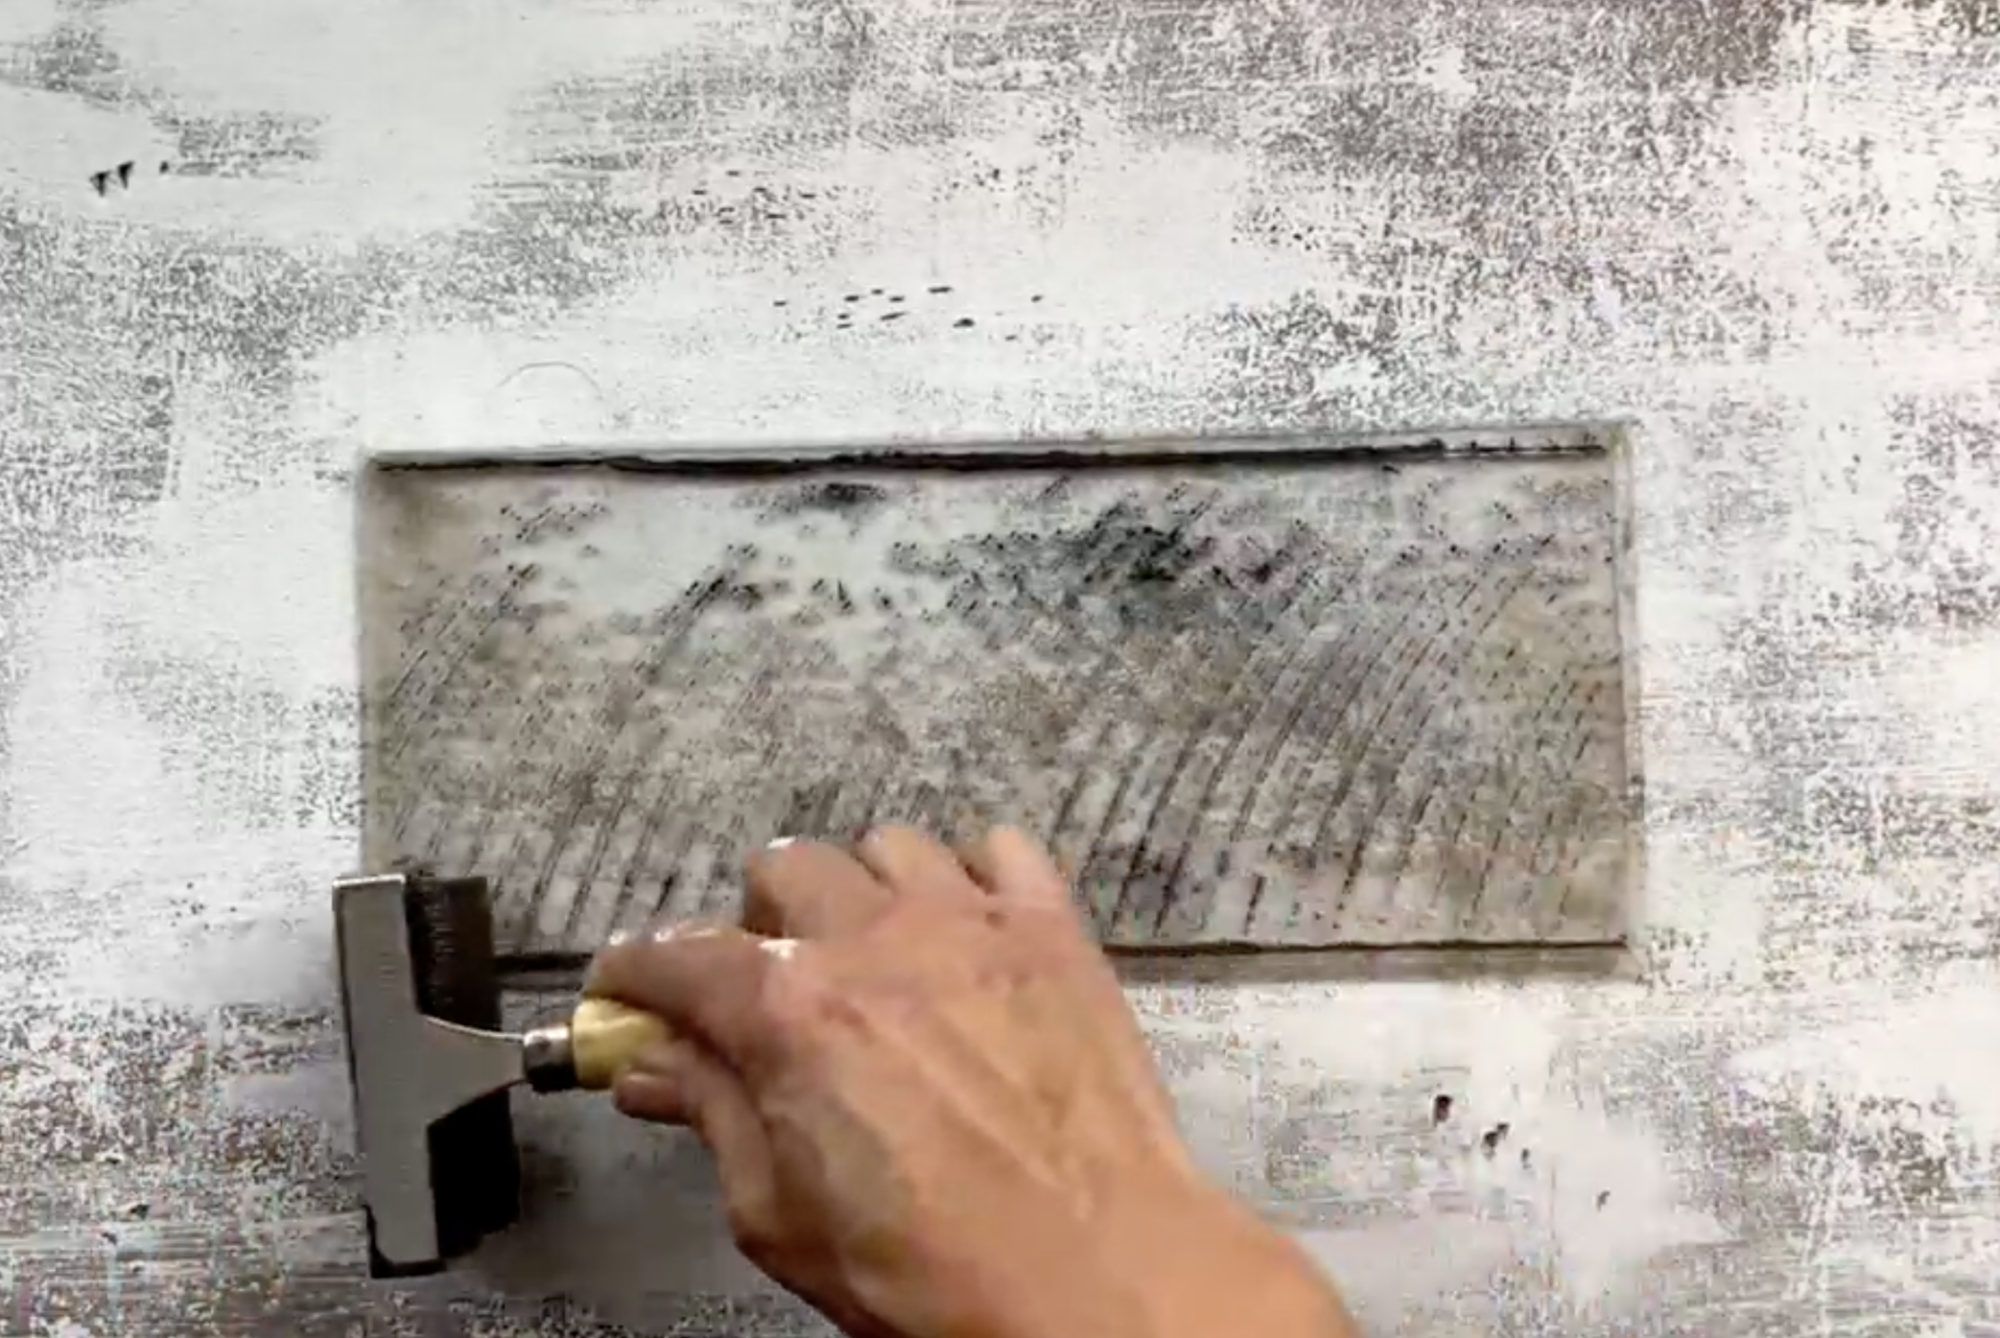
STEP 2: Apply the Distressed Decor Stamp to your board.
Firmly apply your stamp on the board to get that nice distressed look. Repeat and rotate your stamp in different directions each time you stamp to add depth to your project, the more times you layer the stamp on your board the better!


OPTIONAL: With your paintbrush, dab paint on sparse areas on your board to get a whitewashed, chip look, loading up your brush with a dry brush to regular load.
STEP 3: Apply black paint to your Barnwood Plank Stamp.
Squeeze some black chalk paint onto another thin mount, load up your brayer with the paint and apply it to your Barnwood Plank Decor Stamp (you know the drill)!
Only apply paint to the edges and a little bit of the curve, not the entire stamp (we need to leave room for our Retro stamp in the middle).

STEP 4: Apply your Barnwood Plank Stamp and continue applying until your board has your desired amount of planked rows.
Note which direction your curves are going and stay stamping in that direction (a single planks curve goes in the same direction).
TIP: After you stamp your first row, use the bottom line as a guide to keep the rest of your planks straight and even.


STEP 5: Lay out your Retro Stamps.
Place your Retro Stamp letters in the middle of each plank. Make sure to leave space on either side for the arrows!! In this case, we are moving “Pumpkin Patch” to the right side so our arrow is on the left.
If you have any letters that repeat, leave an empty space to stamp it after (we left space for the second P in Pumpkin).

STEP 6: Mount your letters onto your thin mount and apply your black paint.


STEP 7: Stamp those letters down!
Are you picking up what we’re putting down? 😄Once your stamps are loaded with paint, flip them over and press them down onto your board using the plank lines as a guide.
Once you’ve made contact with the board, commit and don’t shift. Trust us, we don’t want you to have any smudges!
Now it’s time to go back and stamp your repeating letters.

STEP 8: Fill in your letters with diluted black paint and hand paint your arrow.
Use a small paint brush that’s thinner than the width of your letter to make it easier to fill in.


STEP 9: Repeat steps 5-8 for “Apple Orchard” and “Hay Rides.”

STEP 10: Sand down your sign and apply clear and dark wax.
When you knock down your sign, the texture from the distress stamp will begin to peak through the black letters creating a more worn look, which we absolutely love!
After applying your wax, buff out the surface with a microcloth to eliminate any excess. The wax creates the most delicious, aged look.
OPTIONAL: Add some vignetting by brushing clear wax along the lines of your planks to add another layer of dimension.

Just look at this texture! 😍

You have to try this project out! If you’ve ever felt intimidated by using our stamps, this is a great project to dive into and get handy with them!
And we’ve gotta know, where are we most likely to find you out on the farm? In the apple orchard, the pumpkin patch or on a hayride? Let us know in the comments below!


