Fall Pumpkin Decor 3 Ways: With the IOD Hello Pumpkin Mould

Pin this article to save for later

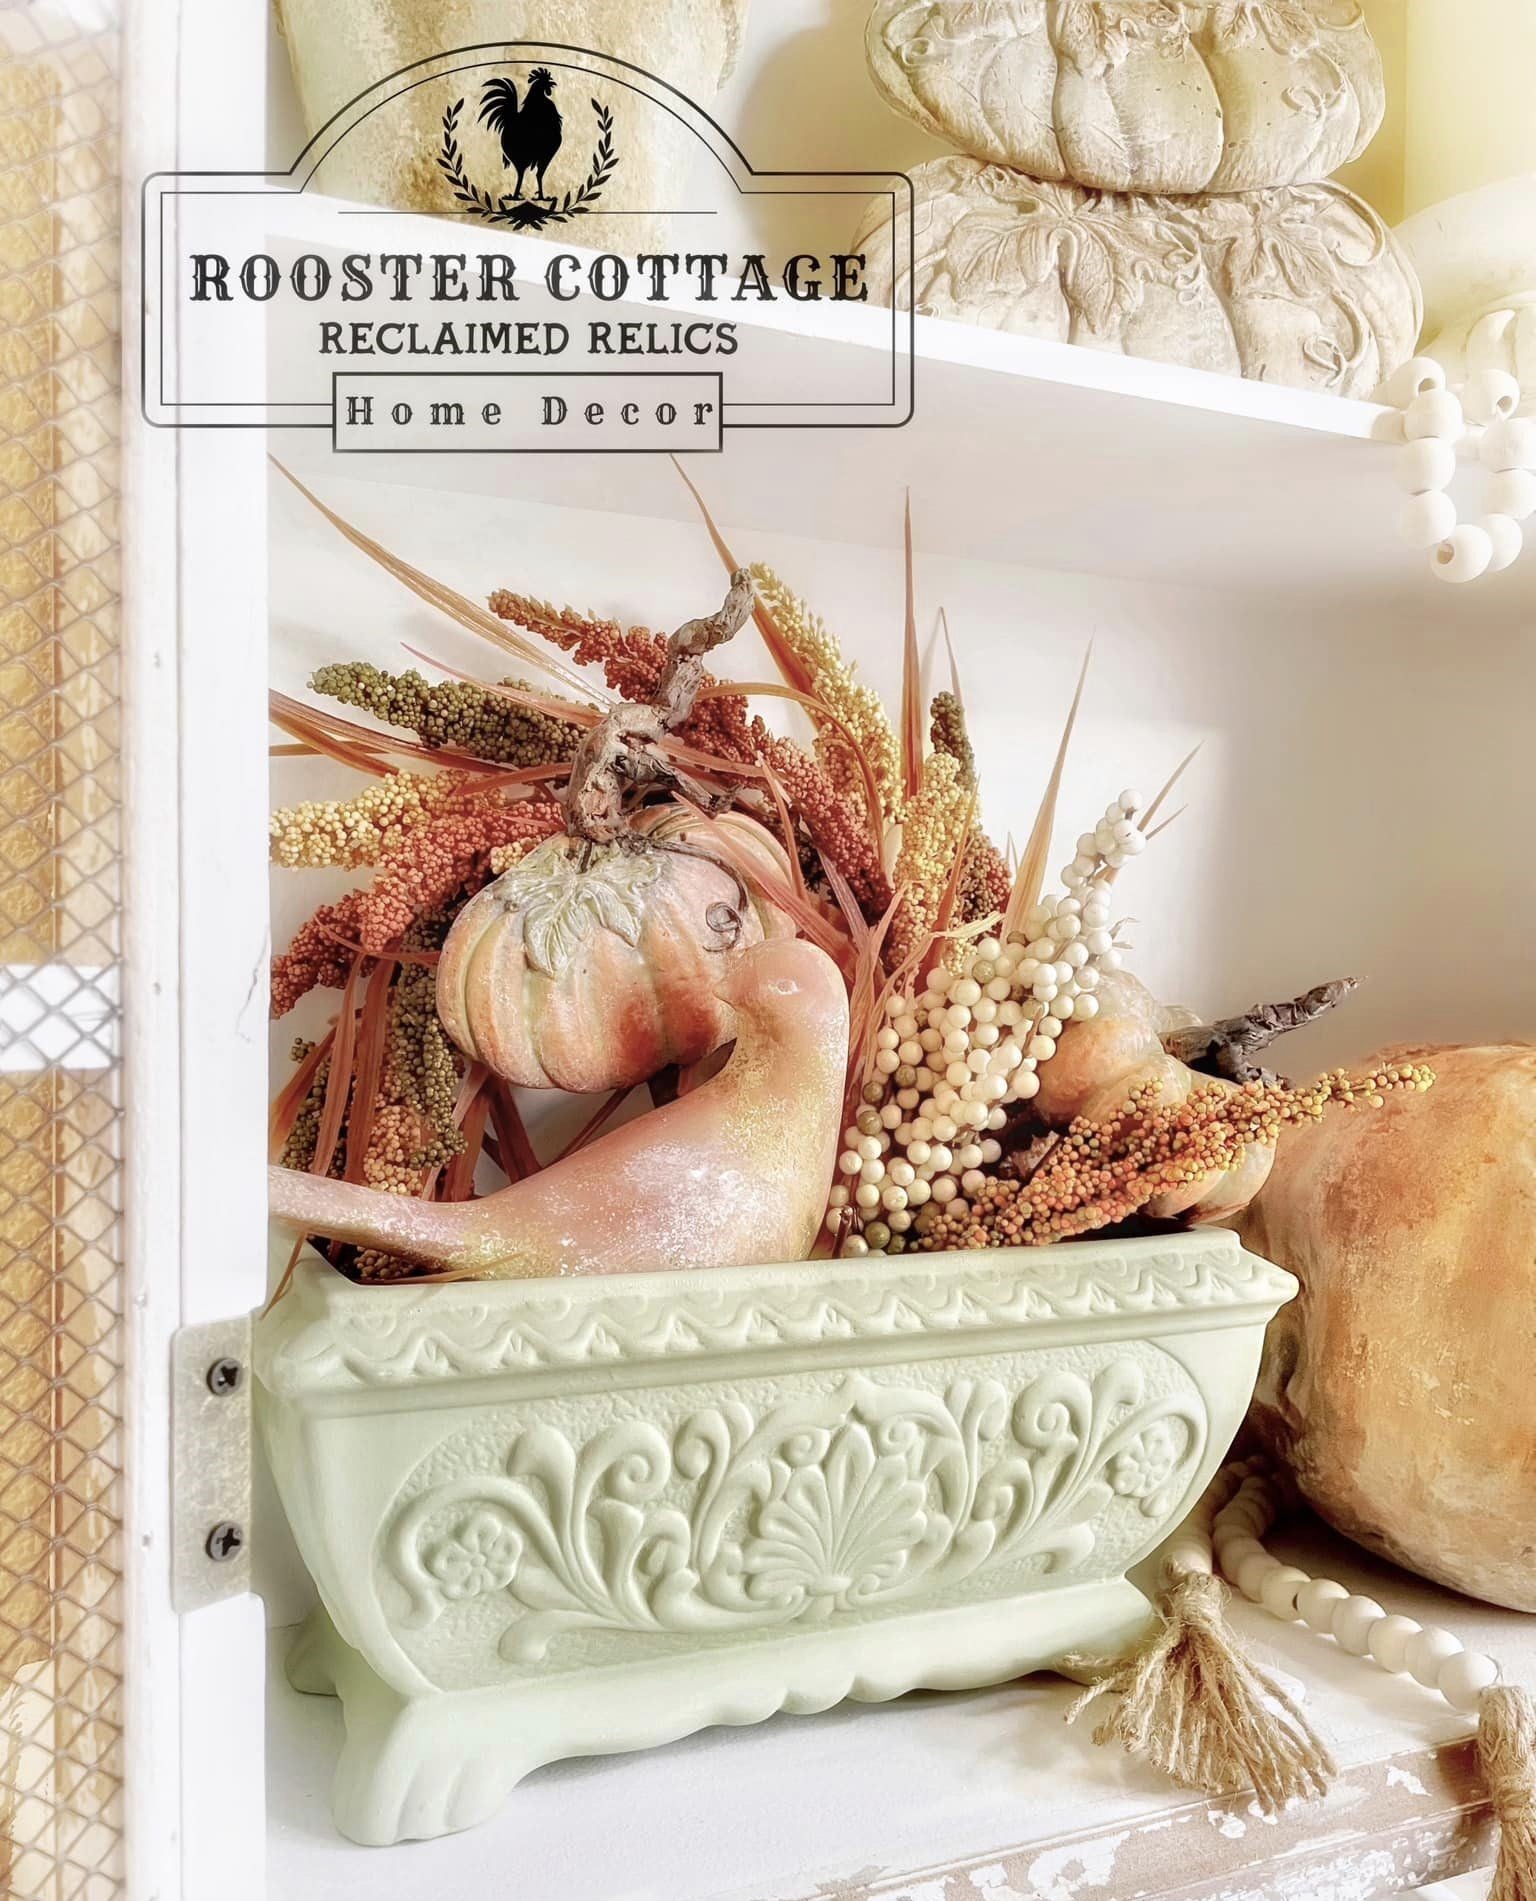
We always enjoy engaging and seeing what you create in the Facebook Creative Tribe, and recently, a few projects using the Hello Pumpkin Mould by Rooster Cottage: Reclaimed Relics caught our eye! Of course, we couldn’t wait to share them with you!

(P.S. If you love these projects, then be sure to give Rooster Cottage a follow; they make lots of darling decor with IOD!)

Three-Tier Fall Pumpkin Stack

The first, a charming neutral three-tier pumpkin stack, is simply delightful and makes our hearts go pitter-patter. Rooster Cottage skillfully filled the pumpkin mould with hot glue and then adhered them together, achieving the attractive stacked appearance. They began with a base coat of truffle brown, layering it with a series of water-diluted colors (Moss, Burnt Sienna, & Lichen). The colors were then gently wiped back using a wet wipe, resulting in the stunning, subtle neutrals that define this piece. You can bet we’ll be using this technique soon!

(Colors Used On This Project: Base coat – Waverly Chalk Paint – TruffleWaverly Chalk Paint – Mineral (wiped back)Fusion Mineral Paint – Lichen (wiped back)Waverly Chalk Paint – MossDecoArt Acrylic Paint – Burnt Sienna (wiped back)Final coat – Dixie Belle Mineral Paint – Drop Cloth – dry brushed lightly over the top**)
Pumpkin Planter Picks

Next, Rooster Cottage crafted some adorable pumpkin planter picks, ideal for nestling into your potted plants or autumn centerpieces. Employing the same technique used for the three-tier pumpkin stack, the moulds were filled and bonded using hot glue. Recognizing that the stems needed a bit more prominence for this project, Rooster Cottage thought outside the box and incorporated foil to mimic the twisted, gnarled appearance of wood. This creative touch significantly elevates the design, infusing it with a unique, personal flair. Once again, Rooster Cottage skillfully applied diluted paint to these creations and gently wiped it back with wet wipes, ensuring a beautifully subtle finish.

Aged Terracotta Pumpkin Pot

If you’ve been looking for the perfect technique to create weathered terracotta, Rooster Cottage has figured it out! The secret ingredient for this look? Baking Soda and a heat gun. First, apply your Hello Pumpkin and Trimmings Mould.

After applying the moulds to the pot, “Instant Patching Cement” is dabbed on to add texture in specific areas, followed by a quick drying with a heat gun. The first coat of DB Patina Paint (Iron) is then applied. According to the instructions, this coat is allowed to dry before a second one is added. While the second coat is still wet, DB Patina Spray (Green) is immediately sprayed on. It’s important to apply the spray while the iron paint is wet. The piece is left to dry for about six hours, allowing the materials to work their transformative magic.

Next, baking soda is mixed into Terra Cotta paint in a 1:1 ratio, with a bit of water added to achieve a paint-like consistency. A sea sponge is used in a dabbing motion to apply this Paint/Baking Soda mixture, allowing some of the underlying rust to show through. The wet paint is then subjected to a heat gun at its highest setting, though caution is taken during this process. The heat reacts with the baking soda, creating a natural, white, weathered look. If the paint dries too quickly in certain areas, it is sprayed with water and heated again.

Additionally, baking soda is mixed with water in a bowl and sponged onto various areas while applying heat.

Finally, watered-down aging glaze is sponged onto areas that would naturally appear darker.

(Materials Used: Terra Cotta Pot from Hobby Lobby, IOD Hello Pumpkin mould, IOD Trimmings III mould, Dixie Belle Rust Patina kit, FolkArt Acrylic Paint in Terra Cotta, Rust-Oleum Chalked Aged Glaze, Baking Soda, Instant Patching Cement (mixed with water), and potential alternatives like salt wash, Fusion Fresco, or other texture mediums. Other tools used are IOD Clay, a spray bottle with water, and a heat gun.)

If you’re feeling inspired after this post, then it’s time to get making! Get with your local IOD stockist for your IOD and craft supplies. We mentioned the products Rooster Cottage used, but there are often many brands that will work – your stockist can recommend what is best for your project and needs!

If you’re just kicking off your creative journey, have no fear — our Product 101 pages are packed with straightforward techniques to set you up for success. We’re thrilled to accompany you as you explore and create. For more how-tos and creative inspo, make sure to browse through the rest of our blog.

Once you’ve crafted your final piece, share it with our Facebook Creative Tribe! This community is not just a showcase but also a supportive hub for when you hit those creative roadblocks. And remember, your local stockist is always ready to assist with IOD supplies and expert advice. We’re excited to see what you’ll bring to life!

Three tier pumpkin stack

Fall Pumpkin Decor 3 Ways: With the IOD Hello Pumpkin Mould

Pin this article to save for later

We always enjoy engaging and seeing what you create in the Facebook Creative Tribe, and recently, a few projects using the Hello Pumpkin Mould by Rooster Cottage: Reclaimed Relics caught our eye! Of course, we couldn’t wait to share them with you!

(P.S. If you love these projects, then be sure to give Rooster Cottage a follow; they make lots of darling decor with IOD!)

Three-Tier Fall Pumpkin Stack

The first, a charming neutral three-tier pumpkin stack, is simply delightful and makes our hearts go pitter-patter. Rooster Cottage skillfully filled the pumpkin mould with hot glue and then adhered them together, achieving the attractive stacked appearance. They began with a base coat of truffle brown, layering it with a series of water-diluted colors (Moss, Burnt Sienna, & Lichen). The colors were then gently wiped back using a wet wipe, resulting in the stunning, subtle neutrals that define this piece. You can bet we’ll be using this technique soon!

(Colors Used On This Project: Base coat – Waverly Chalk Paint – TruffleWaverly Chalk Paint – Mineral (wiped back)Fusion Mineral Paint – Lichen (wiped back)Waverly Chalk Paint – MossDecoArt Acrylic Paint – Burnt Sienna (wiped back)Final coat – Dixie Belle Mineral Paint – Drop Cloth – dry brushed lightly over the top**)

Pumpkin Planter Picks

Next, Rooster Cottage crafted some adorable pumpkin planter picks, ideal for nestling into your potted plants or autumn centerpieces. Employing the same technique used for the three-tier pumpkin stack, the moulds were filled and bonded using hot glue. Recognizing that the stems needed a bit more prominence for this project, Rooster Cottage thought outside the box and incorporated foil to mimic the twisted, gnarled appearance of wood. This creative touch significantly elevates the design, infusing it with a unique, personal flair. Once again, Rooster Cottage skillfully applied diluted paint to these creations and gently wiped it back with wet wipes, ensuring a beautifully subtle finish.

Aged Terracotta Pumpkin Pot

If you’ve been looking for the perfect technique to create weathered terracotta, Rooster Cottage has figured it out! The secret ingredient for this look? Baking Soda and a heat gun. First, apply your Hello Pumpkin and Trimmings Mould.

After applying the moulds to the pot, “Instant Patching Cement” is dabbed on to add texture in specific areas, followed by a quick drying with a heat gun. The first coat of DB Patina Paint (Iron) is then applied. According to the instructions, this coat is allowed to dry before a second one is added. While the second coat is still wet, DB Patina Spray (Green) is immediately sprayed on. It’s important to apply the spray while the iron paint is wet. The piece is left to dry for about six hours, allowing the materials to work their transformative magic.

Next, baking soda is mixed into Terra Cotta paint in a 1:1 ratio, with a bit of water added to achieve a paint-like consistency. A sea sponge is used in a dabbing motion to apply this Paint/Baking Soda mixture, allowing some of the underlying rust to show through. The wet paint is then subjected to a heat gun at its highest setting, though caution is taken during this process. The heat reacts with the baking soda, creating a natural, white, weathered look. If the paint dries too quickly in certain areas, it is sprayed with water and heated again.

Additionally, baking soda is mixed with water in a bowl and sponged onto various areas while applying heat.

Finally, watered-down aging glaze is sponged onto areas that would naturally appear darker.

(Materials Used: Terra Cotta Pot from Hobby Lobby, IOD Hello Pumpkin mould, IOD Trimmings III mould, Dixie Belle Rust Patina kit, FolkArt Acrylic Paint in Terra Cotta, Rust-Oleum Chalked Aged Glaze, Baking Soda, Instant Patching Cement (mixed with water), and potential alternatives like salt wash, Fusion Fresco, or other texture mediums. Other tools used are IOD Clay, a spray bottle with water, and a heat gun.)

If you’re feeling inspired after this post, then it’s time to get making! Get with your local IOD stockist for your IOD and craft supplies. We mentioned the products Rooster Cottage used, but there are often many brands that will work – your stockist can recommend what is best for your project and needs!

If you’re just kicking off your creative journey, have no fear — our Product 101 pages are packed with straightforward techniques to set you up for success. We’re thrilled to accompany you as you explore and create. For more how-tos and creative inspo, make sure to browse through the rest of our blog.

Once you’ve crafted your final piece, share it with our Facebook Creative Tribe! This community is not just a showcase but also a supportive hub for when you hit those creative roadblocks. And remember, your local stockist is always ready to assist with IOD supplies and expert advice. We’re excited to see what you’ll bring to life!

Back to blog