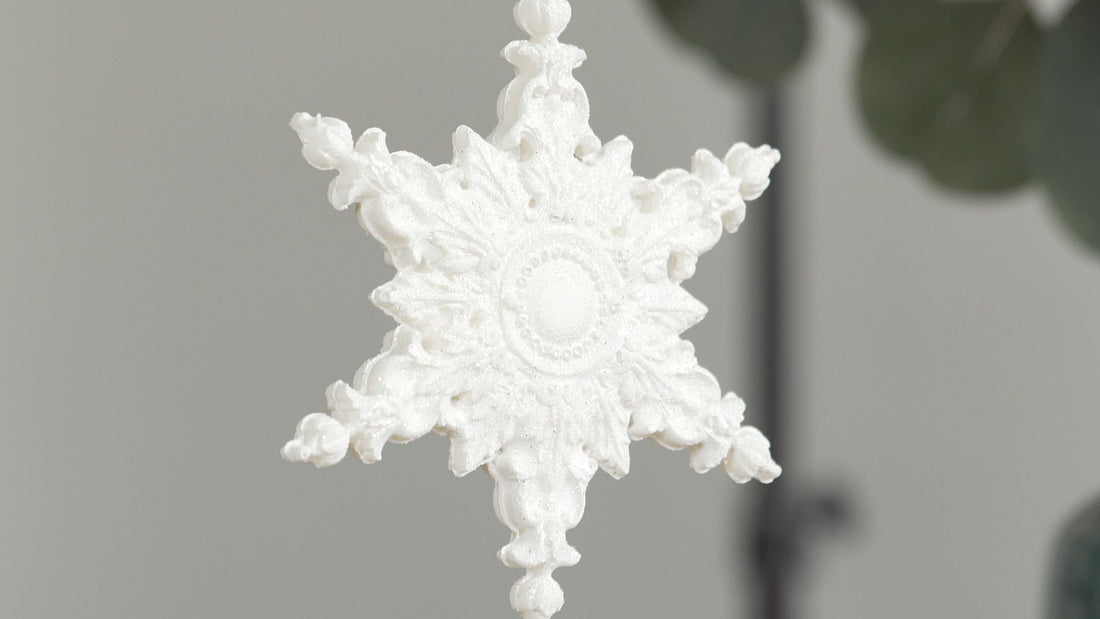
Snowflake Decorations with IOD Christmas Moulds
No Christmas tree is complete without a few DIY snowflake decorations!
In this tutorial, we’re going to show you a super easy way to make gorgeous double sided ornaments with resin and one of our newest Christmas moulds… the IOD Snowflakes mould.
No time now? Pin this project for later.

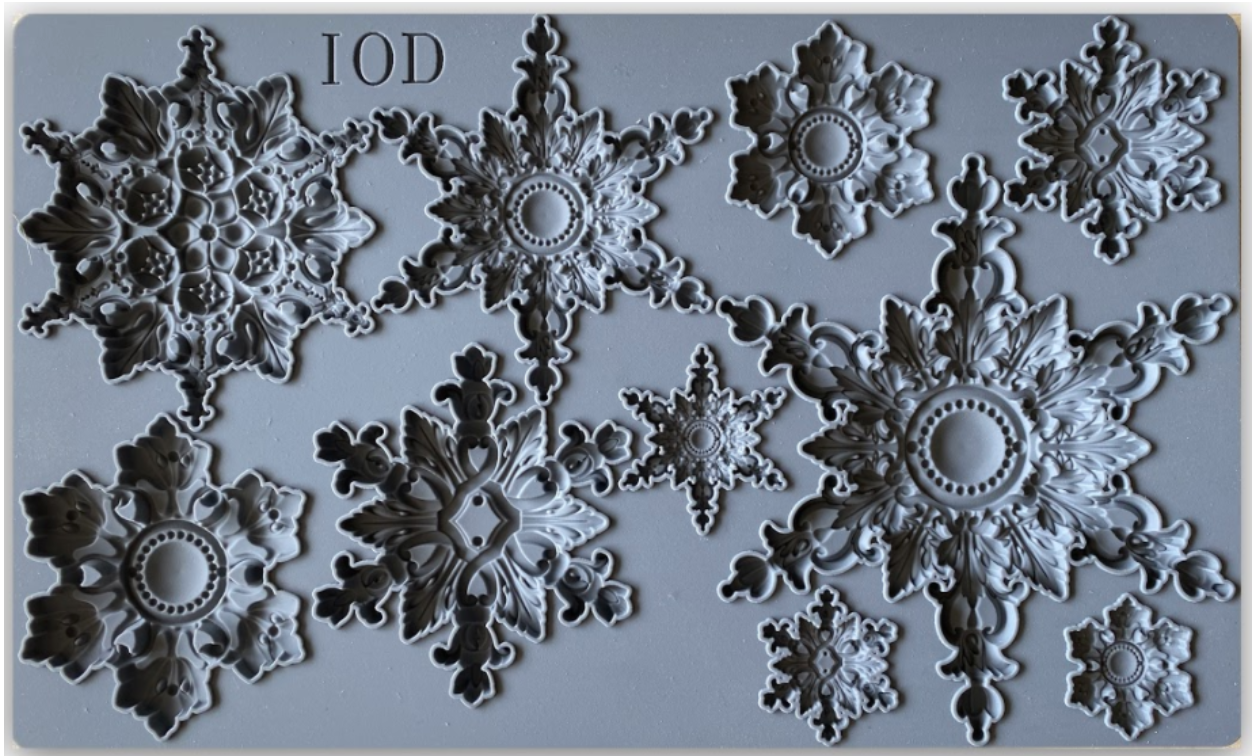
In case you haven’t seen the Snowflakes mould yet, here it is… (We couldn’t resist showing it so you can see all the different snowflakes you can make and their delicious details!)
DIY Christmas Ornaments with Snowflakes
Check out our step-by-step video below or keep scrolling for a supply list and instructions.
Here’s everything you’ll need for your snowflake decorations.
(This post contains affiliate links.)
- IOD Snowflakes Mould – Click here to find your local IOD stockist
- Two-part quick curing resin
- Craft stick
- Clay pick tool (you can use a toothpick too)
- String or twine cut approximately 6 inches
- Your favorite chalk or mineral paint in creamy white
- Glitter in your favorite color – silver, iridescent, gold
- General Finishes Flat 450 Topcoat or other flat water-based polyurethane topcoat
Step-by-Step Instructions: DIY Snowflake Ornament
Please note that Steps 1 and 2 you will do twice to create both sides of the snowflake shape. If you’d like to make a bunch of ornaments at one time, fill up all the snowflake cavities with resin at the same time.
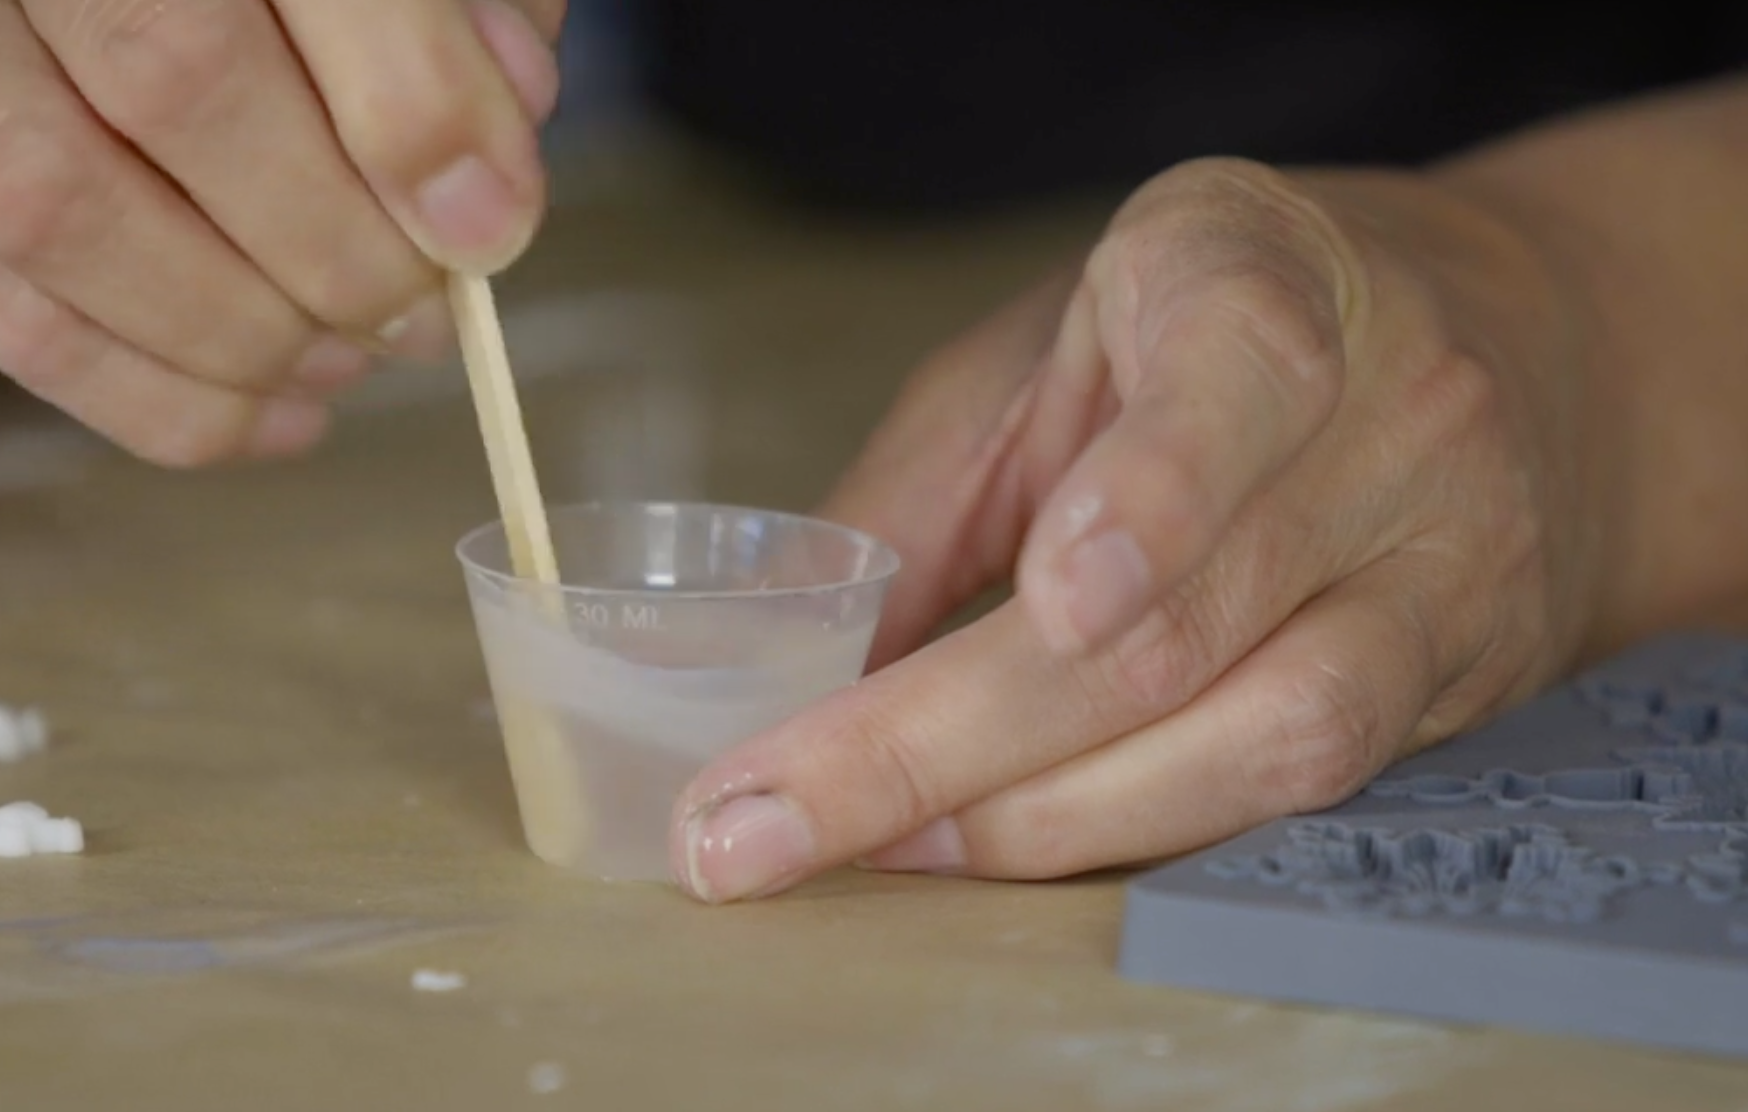
Step 1: Make the resin.
Follow the instructions on the package precisely to make the resin. Take extra care to measure out equal amounts of the two liquids to ensure it sets up properly.
While mixing the resin with a craft stick, you’ll notice it turns cloudy and then clear. The resin is ready to use once it turns clear again.
Step 2: Pour the resin into the mould cavity
Try to avoid overfilling the cavity but don’t stress if you do. You can easily trim off any excess bits of overflow after it cures.

Using a metal pick tool or toothpick, pull the resin out into the points of the snowflake so that all the nooks and crannies of the cavity are completely filled. You do this by putting the tip of the pick into the liquid resin and dragging out to each tip of the snowflake cavity.

Note: No need to put cornstarch or releasing powder in the mould cavity before using the resin.
Repeat Steps 1 and 2 to make the second side of the DIY snowflake ornament.
Step 3: Place the string.
Create a loop with the string by folding it in half. Using the pick tool (or a toothpick), gently tuck the ends of string in the resin. You want to make sure the string has good contact with the resin but you don’t want to push it all the way in.

Step 4: Assemble the ornament (the BEST part!)
Before the resin in the mould begins to cure, line up its twin snowflake casting over the cavity. Press the casting down to seat it on the resin in the cavity. Careful not to press too hard though, because you don’t want to squish the uncured resin out of the cavity.
Do a final check to make sure you have good contact between the snowflakes – you don’t want to end up with a gap between the two castings.

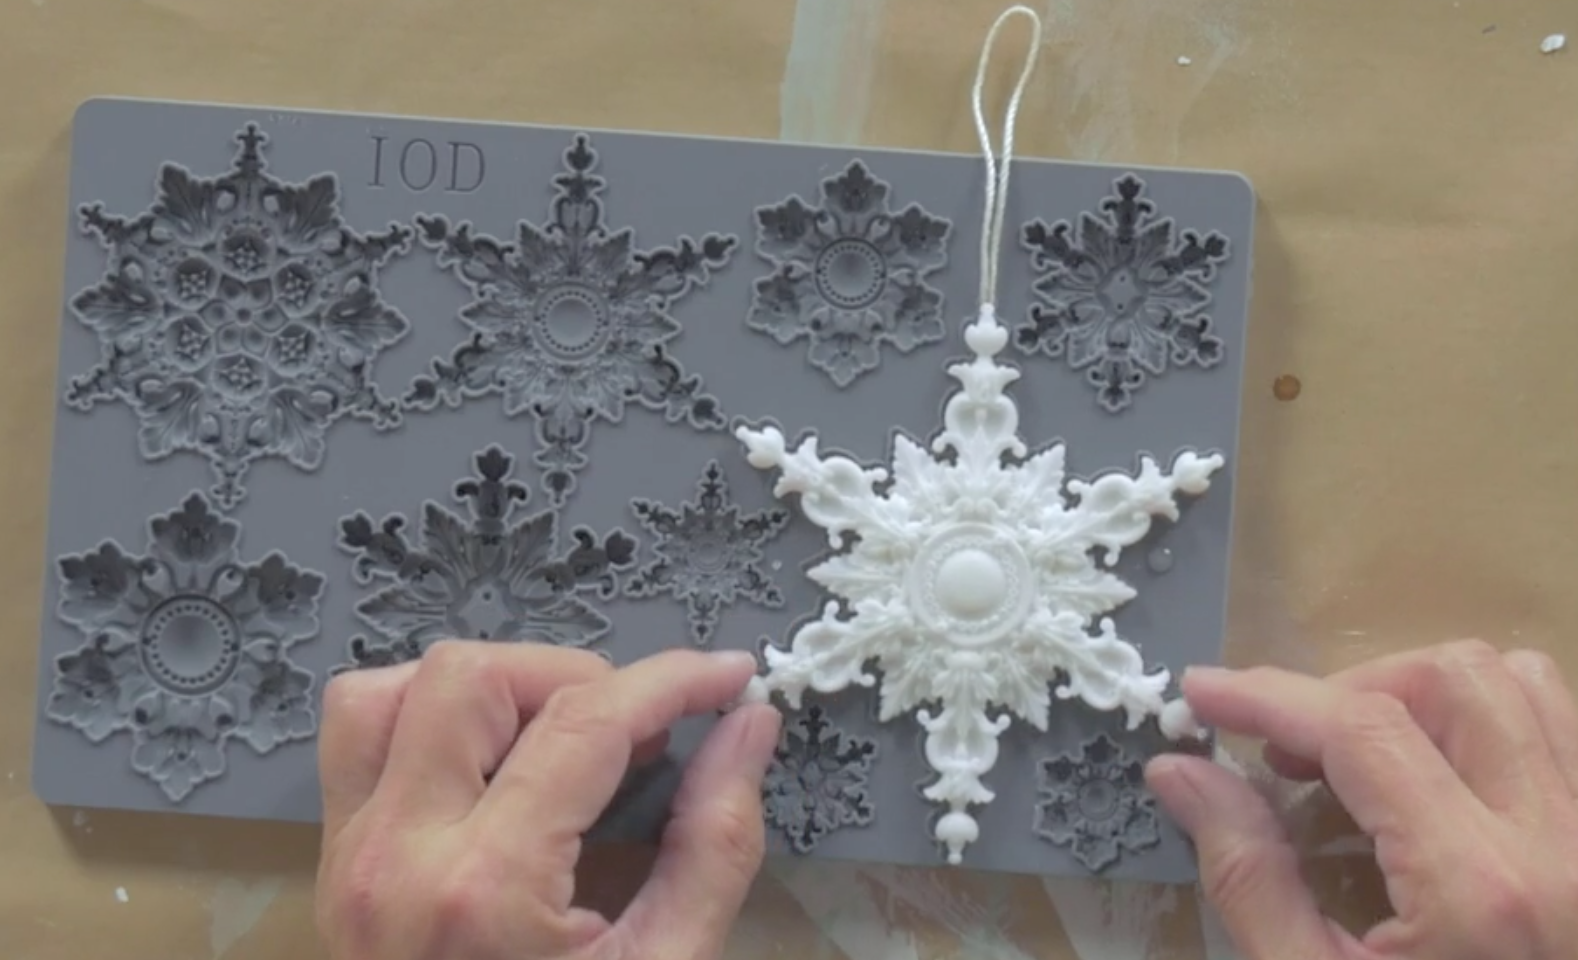
Once the resin is completely white, you know it’s fully cured. Then you can peel the snowflake ornament out of the mould. BEHOLD THE BEAUTY!
But wait… before you get distracted by all the snowflake details, there’s more.
Step 5: Paint the ornament.
While you could leave the ornament as it is because the resin cures white, we recommend that you take the time to paint it. This gives the snowflake a more textural, handmade look.

Step 6: Make it SPARKLE!!!
(OK, so this is also the BEST part – can we have two BEST parts for this Christmas project?)
Sprinkle a little bit of your favorite color glitter on the snowflake ornament while the paint is still wet. This will adhere the glitter to the ornament without having to use a separate glue.

Step 7: Seal in the sparkle for every Christmas to come.
After the ornament is completely dry, coat the snowflake with a high quality water-based polyurethane top coat.
More DIY Holiday Decor Ideas with the IOD Snowflakes Decor Mould
- Fill the silicone mold with fondant for snowflake cake decorations
- Melted white chocolate chips into the mould and then wedge the chocolate snowflakes into the top of a cupcake or to decorate a gingerbread house
- Create dimensional Christmas signage and decor pieces
- Bake snowflake-shaped cookies and pie crusts
- Make adorable snowflake soaps
- Create snowflake earrings and pendants using polymer clay (Check out this tutorial to see how to do this)
Note: We recommend you have a dedicated set of moulds that you use for food that’s separate from the ones you use for crafts.
What snowflake decorations are swirling in your head? Tell us in the comments below.
If you liked this project, you might also want to check out the following DIY Christmas decoration ideas:
Easy Wreath Wall Art with IOD Moulds
How to make a Rustic Christmas Sign
DIY Christmas Pillow Cover with IOD Stamps
 ×
×
popular
- How to Apply IOD Athenaeum Gilded Transfer to Colored Glass Bottles
- From Ugly Duckling to Gorgeous | Black Dresser Makeover with IOD Marché des Fleurs
- 5 Creative Ways to Use One Decorative Stamp
- Turn Thrifted Finds into Charming Garden-Inspired Decor with a DIY Jadeite Finish
- Little Lark Paint Inlay Projects: Vintage Teapot & Canvas Wall Art with IOD