DIY Chalkboard Sign for Every Season
Leave all your seasonal decorating woes behind with this one MAGICAL (if we do say so ourselves!) DIY chalkboard sign!
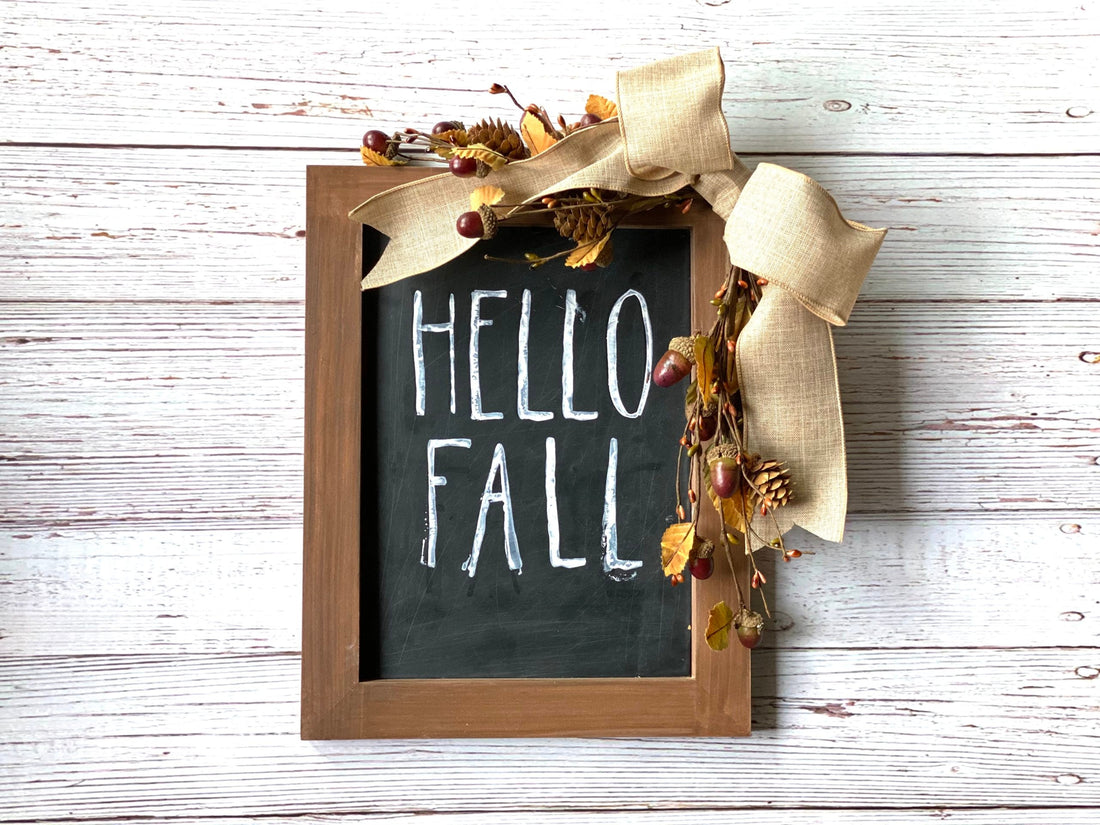
We’re going to show you how to make a wood chalkboard sign to welcome Fall (because, really, is there any such a thing as “Too early to decorate for Fall?” We say NAY!!!).
But wait… there’s more to this DIY Chalkboard Sign Project
We’ll also show you how to transform your DIY chalkboard sign to complement whatever season you’re in with the IOD Erasable Liquid Chalk.
Welcome Winter! Hello Sunshine! It’s Fall, y’all!
No time now? Pin this project for later.

Watch the video below to see how we made this adorable chalkboard sign, or keep on scrolling down for a complete supply list and step-by-step instructions.
Here’s Everything You need for this seasonal DIY Chalkboard Sign Project
(This post contains affiliate links.)
- 11 x 14 IOD Wood Gallery Blank – Click here to find your local IOD stockist
- Farmhand Stamp – Click here to find your local IOD stockist
- IOD Liquid Erasable Chalk – Click here to find your local IOD stockist
- Blank ink pad – Click here to find your local IOD stockist
- Thin Mount with grid lines – Click here to find your local IOD stockist
- Contact chalkboard paper
- Chalkboard paint (optional, if you don’t use contact paper)
- Your favorite chalk or mineral-based paint in brown
- Lint-free shop cloth
- Chip paint brush
- Piece of chalk
- General Finishes Flat 450 Topcoat or other flat water-based polyurethane topcoat
To make the seasonal magnetic embellishment:
If you’d like to create a removable chalkboard insert, you’ll need the following additional supplies:
Step-by-step Instructions: DIY Chalkboard Sign for All Seasons
Step 1: Paint your frame.
Flip your wood gallery blank to the shadow box side. Apply a quick, thin coat of the brown chalk or mineral-based paint on the top surface and interior sides of the frame. No need to get full coverage or be super careful.

Before the paint dries, use a damp shop cloth to gently wipe away some of the paint to reveal the wood grain. The damp cloth moves the paint around and gives the wood a beautiful stain.

This is a step where you decide what look you like – you can wipe away a lot or a little depending on how distressed you want the frame to look.
Make sure to get in the corners really good so that you get a consistent color saturation. If you don’t, the paint will puddle there and reduce the stained look.
Next paint the outer sides of the frame and wipe it off with the same damp cloth.

Let the paint dry
Step 2: Seal the frame.
Using a water-based sealer, apply a thin coat all over the frame. Don’t forget to get the inside and outside edges of the frame.
Tip: Pour some of the sealer into a cup and use that when you do this step so that you don’t cross contaminate your container of sealer.

Step 3: Create the chalkboard sign surface.
You have a couple of options with this step. But BEFORE you do any of them, make sure you’re working on a clean surface. (We accidentally had crumbs on our wood frame and it created a bump when we adhered the chalkboard contact paper – d’oh!)
Option 1: The easiest way…
Measure and cut out a piece of chalkboard contact paper that fits inside the frame. Peel off the backing and stick the contact paper in. Boom! Ya done.
Option 2: The easy way…
Cover the interior edges of the frame with painters tape and use a chalkboard paint to coat the wood surface inside the frame. Let dry and then seal before stamping (the sealing is super important if you decide to make your chalkboard this way).
Option 3: The “a little more effort, but sooooo worth it” way…
With this method, you’ll make your own removable chalkboard insert. This makes it a snap to stamp your message, change the saying, and it also allows you to experiment with designs that bleed off the edge of the stamping surface. This is our favie way to do this project!
First, measure the frame opening and then cut the mat board to size with the craft knife.
You’ll want to make the mat a wee bit smaller so allow room for the chalkboard contact paper you’re going to apply.

After cutting your mat board, lay it on the backside of the chalkboard contact paper. Using the grid lines and scissors, cut the contact paper about 1 inch or two grid rows larger than the mat board on all sides.

Lay your mat down in the center of your cut piece of contact paper. Cut out the four grids blocks on each corner. This will allow you to fold down the contact paper around the board without excess material.

Cut a narrow (about ¼ in) strip of contact paper that’s also about 4 in long. This will be used to create a pull tab for your chalkboard insert. Peel the backing and stick the tip of one end of the strip to one side of the mat board.

Then fold it over the top edge of the mat board, leaving some excess that is a little less than the depth of the frame. Stick this bit back onto itself and then stick the remaining strip onto the back of the mat board.

(This step makes more sense if you watch it in the video – you can fast forward to 9 min 40 seconds to see exactly how Josie makes the pull tab.)
Cut a little notch in the contact paper so that the pull tab slots out of the contact paper.

Peel off the backing of the contact paper and lay it down sticky side up. Then center your mat with the tab lined up with the notch. Fold the top edges of the contact paper down first making sure to pull it taut around the edge with the pull tab sticking out.
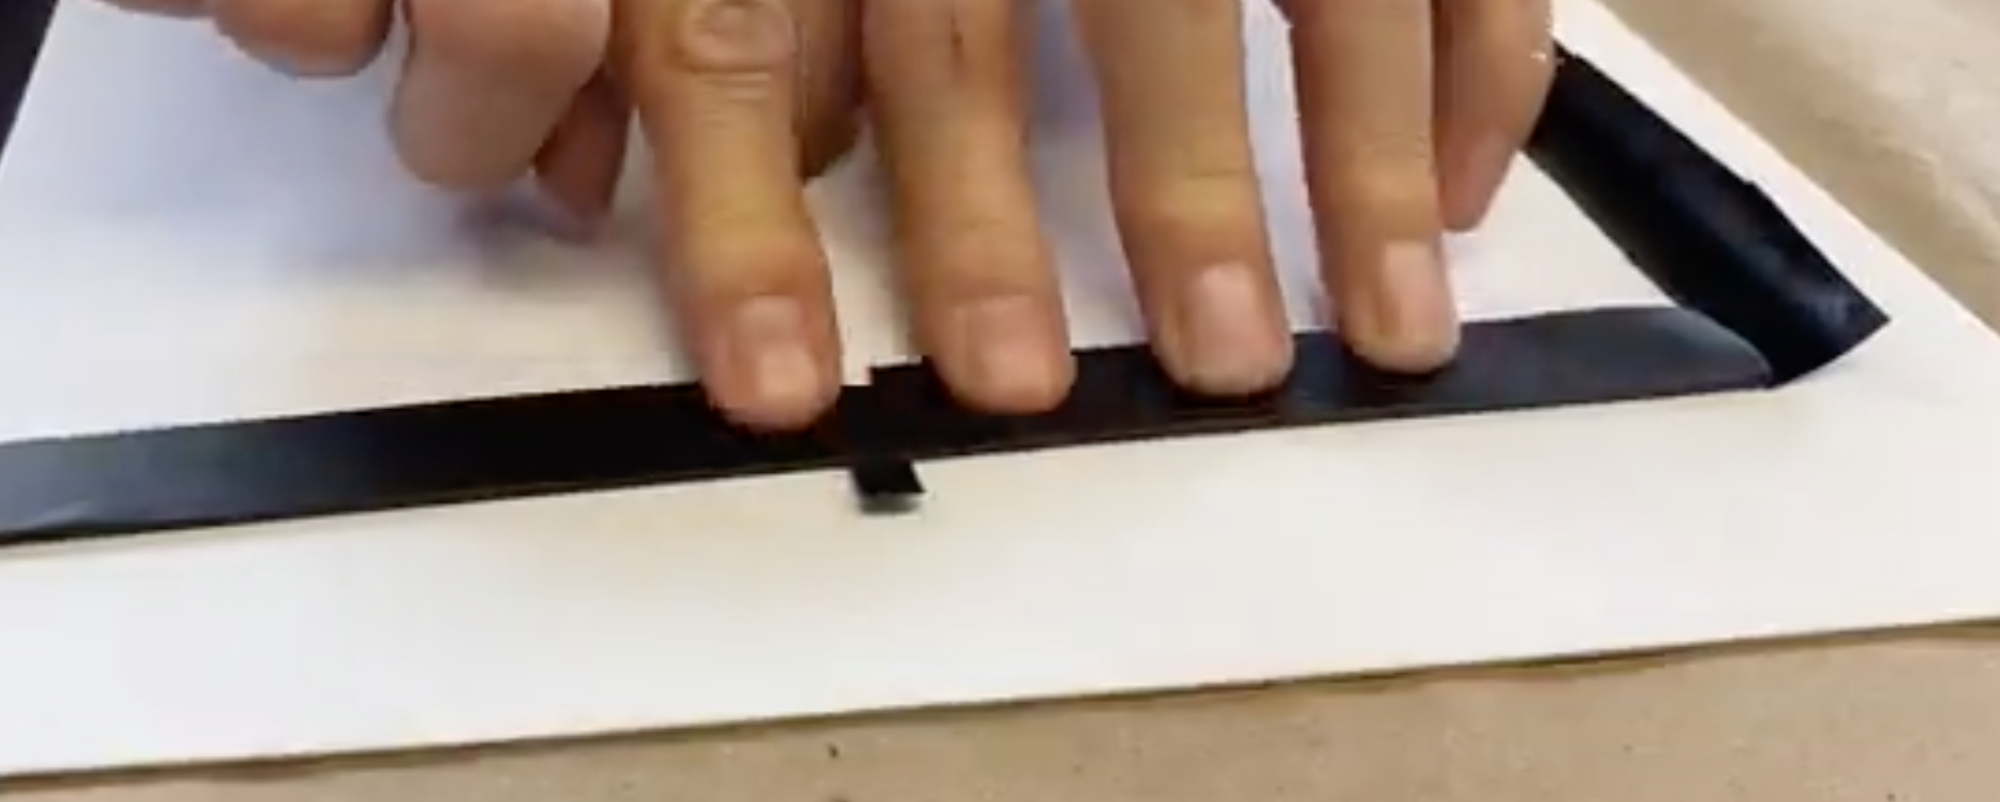
Fold down the remaining three sides.

Pop the chalkboard insert into your frame, leaving the pull tab sticking up along the edge to make sure it fits. Then pull the insert back out so it’s ready for stamping.
Step 4: Condition your chalkboard surface.
Using the side of a piece of chalk, color all over the chalkboard surface. This will create some scratches and distressing which we like because it makes the DIY wood sign look like an old vintage chalkboard.

Clean off the chalk layer with a damp cloth.
Step 5: Get ready to stamp.
If this is your very first time using an IOD clear stamp set, make sure to condition your stamps before using. For complete instructions on how to do this as well as how to take care of your stamps, check out this beginner stamps tutorial. (We also show you how to fill your blank ink pad with IOD ink.)
Peel the stamps off their backing and arrange them stamp side down how you like on the chalkboard surface.

Place your thin mount on your arranged stamps. Since the backside is up, it will stick to the thin mount. Using the grid lines to make minor adjustments so that your lettering is straight and evenly spaced.

Step 6: Ink and stamp!
Using an ink pad loaded with Erasable Liquid Chalk, pat the pad on the stamps to coat your design thoroughly.

Set the ink pad aside. Pick up and flip over the thin mount with your inked and mounted stamps attached. Hover over where you want to stamp on the chalkboard and then COMMIT (stamp!). With even pressure, run your fingers over the backs of the stamps.

Don’t shift when you lift the stamp to avoid smudges. (And if you do smudge, don’t worry, just erase the liquid chalk and try again.)
Step 7: Create your embellishment.
We didn’t show these steps on the video but this is super simple. Start by hot gluing one magnet on the corner of your chalkboard frame.
Make a bow with your ribbon (if you like or you can just use the faux greenery). Hot glue the greenery to the back side of the ribbon, arranging it as you like.
After you’re done, hot glue another magnet to the backside of your embellishment. Tip: Before gluing the second magnet, make sure the side facing out attracts to the one you already glued to your frame.
Make a different embellishment for each season!
You can do holly with berries for Winter decor, branches with cotton for Fall or floral sprigs for Spring. You could use pine cones instead of a ribbon… really whatever makes your heart sing!

One DIY Chalkboard Sign = Easy Seasonal Decor
And when you want to change up the message to welcome the new season, just use a little soap and water on a damp lint-free cloth to wipe the chalkboard. That usually does the trick but, if you do get a little residual ‘ghost’ image from your previous message, you can use a Mr. Clean Magic Eraser to get it off.
What do you think? Will you be making a seasonal chalkboard sign? Let us know in the comments below. We also want to know what season is your favorite to decorate for.
Do you just LOVE chalkboard art?
We want to see what you’re making in our IOD Chalkboard Art group on Facebook. Click here to join the fun!
If you enjoyed this post, you might also want to check out the following:
Chalkboard Art on a Vintage Window
 ×
×
popular
- How to Apply IOD Athenaeum Gilded Transfer to Colored Glass Bottles
- From Ugly Duckling to Gorgeous | Black Dresser Makeover with IOD Marché des Fleurs
- 5 Creative Ways to Use One Decorative Stamp
- Turn Thrifted Finds into Charming Garden-Inspired Decor with a DIY Jadeite Finish
- Little Lark Paint Inlay Projects: Vintage Teapot & Canvas Wall Art with IOD