


DIY Mirror Frame Makeover - How to Make a Cheap Mirror Look Expensive
Looking to restyle a cheap bathroom or thrift store mirror? Add a little style and glamour to your interior decor with this DIY mirror frame makeover using IOD moulds.
No time now? Pin this post for later.
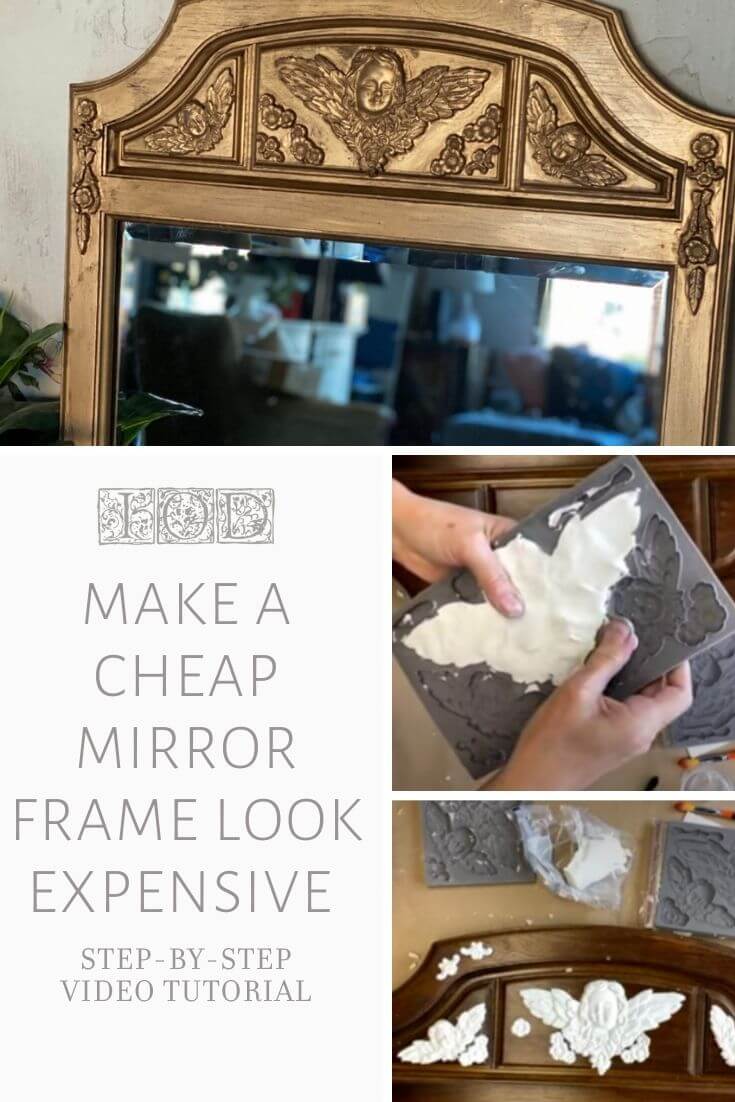
Watch the video below to see how to make a cheap mirror frame look like an expensive antique or keep scrolling for a supply list and step-by-step instructions.
If this is your first time using IOD moulds and Air Dry Clay, check out this post for all the basics as well as our best tips and tricks.
HERE’S EVERYTHING YOU NEED FOR YOUR DIY MIRROR FRAME MAKEOVER
IOD products can be purchased from an approved stockist. Click here to find one near you.
(This post contains affiliate links.)
- Mirror with an ugly frame (Just kidding! It doesn’t have to be ugly, just one you want to IOD.)
- Classical Cherubs Mould by IOD (Note: This is a recently retired design so if you LOVE cherubs, make sure to snag one from your local stockist ASAP; If cherubs aren’t your jam or they’re all sold out, try using the Acanthus Scroll Mould or Classic Elements Moulds as either would also look gorgeous!)
- IOD Air Dry Clay
- Cornstarch
- Paintbrush
- Painters tape
- Gold Leaf Paint
- Titebond Quick and Thick Glue
STEP-BY-STEP INSTRUCTIONS FOR YOUR DIY MIRROR FRAME MAKEOVER
STEP 1: Tape off the mirror with the painters tape.
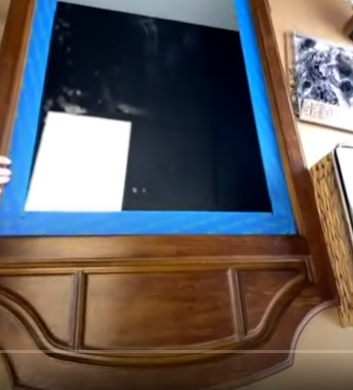
This keeps the mirror edges clean. If you want to be extra careful, you could also cover the mirror with newspaper or plastic.
STEP 2: Start casting and plan how you want to arrange your furniture appliques.
We were going for a maximalist look – baroque and dripping with age-old drama!
Start by dusting your silicone mold lightly with cornstarch. This will allow the air dry clay to release easily. Tap out any extra and then warm the clay up in your hands by rolling it around. Then push the clay with your thumbs into the mold cavities.

After most of the excess clay is removed, use a straight edge, like a putty tool or the edge of a credit card to scrape and flatten the backside of the applique. This is where the micro rim really comes in handy to get a crisp, clean edge. Remember, the backside of the air dry clay casting should be flat so that it cleanly adheres to your DIY mirror frame makeover – no mountains or valleys of clay, please. 😀 😀
“Frankensteining” is encouraged! This means cut your castings apart before the clay dries and pair different castings together to make new shapes and designs. Mix and match until you like the look!

Tip: Whenever you’re not pulling off a chunk of clay to work with, be sure to keep it in a sealed bag. This will help keep the clay from drying out as you create your casts.
Step 3: Glue your clay appliques to the mirror frame.
Be generous with the glue. You want to have good adhesion, especially around those edges. Apply gentle, even pressure without pushing too hard – you don’t want to distort the details of the furniture applique. If any glue squeezes out the sides, remove it with a damp cloth or wet paintbrush.
Let your castings dry just enough so that they form a crust. Painting the clay before the crust is formed might deform some of the details. (You can use a fan to speed the process up.)
Note: IOD Air Dry Clay will have some minor cracks as it dries. (Personally, we love the cracks – gives it character! 😍 ). If you don’t like cracking, try applying the paint before the casting is fully dry. Or, if you don’t want any cracks, try using resin with your IOD molds.
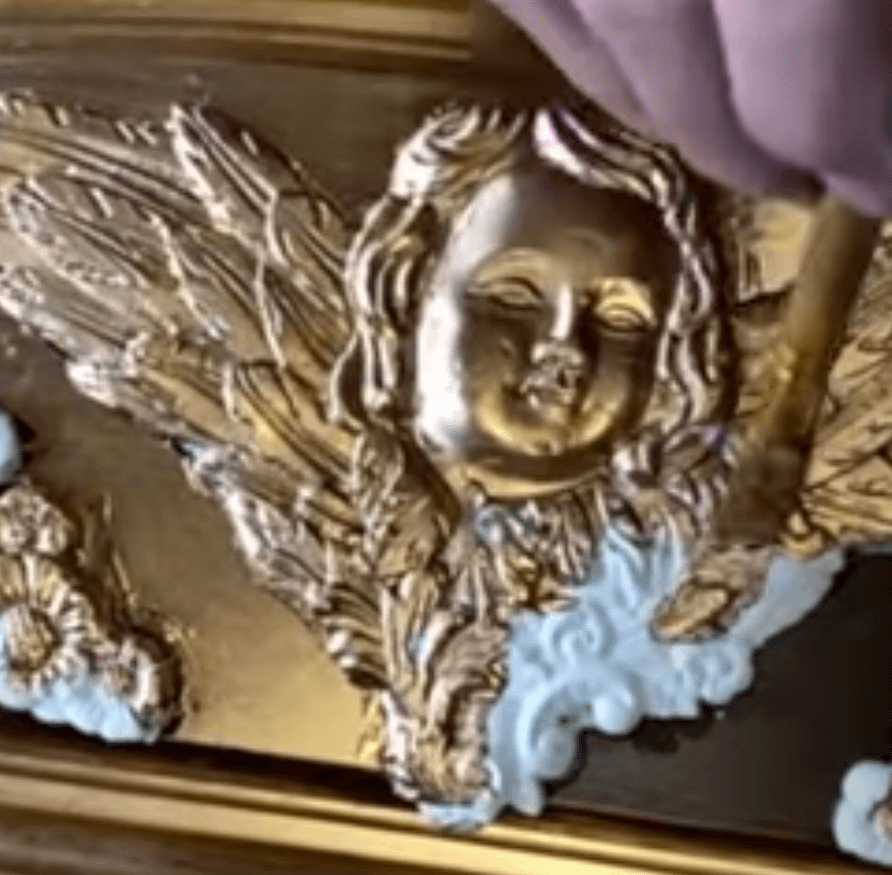
Step 4: Open the windows – it’s time to glam your DIY mirror frame makeover up.
Working in a well-ventilated area, paint that baby gold! We used a Liquid Leaf – aka “stinky gold” but you can use whatever metallic paint you like.
After your paint has dried, experiment with layering wax or glaze on top of the gold to give your piece more crusty, dusty, vintage-y goodness.
Nothing left to do but hang your mirror and wait for the compliments! 😆😆😆

Here are some other projects you can make with the IOD Classical Cherubs Mould.
-

Sugar cookies made by Rouge Boutique Decor in Romania -

Cherub Christmas Ornament by IOD – click here for a tutorial -

Marzipan made by Vintage Charm Homestead in Libertyville, IL -

Mould relief on an old cabinet door by Gardenhouse Studio in East Corinth, VT – click here for a tutorial

For more mirror makeover inspiration, check out this post. 😍😍
Have you done a mirror frame makeover? Let us know in the comments below or share with us on social media.
 ×
×
popular
- How to Apply IOD Athenaeum Gilded Transfer to Colored Glass Bottles
- From Ugly Duckling to Gorgeous | Black Dresser Makeover with IOD Marché des Fleurs
- 5 Creative Ways to Use One Decorative Stamp
- Turn Thrifted Finds into Charming Garden-Inspired Decor with a DIY Jadeite Finish
- Little Lark Paint Inlay Projects: Vintage Teapot & Canvas Wall Art with IOD
