DIY Distressed Mirror: Cheap Picture Frame to Stunning Looking Glass
This DIY distressed mirror project might be one of our all-time favies!
Mirrors are an essential element across all interior design styles – from boho to farmhouse (farmhemian, anyone?), from modern to French country cottage – you name it. They instantly make your space look larger and brighter. A mirror pulls together the decor room and reflects both your beautiful face AND your style!
No time now? Pin this post for later.
Watch the edited video below to see all the steps in action, or if you want to read through the supply list and instructions, keep scrolling down.
While easy on the eyes, high-end and vintage mirrors are NOT easy on the bank account (yes, a little dose of reality here!). Since we’re thrift store junkies at heart, we KNEW we could show you an easy way to make your own stunning (if we do say so ourselves) DIY distressed mirror.
HERE’S EVERYTHING YOU NEED TO MAKE YOUR OWN DIY DISTRESSED MIRROR
All IOD products can be purchased from an approved stockist. To find a shop local to you, click here. To find an online store, click here.
(This post contains affiliate links.)
- Thrift-store picture frame with glass inset
- Lady of Shalott Stamp by IOD
- Decor Ink in Black by IOD
- Blank Ink Pad by IOD
- Looking Glass by Krylon
- Black matte spray paint by Krylon
- Lint-free shop towels
Keep in mind that you can use any IOD stamps for this project – pick what suits your interior design style. (There are SO. SO. MANY that would work well – we’ll share more inspo on this next week – pinky promise!)
Before you even start your DIY Distressed Mirror project…
Begin by disassembling the picture frame you plan to upcycle into a mirror. Remove the glass inset and then spray paint the frame matte black.
If this is your first time using IOD stamps, you’ll need to condition the design side of the stamp. Click here to check out our Stamping 101 tutorial to learn everything you need to know.
Safety PSA: Be careful, the glass edges are sharp! Use gloves and consider taping off any sharp edges. Make sure the glass is always well supported.
STEP 1: PREPARE THE GLASS.
Wash the glass with a vinegar and water solution and dry it thoroughly. This will eliminate grease or anything else that can cause adhesion issues for the ink on your DIY distressed mirror.
STEP 2: STAMP AROUND THE PERIMETER OF THE GLASS.
For this project, leave your stamp on the rigid acrylic backing that it’s packaged on. Leaving it mounted on the cut-out backing will give you more control.
Ink your stamp design by bringing the ink pad to the stamp and patting it.

Your glass should be on a solid, stable, well-supported surface to prevent it from moving when you stamp.
Stamping on a slick surface like glass increases the risk that the stamp will shift so you’ll want to take some deep breaths and go slow. (Inhale, exhale, you’ve got this! 😌 )
Slowly lower your stamp down and stabilize it with one hand while you apply gentle pressure with the other hand while you make sure all the stamp details have good contact with the glass.
Take your time as you do this step. Think about negative space and creating an elegant composition with whatever stamp you choose to use.
Lady of Shallot is a ‘buildable’ stamp set — like many Iron Orchid Designs’ products. This means you can layer and arrange the stamp elements to create a customized design. For more on how to create a visual composition with stamps, check out this post.
Here, Josie is using just a portion of the stamp on the edge of the glass, giving it a “To Be Continued”…look. 😍

Commit and don’t shift, as we always say! Repeat until you’ve stamped your entire design.

Allow the ink to fully dry for approximately 24 hours.
STEP 3: APPLY THREE COATS OF “LOOKING GLASS” SPRAY TO THE STAMPED SIDE OF THE GLASS.
This step should be done in a well-ventilated area — we went outside.

Use and back and forth sweeping motion to apply the spray. As it starts to dry, you’ll see areas start to look silver.

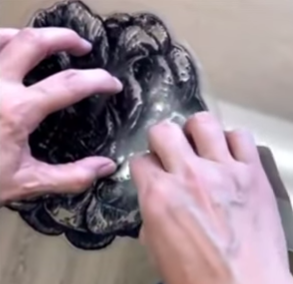
STEP 4: DISTRESS WITH A (SLIGHTLY) DAMP SHOP CLOTH.
Use a light touch and pat (don’t rub) a (just barely) damp shop cloth. This gives the mirror an aged look. You’ll really want to get down eye level to see what is being removed and to make sure you are getting the look you want.

Josie wanted fine scratches to enhance the aged look, so she very lightly dragged the cloth over the piece, first in a vertical direction and then horizontal.
Follow the directions on the can of Looking Glass for dry time before moving on to the next step.
STEP 5: LAYER TWO COATS OF MATTE BLACK SPRAY PAINT ON THE STAMPED SIDE OF THE GLASS.
We used Krylon spray paint and it is applied directly over the three coats of Looking Glass. This highlights all the distressed areas of your DIY mirror.
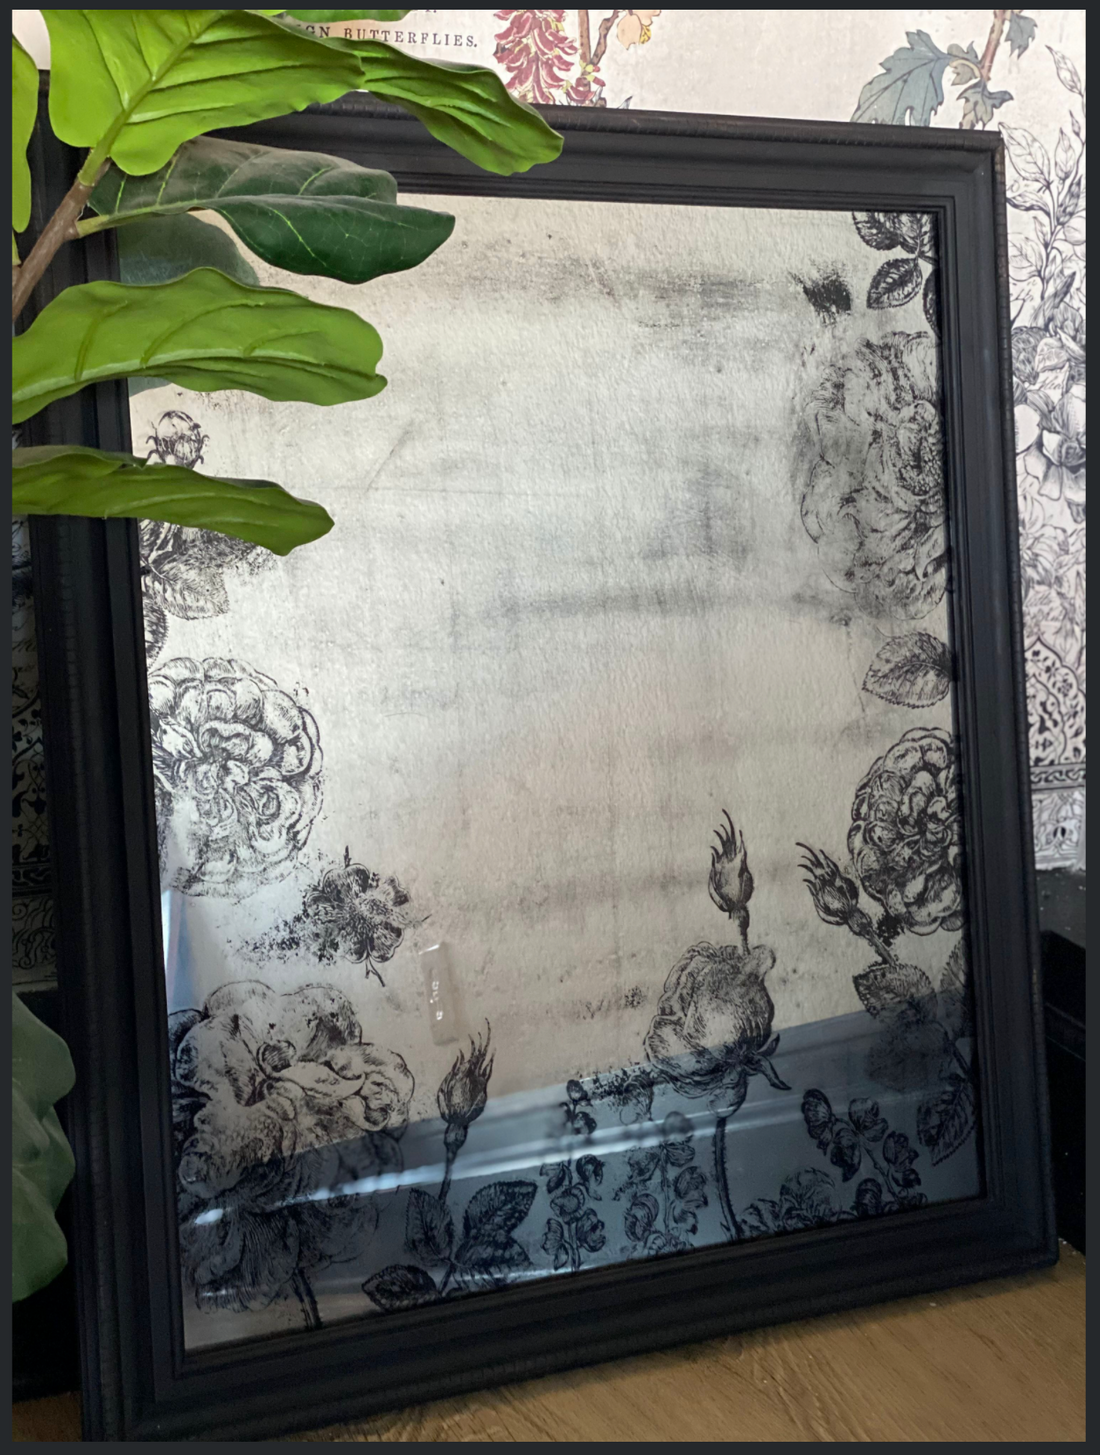
STEP 6: REASSEMBLE THE GLASS INSET IN THE FRAME AND SWOON.
It’s so pretty! 😍

HAVE YOU MADE A DIY DISTRESSED MIRROR?
Let us know in the comment below or share a picture with us on social media.
And if you liked this post, you might also want to check out these tutorials:
 ×
×
popular
- How to Apply IOD Athenaeum Gilded Transfer to Colored Glass Bottles
- From Ugly Duckling to Gorgeous | Black Dresser Makeover with IOD Marché des Fleurs
- 5 Creative Ways to Use One Decorative Stamp
- Turn Thrifted Finds into Charming Garden-Inspired Decor with a DIY Jadeite Finish
- Little Lark Paint Inlay Projects: Vintage Teapot & Canvas Wall Art with IOD