Making a Drool-Worthy Pie Crust Design is Easier Than You Think
Turn that family pie recipe into a feast for the eyes as well as the stomach with this easy pie crust design using IOD moulds. (PS You can also use store-bought pie crust – works just as well and we won’t tell!)
No time now? Pin this post for later.

Move Over Pie Crust Cutouts – IOD Moulds Are in the House
IOD Moulds are made of food grade silicone and can be used in the oven with temperatures up to 500°F/260°C. Beyond pie crust decorations, you can also use them to bake cookies, with fondant in cake decorating, or as chocolate moulds.
Just be sure to wash with soap and water before use and have a dedicated set of moulds that you only use for food. (Because nobody wants a little air dry clay mixed in with their marzipan!)
The Easiest Way to Make AMAZING Pie Crust Designs
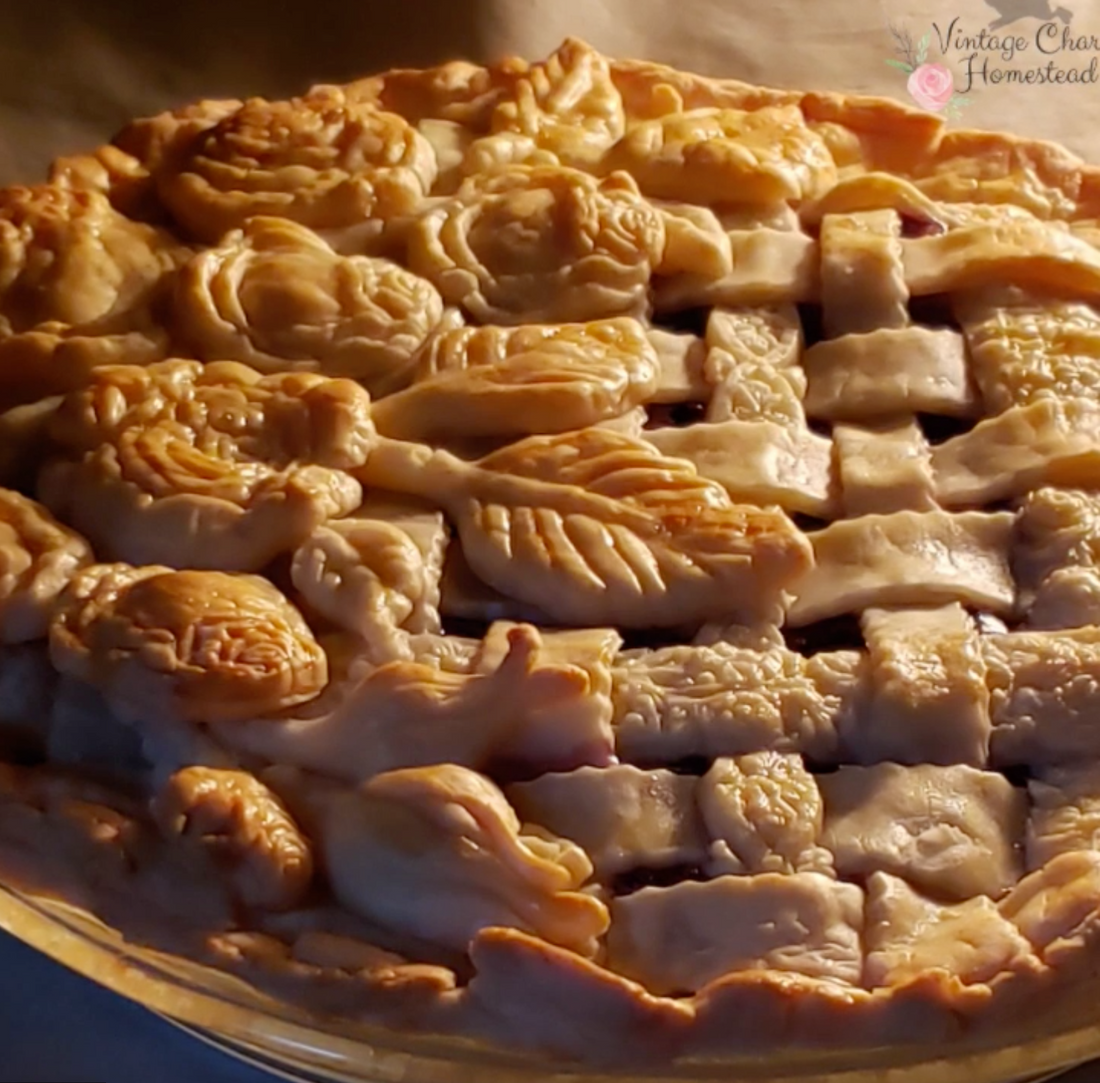
Whether you’re looking for an apple pie crust design or something to spice up your pie crust lattice, you won’t want to miss this quick 10 minute video tutorial by our very own culinary talent and IOD stockist, Gina of Vintage Charm Homestead in Libertyville, IL.
All of the moulds she uses in her pie crust design can be purchased from an approved IOD stockist. To find a shop near you, click here. To find an online store, click here.
Here’s everything you need to decorate your pie.
(This post contains affiliate links.)
- Heirloom Roses Mould by IOD
- Trimmings 1 Mould by IOD
- Trimmings 2 Mould by IOD
- Pastry wheel
- Pie crust dough – Gina used the recipe from the Betty Crocker Cookbook
- Parchment paper
- Rolling pin
- Flour
- Egg wash and pastry brush (optional)
Create Your Pie Crust Design
Step 1: Make the pie crust shapes for the top of your pie.
First, dust the mould with flour. This will allow your dough to release without sticking.
Then roll the dough into the rough shape of the cavity and push it in with your fingers. Take your time to make sure the dough is worked into all the details of the mould.

Scrape off any excess dough with your thumbs. Smooth the dough along the micro rim to get a clean line around the pie decoration.
Flip over the mould and fold it back to release the dough onto parchment paper without pulling. Set it aside until you have all your pie crust shapes made.
Step 2: Arrange your pie crust design.
Gina recommends laying out your dough design on a piece of parchment paper or a plate first. This makes it easier to adjust the layout to just how you want without disturbing the pie lattice.

Make Your Pie Crust Lattice
Step 1: Make the decorative strips of pie crust with IOD moulds.
Just as you did when making your pie crust design, repeat the same steps using the Trimmings moulds.

Step 2: Make the plain lattice strips to intermix with the decorative ones.
Using the rolling pin, roll out the pie crust dough on a floured, non-stick surface to the approximate size of the pie. Then cut it into strips using the decorative edge side of the pastry wheel.

Step 3: Weave the plain and decorative dough strips together.
If only it were that easy! Actually, it really isn’t too difficult to make the pie crust lattice if you watch the steps in Gina’s tutorial – fast forward to minute 5 of the video. She teaches you a technique where you fold back the the strips that are under the preceding strip before placing the next one.

Gina recommends arranging it first on a piece of parchment paper for practice and then transferring it strip by strip to the top of your pie. This will help you avoid making a mistake.
Now you’re ready to assemble your lattice crust and design on the pie

First, weave the lattice on top of the pie filling, weaving it using the technique you just practiced. Next, cut away any excess dough using the pie tin as your guide.
Now you get to transfer your pie crust design piece by piece to where you want it on your pie. Since you already planned out and arranged your design, you don’t have to worry about mussing your lattice.

If you like, you can use a mix of 1-2 tbsp water and egg as a wash to give a little sheen to your baked pie. Brush on the egg wash with a pastry brush before putting in the oven.
Did you know we have an IOD Sugar Arts Facebook group?
We’re swapping more than just cookies – you can get all kinds of delicious inspiration and ideas for sweet treats. Click here to request to join the party and indulge your inner baker.

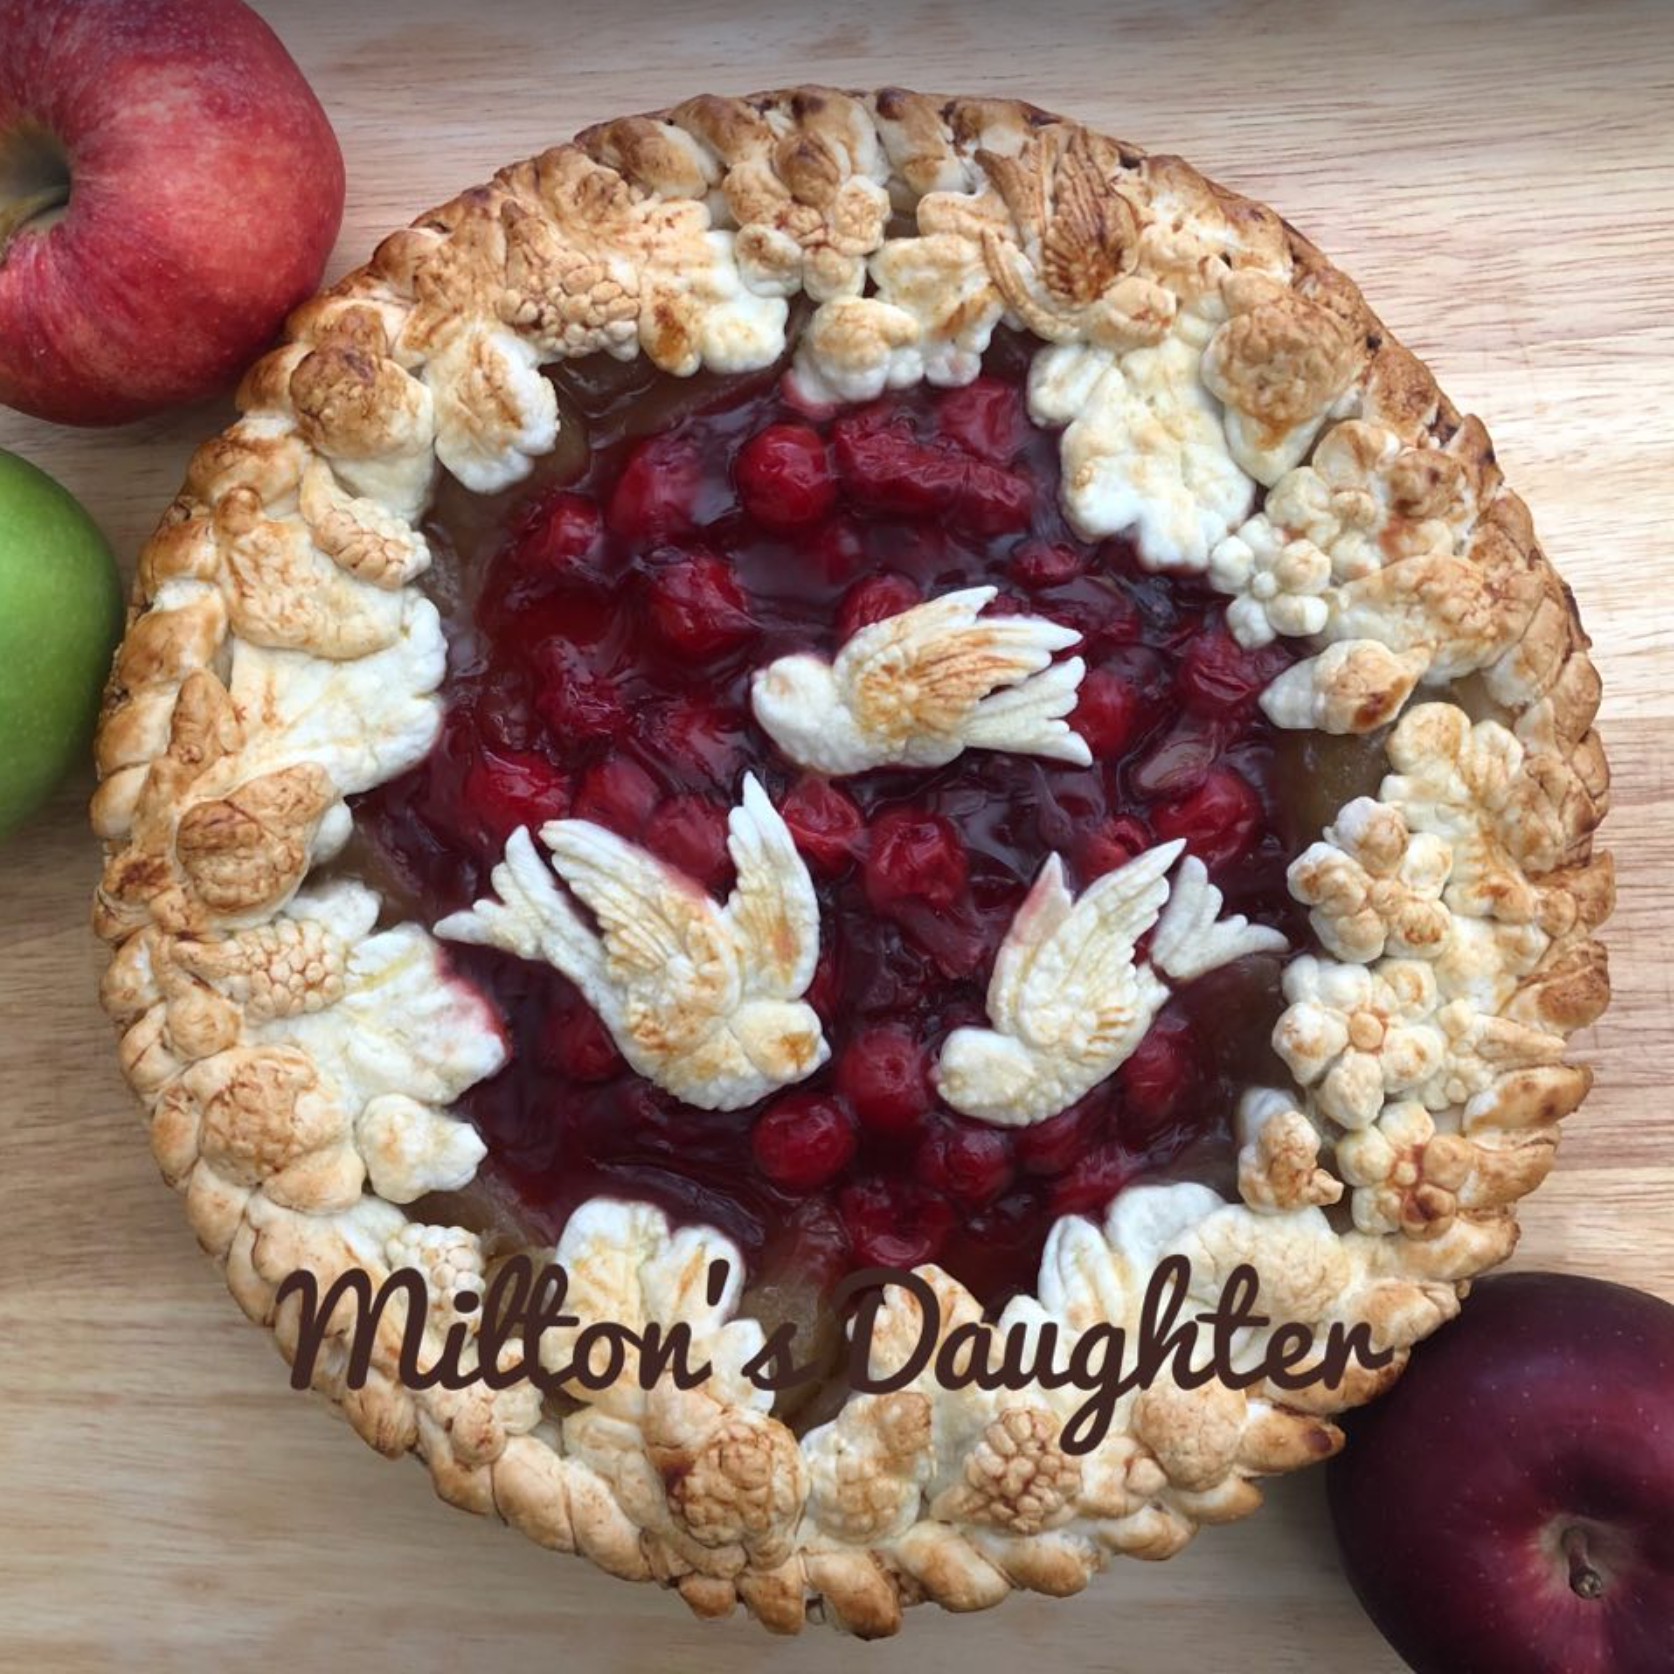
Above is a recent mouth-watering post shared by an IOD Sugar Arts group member, Kayla Carrier. It’s a butterscotch merengue pie with pie crust cookies she made with the He Loves Me Mould.
Here’s some more delicious ideas of things you can bake with IOD Moulds


If you like this post, you might also enjoy learning how to decorate royal icing cookies with IOD Stamps.
Will you be baking with IOD this holiday? Let us know what you’re making in the comments below.
Now, go make something beautiful!
 ×
×
popular
- How to Make a 3D Swan Figurine with the IOD Swans Mould
- Thrifted Stool + Lamp Makeover with the IOD Fern Fables Transfer
- How to Apply IOD Athenaeum Gilded Transfer to Colored Glass Bottles
- From Ugly Duckling to Gorgeous | Black Dresser Makeover with IOD Marché des Fleurs
- 5 Creative Ways to Use One Decorative Stamp