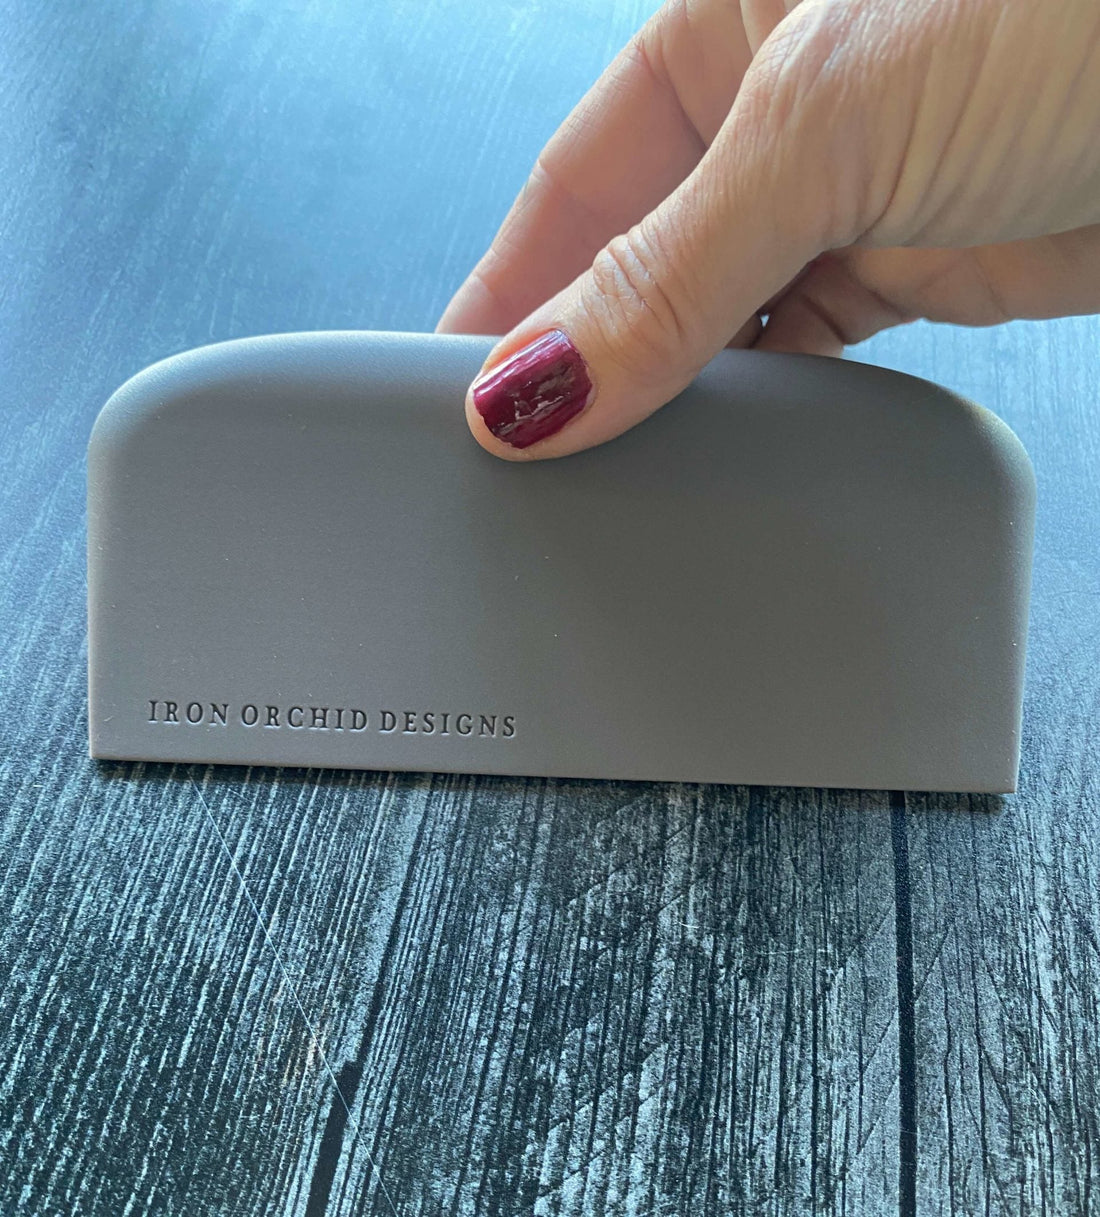
Meet the New and Improved Silicone Paint Blade!

You heard us right! The new IOD Silicone Paint Blade has all the same benefits as the previous version, with a small improvement to make it even easier to use. We’ve added a small radius to the corners so that it’s easier to avoid indentation streaks when using it for creating smooth finishes. The IOD Silicone Paint Blade is a must-have for any trowel painting technique. It’s just like adding buttercream frosting to a cake. Smooth and delicious texture – without the calories! Yum 😋😋😋

No time now? Pin this for later.

WHAT’S THE IOD SILICONE PAINT BLADE AND WHERE CAN I GET ONE?

The IOD Silicone Paint Blade is a DIY decor tool for applying paint, blending, and creating texture. You can use it for troweling techniques with paint (that’s our favorite!) as well as with texture mediums for raised stenciling. When you use the IOD Silicone Paint Blade, you use less paint than with a paintbrush and can easily save any unused paint by scraping it off the blade and back into the container.


It’s also perfect for people like Sally who are terrible about washing out her paintbrushes. Crusty, day-old dried chalk-style paint comes off oh, so easy!

The small blade has a 65mm (2.5”) blade. The large blade has a 140mm (5.5”) blade. They are approximately 70mm (2.75”) high and approximately 20mm (0.75”) deep at the thickest point of the handle.

Click here to find a retailer near you.

What DIY decor looks can I get using an IOD Silicone Paint Blade?

Here are just a few but there are so many more to come!


Why not just use a regular trowel?

Common trowels, such as a putty knife, are rigid and have very little (or no) flex. This means they retain their shape regardless of the texture of the surface you are working on. Unlike a rigid trowel, the IOD Silicone Paint Blade engages with your topographical surface. When you press down, it flexes and changes shape to fill in the high and low points.


Josie explains this in detail in the short clip below.

Yes, Josie has dark locks in this viddy – it was filmed when we were developing the original IOD Silicone Paint Blade. 😁

How to use the IOD Silicone Paint Blade – The Basics

When coating a surface with the paint blade, you’ll want to keep the following in mind:


  • “Thin for the win” first coat
  • Blade angle and pressure control the thickness of your paint
  • Adding texture
  • Adding color

The paint blade is fabulous for any flat or curved surface. And it will save you time and paint when working on porous materials, such as upcycled cabinet doors, plywood, and other unfinshed woods.

Thin for the win” base coat

Think about the first coat you apply with the blade as almost like a Gesso or a primer. A thin coat engages differently with your surface than a thick coat. Your thick coat is more likely to shrink crack and not bond, whereas that thin coat is laying your base. It’s a foundation to build on.

Angle the trowel

The angle and the pressure on your trowel will determine the thickness that you achieve and whether you are adding or removing paint. An upright angle, where the trowel is almost a 90-degree angle, will remove paint from the surface. If you lay the trowel down to a low angle, 45 degrees or so, and have less pressure, you’ll lay more paint down. Play with the angle and pressure on the blade to get a feel for it.

Once the thin base coat is on and dry. Check it for any big chunks, lumps, or ridges. It happens and is no big deal. Just give them a quick rub with fine-grit sandpaper to knock them down, then wipe the dust off with a damp shop cloth. You want this first coat to be buttery smooth.

Adding texture

When working with paint, you can use the IOD Silicone Paint Blade to add texture in two different steps.

First, you can add texture as part of your base layer. This is when you can play with different stroke movements to get different looks. You can use long, even strokes in the same direction, cross-hatch where you make a little ‘x’ for an Old World plaster feel, swirls to create a feeling of movement or perpendicular strokes for a more industrial vibe.

Watch us experiment with different base layer textures while we were developing the final IOD Silicone Paint Blade.

Second, you can use a stamp impressed technique to press designs into damp paint (you want to let it dry a bit before doing this – check out this tutorial for more details.)

Tips for using the IOD Silicone Paint Blade

If you need a lot of ‘open time’ (time that the paint is wet and workable) go on thick with a second coat. This would be the case if you’re trying a stamp impressed technique. If you find the paint is drying quicker than you can stamp, use a water mister to reactivate the paint a bit and keep it moist.

If you’re creating texture with stamp impressions, pick colors that contrast in some way. Mix warm and cool colors or a neutral base with a bright or dramatic pop color, or dark and light versions of the same color.

The beauty of this it’s not rocket science! This is just fun and very forgiving. You get in there and you play, get adventurous, push your limits and learn new things.

It’s your turn to play!

Pay attention to that thin first coat and how it behaves as a primer and a bonding ground. Focus on controlling your paint thickness using the pressure and the angle of your blade. Look at the color movement and how you get the colors to engage differently depending on how you’re moving that blade over it.

We can’t wait to see what you guys are gonna do with this!

IOD Silicone Paint Blade

Meet the New and Improved Silicone Paint Blade!

You heard us right! The new IOD Silicone Paint Blade has all the same benefits as the previous version, with a small improvement to make it even easier to use. We’ve added a small radius to the corners so that it’s easier to avoid indentation streaks when using it for creating smooth finishes. The IOD Silicone Paint Blade is a must-have for any trowel painting technique. It’s just like adding buttercream frosting to a cake. Smooth and delicious texture – without the calories! Yum 😋😋😋

No time now? Pin this for later.

WHAT’S THE IOD SILICONE PAINT BLADE AND WHERE CAN I GET ONE?

The IOD Silicone Paint Blade is a DIY decor tool for applying paint, blending, and creating texture. You can use it for troweling techniques with paint (that’s our favorite!) as well as with texture mediums for raised stenciling. When you use the IOD Silicone Paint Blade, you use less paint than with a paintbrush and can easily save any unused paint by scraping it off the blade and back into the container.


It’s also perfect for people like Sally who are terrible about washing out her paintbrushes. Crusty, day-old dried chalk-style paint comes off oh, so easy!
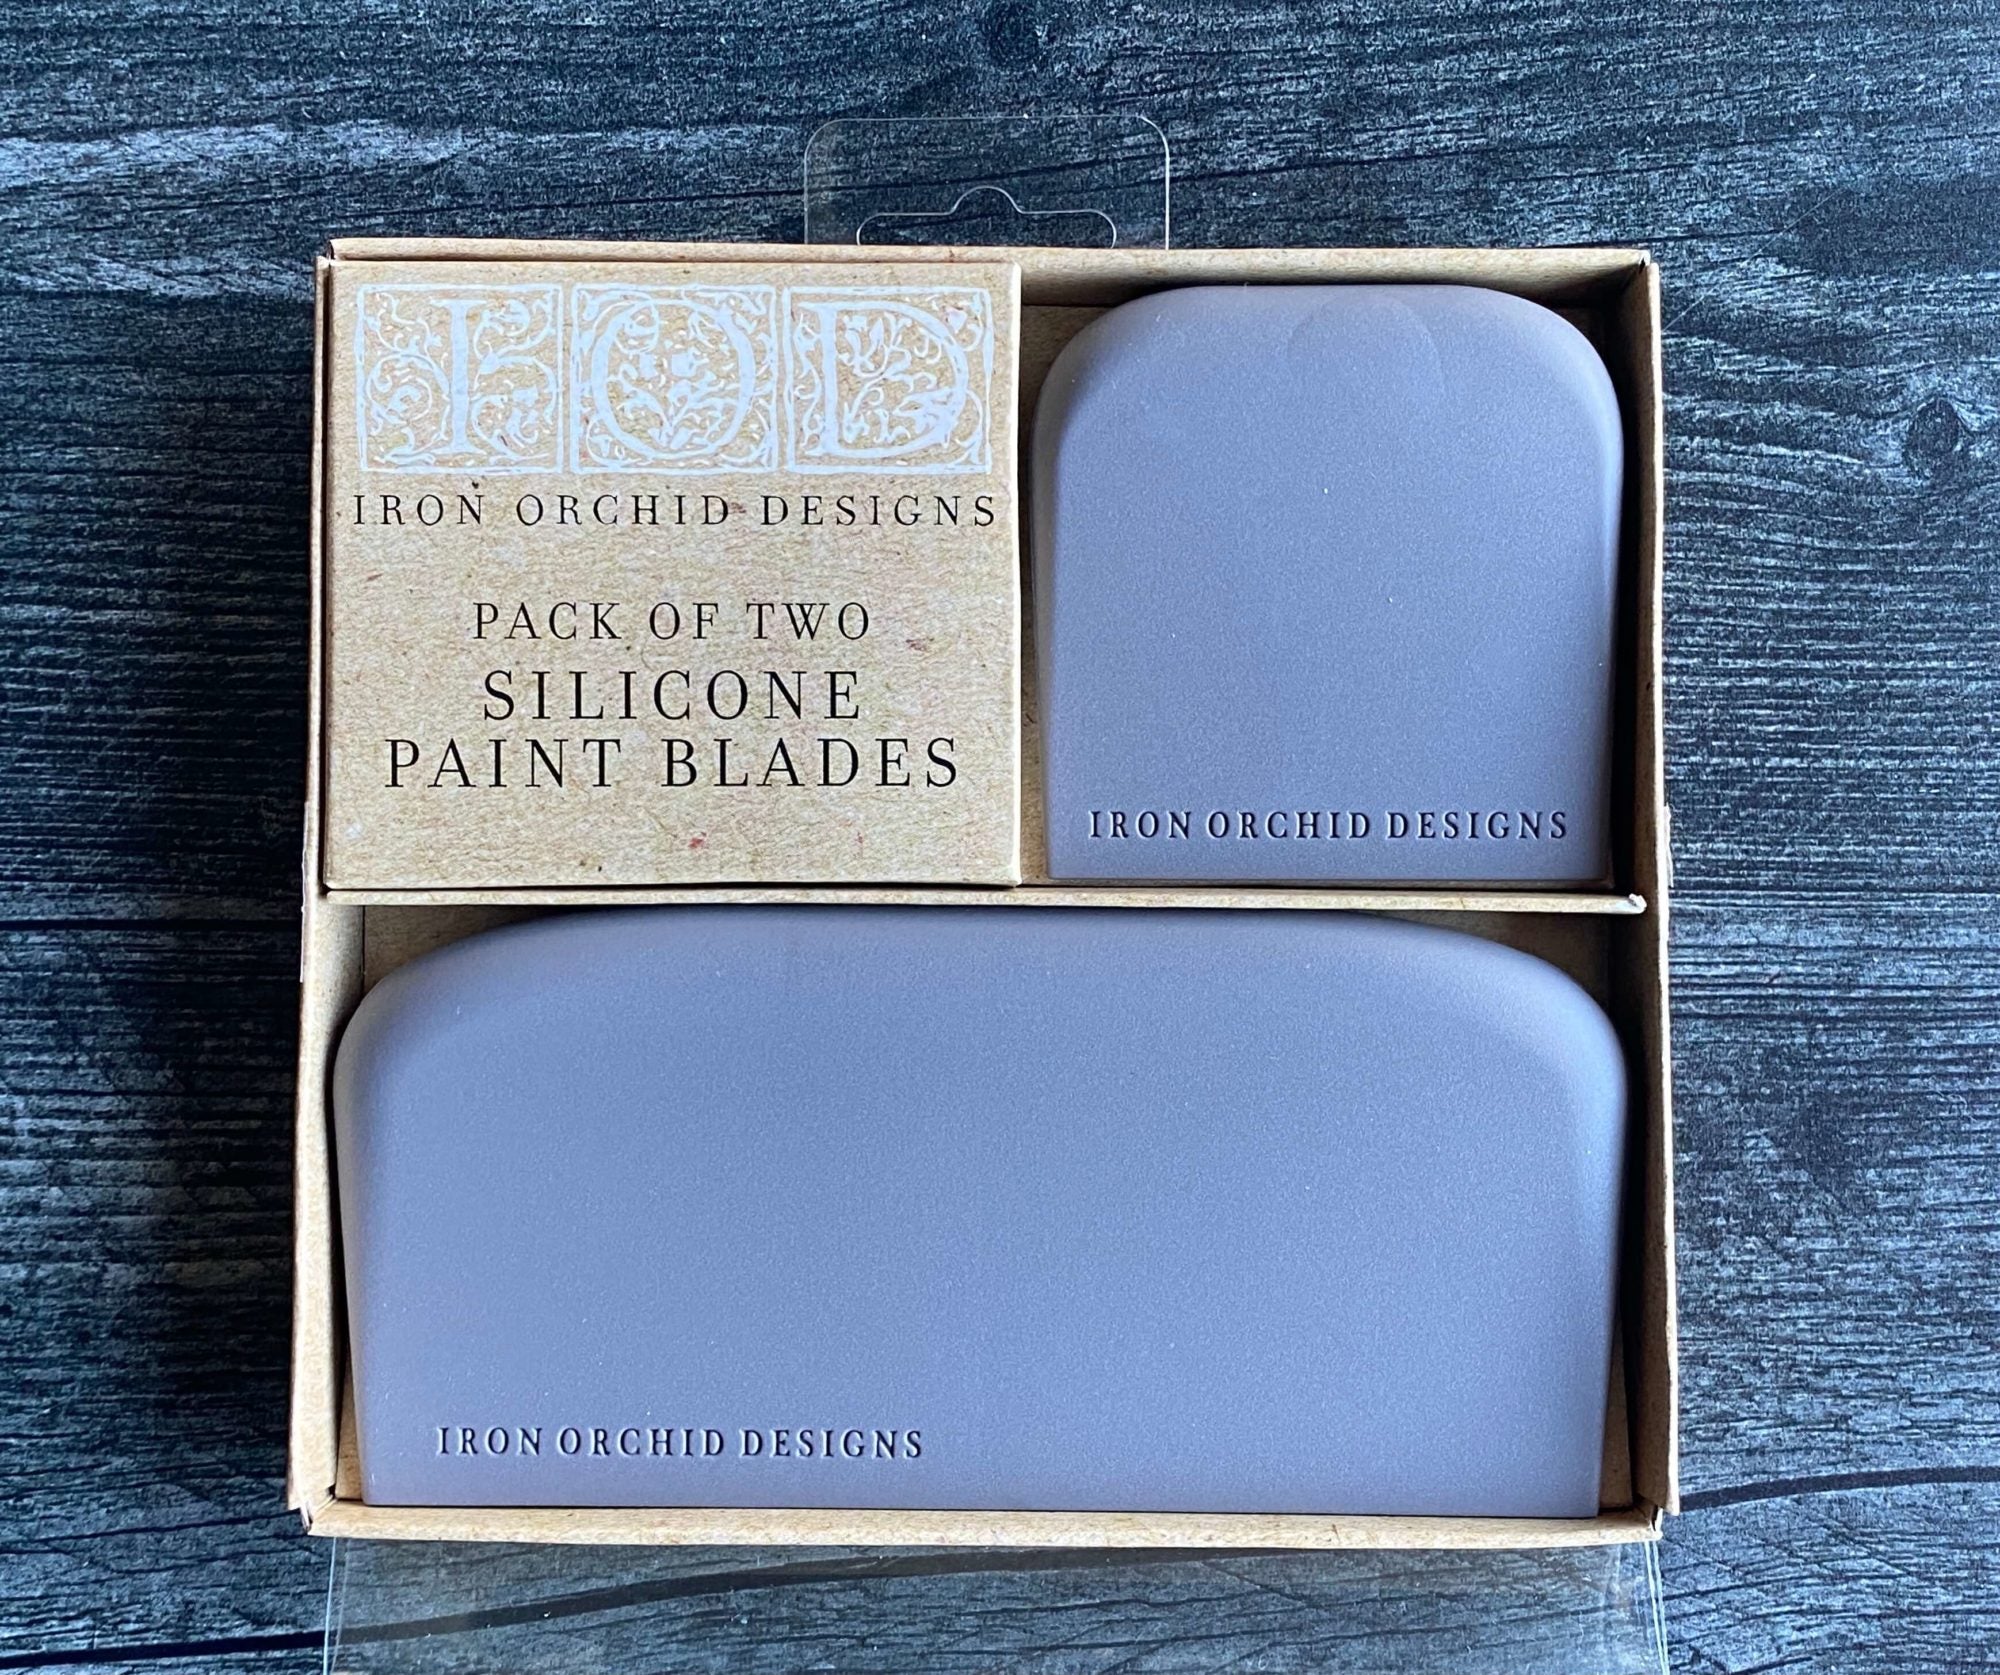
The small blade has a 65mm (2.5”) blade. The large blade has a 140mm (5.5”) blade. They are approximately 70mm (2.75”) high and approximately 20mm (0.75”) deep at the thickest point of the handle.

Click here to find a retailer near you.

What DIY decor looks can I get using an IOD Silicone Paint Blade?

Here are just a few but there are so many more to come!


Why not just use a regular trowel?

Common trowels, such as a putty knife, are rigid and have very little (or no) flex. This means they retain their shape regardless of the texture of the surface you are working on. Unlike a rigid trowel, the IOD Silicone Paint Blade engages with your topographical surface. When you press down, it flexes and changes shape to fill in the high and low points.


Josie explains this in detail in the short clip below.

Yes, Josie has dark locks in this viddy – it was filmed when we were developing the original IOD Silicone Paint Blade. 😁

How to use the IOD Silicone Paint Blade – The Basics

When coating a surface with the paint blade, you’ll want to keep the following in mind:


  • “Thin for the win” first coat
  • Blade angle and pressure control the thickness of your paint
  • Adding texture
  • Adding color

The paint blade is fabulous for any flat or curved surface. And it will save you time and paint when working on porous materials, such as upcycled cabinet doors, plywood, and other unfinshed woods.

Thin for the win” base coat

Think about the first coat you apply with the blade as almost like a Gesso or a primer. A thin coat engages differently with your surface than a thick coat. Your thick coat is more likely to shrink crack and not bond, whereas that thin coat is laying your base. It’s a foundation to build on.

Angle the trowel

The angle and the pressure on your trowel will determine the thickness that you achieve and whether you are adding or removing paint. An upright angle, where the trowel is almost a 90-degree angle, will remove paint from the surface. If you lay the trowel down to a low angle, 45 degrees or so, and have less pressure, you’ll lay more paint down. Play with the angle and pressure on the blade to get a feel for it.

Once the thin base coat is on and dry. Check it for any big chunks, lumps, or ridges. It happens and is no big deal. Just give them a quick rub with fine-grit sandpaper to knock them down, then wipe the dust off with a damp shop cloth. You want this first coat to be buttery smooth.

Adding texture

When working with paint, you can use the IOD Silicone Paint Blade to add texture in two different steps.

First, you can add texture as part of your base layer. This is when you can play with different stroke movements to get different looks. You can use long, even strokes in the same direction, cross-hatch where you make a little ‘x’ for an Old World plaster feel, swirls to create a feeling of movement or perpendicular strokes for a more industrial vibe.

Watch us experiment with different base layer textures while we were developing the final IOD Silicone Paint Blade.

Second, you can use a stamp impressed technique to press designs into damp paint (you want to let it dry a bit before doing this – check out this tutorial for more details.)

Tips for using the IOD Silicone Paint Blade

If you need a lot of ‘open time’ (time that the paint is wet and workable) go on thick with a second coat. This would be the case if you’re trying a stamp impressed technique. If you find the paint is drying quicker than you can stamp, use a water mister to reactivate the paint a bit and keep it moist.

If you’re creating texture with stamp impressions, pick colors that contrast in some way. Mix warm and cool colors or a neutral base with a bright or dramatic pop color, or dark and light versions of the same color.

The beauty of this it’s not rocket science! This is just fun and very forgiving. You get in there and you play, get adventurous, push your limits and learn new things.

It’s your turn to play!

Pay attention to that thin first coat and how it behaves as a primer and a bonding ground. Focus on controlling your paint thickness using the pressure and the angle of your blade. Look at the color movement and how you get the colors to engage differently depending on how you’re moving that blade over it.

We can’t wait to see what you guys are gonna do with this!

Back to blog