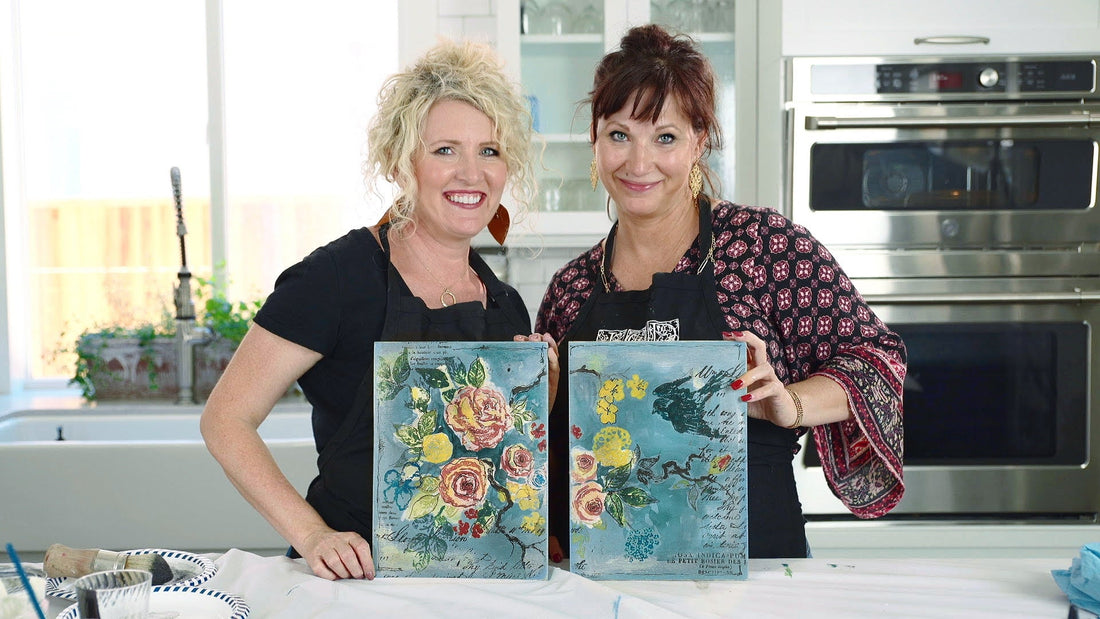
IOD Gallery Wall Episode 4 / Painterly Roses and BBB
Hello guys! Another Episode is up for our IOD Gallery Wall series!
To start at the beginning of the IOD Gallery Wall Series and get the plywood cut plan for the complete wall, please see this post. Or, if you want to WATCH the complete Gallery Wall Series, click here.
This post contains a few affiliate links to help you find the products we use. You’re not charged extra to use any of the links, but the few dollars we make will be used toward creating more IOD video tutorials.
Here is a list of all the products you will need to get started:
Two 9″ x 12″ Sande smooth plywood boards (1/2″ thickness)
Chalk style paint
Paint in various colors ( we used a light Robins egg blue for the boards’ base color and then used several colors for birds and flowers ) We used both Chalk style paint and Acrylic paints; they work well together!
Painterly Roses Decor Stamp, Kindest Regards Decor Stamp, and Birds Branches and Blossoms Decor Stamp sets FIND YOUR STOCKIST HERE
Clear wax
Brush
Hammer
Ruler
Take both of your 9″ x 12″ sande plywood boards and add a base coat with a robin’s egg blue color. Get a nice, even coat across the boards, and paint in different directions to build up a little texture. Once the boards are dry, place them directly next to each other, and you are ready for color blocking!
Without being too detailed, take a cream colored paint and add sections to the boards with the Painterly Roses Decor Stamp in mind. Take a light olive paint, and blend with the outer sections of the cream splotches to color block for your leaves.
On to the stamping! Begin with the larger blossom stamps, apply a soft pink paint to the stamp using a brayer, and stamp your cream colored sections. Once you have a base of soft pink roses, add a little detail by mixing a russet red paint with your light pink and stamp over the light pink sections to add layered detail. We’re ready for a little more color! Use yellow and russet red paint with some of your blossom stamps, and stamp near the other flowers and around the board.
Now that we have our base of flowers, we are ready for the leaves! Prepare with a couple shades of green and a cream paint for mixing, and give yourself the freedom to stamp green leaves in various shades around your flowers. Add a couple branches in a brown paint within the flowers, and stamp a royal blue flying bird in a corner! Have some fun adding leaves, flowers, and branches trailing from the floral center!
Create a wash with dark blue paint and water, and add some dimension to the cream sections within your flowers. Add more water to your brush to softly bring the color out from the center.
Using sections at a time, stamp Kindest Regards and the written portion from Rose Toile to add some wording to your pieces.
We’re almost there! After the paint dries, take your light/medium sanding square to gently distress and soften your piece. After sanding, loosely outline certain elements on your boards using India ink in black and a dip pen to add even more dimension.
Once your ink has thoroughly dried, apply your clear wax with strokes to protect your pieces and make the colors pop! Let the wax sit for about 3 minutes, and buff with a dry shop cloth. Very lightly, apply a small amount of black wax with a brush around the edges of the pieces, and gently pull the black wax in towards the center. Buff again, and you are done!!
Add a simple hanger to the back of your boards, and you are ready to display them!
We hope you enjoyed this tutorial, and feel prepared to dive in to your own gallery wall project!
Don’t miss a thing…here are all the other IOD Gallery Wall tutorials:
 ×
×
popular
- How to Apply IOD Athenaeum Gilded Transfer to Colored Glass Bottles
- From Ugly Duckling to Gorgeous | Black Dresser Makeover with IOD Marché des Fleurs
- 5 Creative Ways to Use One Decorative Stamp
- Turn Thrifted Finds into Charming Garden-Inspired Decor with a DIY Jadeite Finish
- Little Lark Paint Inlay Projects: Vintage Teapot & Canvas Wall Art with IOD