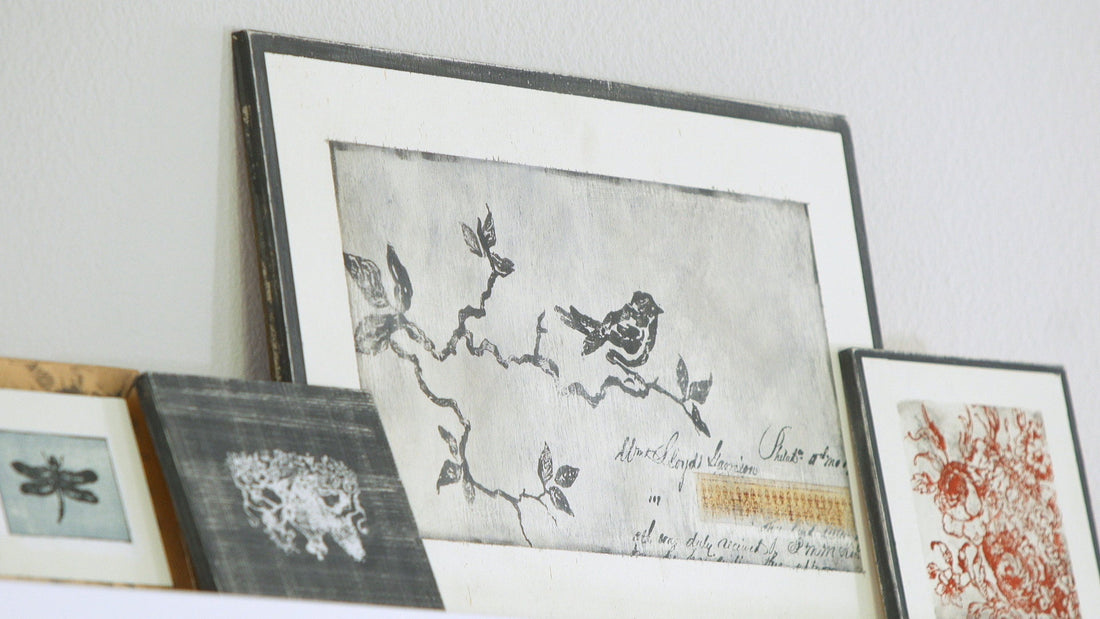
IOD Gallery Wall Episode 3
Here is episode 3 of the IOD Gallery Wall Series!
To start at the beginning of the IOD Gallery Wall Series and get the plywood cut plan for the complete wall, please see this post. Or, if you want to WATCH the complete Gallery Wall Series, click here.
This post contains a few affiliate links to help you find the products we use. You’re not charged extra to use any of the links, but the few dollars we make will be used toward creating more IOD video tutorials.
Here is a list of all the products you will need to get started:
Dragonfly Piece:
7.4″ x 6” sande smooth plywood board (1/2″ thickness)
Cream paint
Paint brush
1″ Painter’s tape
Dark grey paint
Light green wash (using a light green paint, add water to create a wash!)
Dark gray wash
Classic gold liquid leafing
Square brush
Fine sandpaper
Tiny chisel brush OR a light gray pigment marker
Rose Toile Decor Stamp FIND YOUR STOCKIST HERE
Clear wax
Wax brush
Hammer
Ruler
Rose Toile Piece:
8″ x 8” sande smooth plywood board (1/2″ thickness)
Cream paint
Paint brush
1″ Painter’s tape
Dark grey paint
Square brush
Fine sandpaper
Rose Toile Decor Stamp FIND YOUR STOCKIST HERE
Clear wax
Wax brush
Hammer
Ruler
Seal Piece:
7.4″ x 6” sande smooth plywood board (1/2″ thickness)
Cream paint
Paint brush
1″ Painter’s tape
Dark grey paint
Fine sandpaper
Queen Bee Decor Stamp FIND YOUR STOCKIST HERE
Clear wax
Wax brush
Hammer
Ruler
Are you ready to get started?!
Begin with your sanded boards, and apply a cream color base coat to all three boards’ front and edges. Our Dragonfly and Rose Toile pieces have a matte, so once these two boards are dry apply tape all around. Lay the tape down ¾” from the edge of the Dragonfly piece and ¼” from the edge on the Rose Toile piece, and use a straight edge and razor to trim the excess tape for a perfect corner!
On our Dragonfly and Rose Toile pieces apply a dark grey paint to the outer edges and sides, and paint the entire Seal board black.
Mix a light blue/green wash for our Dragonfly piece, and paint within the tape to fill the center. Apply a grey wash to the center of the Rose Toile piece, and lightly blot the wash with a shop cloth for nice movement.
Now it’s time to create a fun linen texture on our Seal piece! Make sure the paint is totally dry, and grab your coarse 80 grit sandpaper. Using your straight edge for perfect lines, pull the sandpaper straight across the board. Once the whole piece is sanded in one direction, turn the piece to pull the sandpaper across perpendicularly for a lovely linen effect.
Once you have your linen pattern on the Seal piece, take the coat of arms stamp from our Queen Bee Décor Stamp set and apply a layer of paint to the stamp with a brayer. Using a thin mount to stamp, lower the painted stamp to the center of the piece and (being careful not to shift the stamp) press down to transfer the paint! Let this dry thoroughly, then finish with a clear wax. One piece is complete!
Take your Rose Toile Décor Stamp set and apply a russet red paint to a floral section with a brayer. Stamp center of the Rose Toile board with the stamp, and wipe any excess red paint from the frame with a wet wipe.
For the third board, take the dragonfly stamp from your Rose Toile Décor Stamp set and apply dark grey paint with a brayer. Use a thin mount and stamp the dragonfly into the center of your third board. Using a chisel brush and a grey wash, apply a thin line to the center of the matte to give a three-dimensional feel to the piece. For a classic (and we think dreamy) effect, take a classic gold liquid leafing and add a mitered edge and texture to the frame!
While the Dragonfly piece dries, finish up your Rose Toile piece! Sand the edges of the frame for an aged feel, and peel off the tape to see your finished piece.
Once your Dragonfly and Rose Toile pieces are fully dried, apply a clear wax and buff with a dry shop cloth. Take all three pieces, and lightly tap simple picture hangers in to the backs of the pieces.
Your three fun-sized pieces are now complete and are ready for you to add to your growing gallery wall!
Don’t miss a thing! Here are all the other IOD Gallery Wall tutorials:
 ×
×
popular
- How to Apply IOD Athenaeum Gilded Transfer to Colored Glass Bottles
- From Ugly Duckling to Gorgeous | Black Dresser Makeover with IOD Marché des Fleurs
- 5 Creative Ways to Use One Decorative Stamp
- Turn Thrifted Finds into Charming Garden-Inspired Decor with a DIY Jadeite Finish
- Little Lark Paint Inlay Projects: Vintage Teapot & Canvas Wall Art with IOD